If you have hennaed your hair and aren’t a fan of the red, or if you just want to tone your hair down a bit, this blog may be for you. Even if you’ve done a combination of henna and indigo and/or cassia, you can still use indigo and cassia to tone.
What is toning?
If you’re familiar with “henna gloss” or “indigo gloss,” then you’re already familiar with the idea of toning. Toning is a way to alter your hair color from the current color. It’s called “toning” because you’re fine tuning your hair color by adding the missing pigment that will help you get the color that you’re looking for. People tone or do glosses for many reasons, but the biggest reason is because their hair may have come out brighter and/or lighter than expected.
Toning can also be beneficial if you’ve made a mistake in your mix, such as using too much henna, accidentally leaving indigo out your mix, or even correcting a mix where the indigo had demised.
Hair Prep
All of the mohair being used for testing has been prepped with a clarifying shampoo before applying henna. For Test 1, the indigo/cassia mix was applied the same day that the henna past was removed. For Test 2, the indigo/cassia mixes were applied 7 days after the henna paste was removed.
Mix Prep
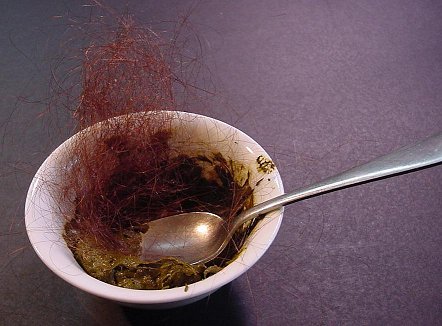
In all cassia/indigo mixes, both Clarity cassia and Sudina indigo powders were mixed in the same bowl, and distilled water was added. The paste was applied to the hair samples immediately after mixing each set of powders.
Test 1 – Toning Henna before Oxidation
Control
I used 20% indigo to 80% cassia on freshly hennaed hair that hadn’t oxidized for mix A. The goal was to see if the hair would be different than applying a toning mix to hair that has oxidized, mix B. I did notice a difference in the tone.
Note:Due to the lack of difference in color, I did not do a mix for 15 minutes when making mix B for this particular ratio.
When I compared these test pieces to hair that had been toned after letting the henna had oxidized, I noticed that even though that mix A, despite having more indigo and less cassia, didn’t come out darker than mix B. The test pieces that only had the mix on for 30 minutes are quite comparable (off camera, the pigment in mix A is slightly more brassy and doesn’t have as rich of a red as mix B for this timing).
There will be another blog in the future comparing more on toning freshly hennaed hair in detail, as this yielded interesting, yet unexpected results.
Test 2 – Toning Henna after Oxidation
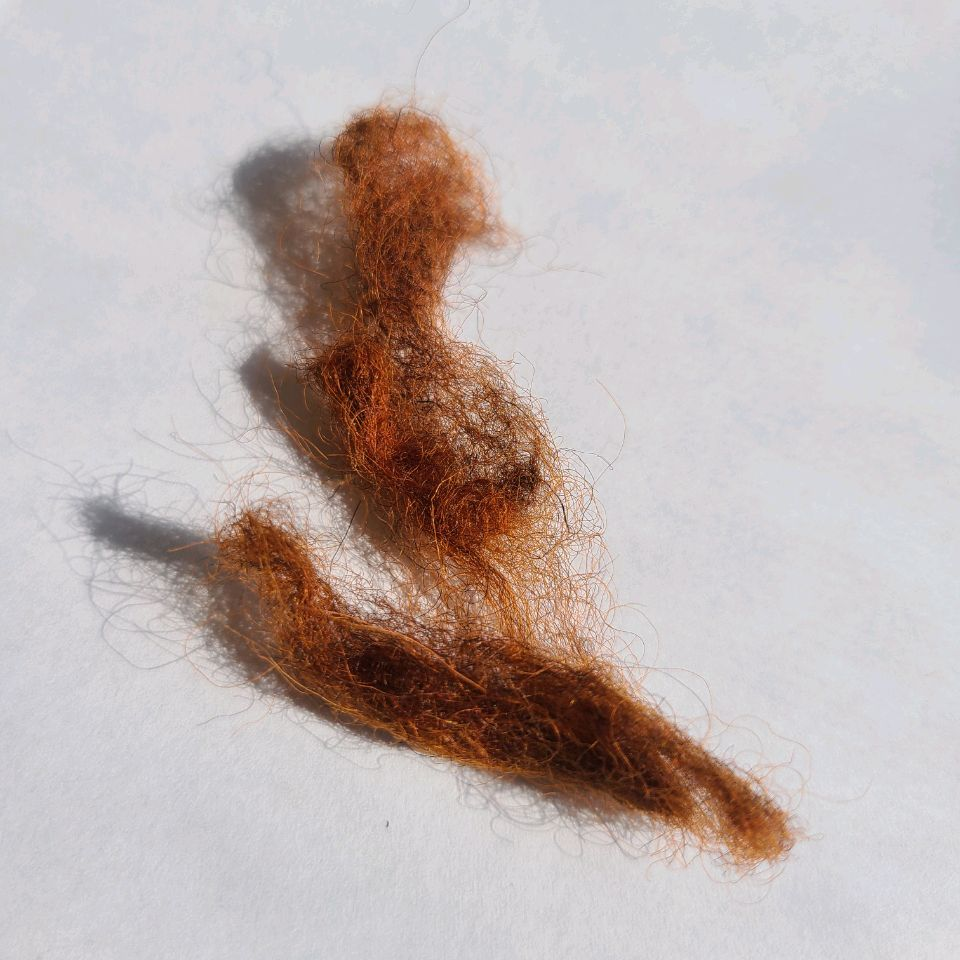
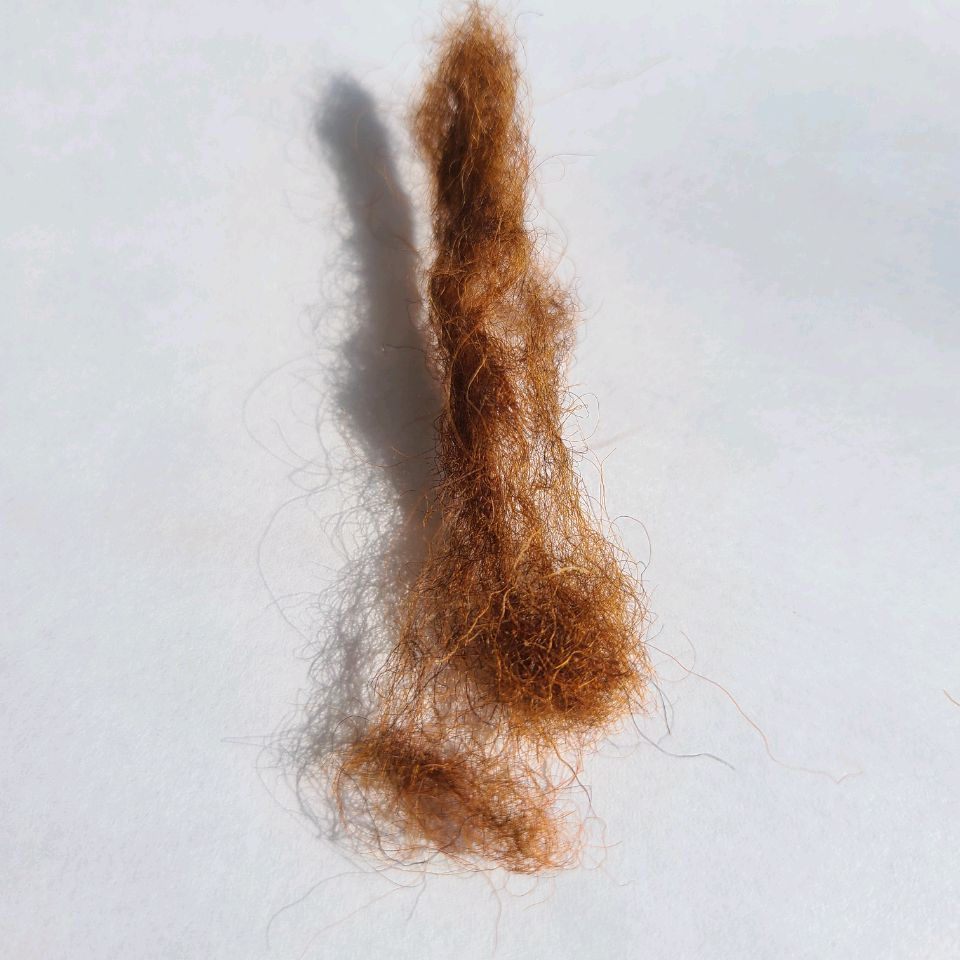
Test 2 mixes. Top left big chunk of hair is the control.
Mix 1
10% indigo; 90% cassia
A 30 minutes
B 60 minutes
Mix 2:
25% indigo; 75% cassia
C 30 minutes
D 60 minutes
Mix 3:
50% indigo; 50% cassia
E 15 minutes
F 30 minutes
G 60 minutes
Mix 4:
75% indigo; 25% cassia
H 15 minutes
I 30 minutes
J 60 minutes
Mix 5:
90% indigo; 10% cassia
K 15 minutes
L 30 minutes
M 60 minutes
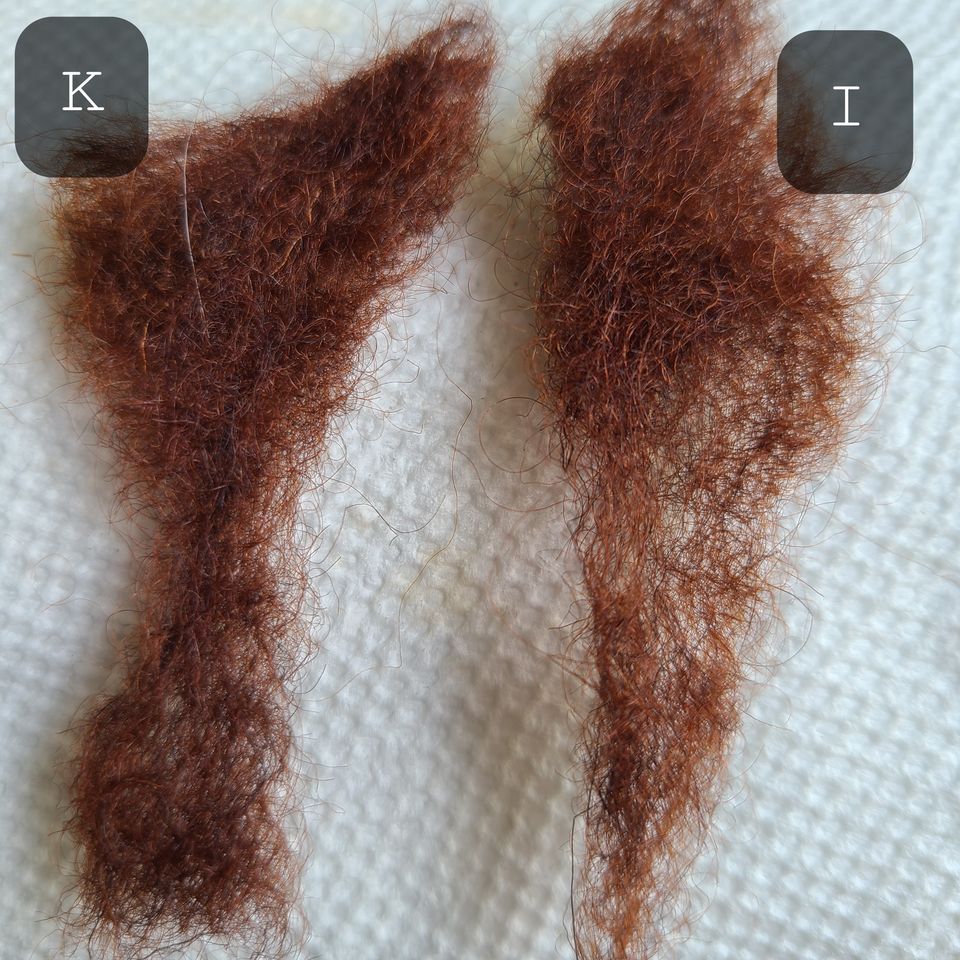
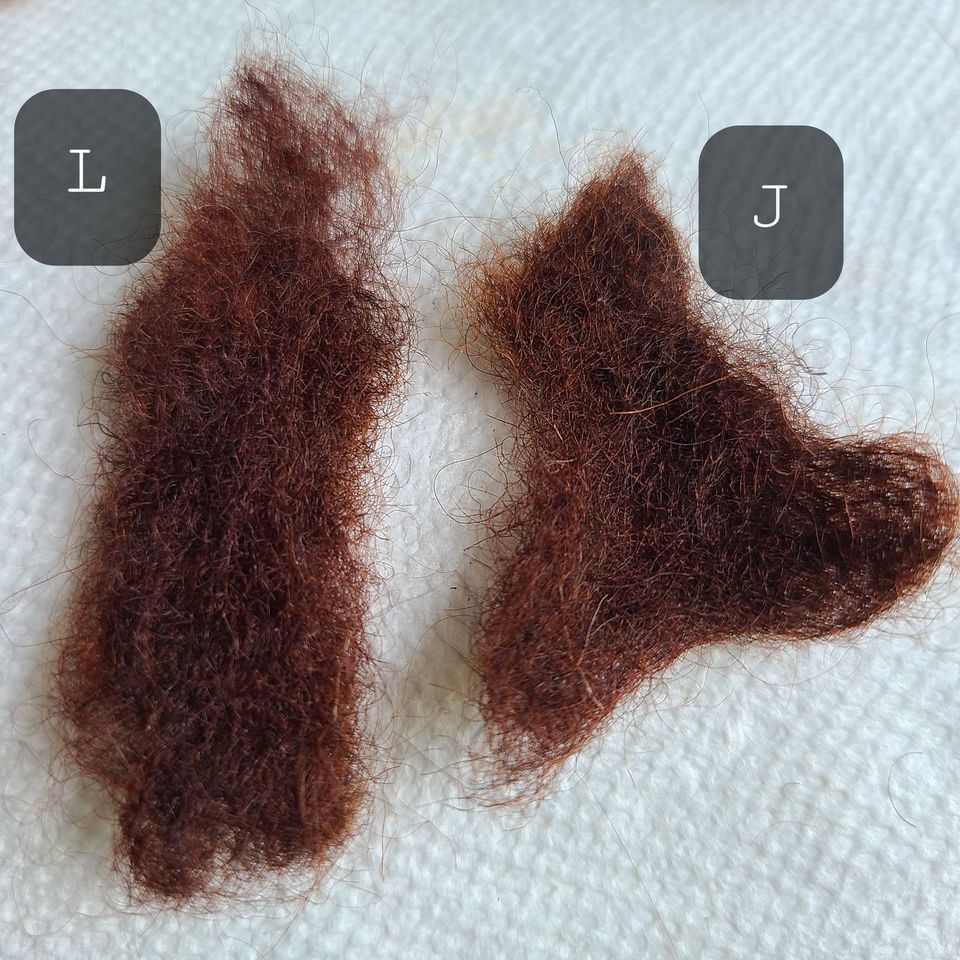
There are a couple of strands that have similarities such as test pieces K and I as well as L and J.
K is 90% indigo and 10% cassia that was left of for 15 minutes, where as I is 75% indigo and 25% cassia for 30 minutes. L is 90% indigo and 10% cassia that was left on for 30 minutes, where as J is 75% indigo and 25% cassia for 60 minutes.
The benefit of having two mixes with different timing that have similar results is that if you take a long time to apply paste your hair, you can always start with the mix that is the longer time for the first part of the application, then switch to a mix that needs less time to process. IE: If you’re trying to tone bright hennaed hair to a dark brunette, and it takes you a half an hour to do your root area, you could do mix I for the first part, then about half way through switch to mix K. This will allow for an even color.
If your hair continuously comes out more red than you’re looking for, you can definitely use a mix of indigo and cassia to tone it down to a darker shade. Customer service can help you determine the best ratio and timing for your hair! Testing is always a good idea to prevent your hair from going darker than you’re wanting.
Whether the results were unexpected, your client changed their mind about their hair, or if the grays are extra resistant, toning henna is something that you should become familiar with. It is important to note that toning before henna fully oxidizes seems to give different results than toning after henna oxidizes, but this is something I’d like to study more of and elaborate in another blog. In this article, I’ll walk you through the steps in depth of toning henna from “just a tad” to a full blown gorgeous dark brunette. You can find more information on cassia here: http://www.hennaforhair.com/faq/Clarity_cassia-auriculata.pdf
Gray Hair (mohair) for testing
Twilight with Malluma Kristalovino
Mohair was prepped with salon grade clarifying shampoo and left to dry before applying a Twilight henna and Malluma Kristalovino mix. The henna paste was left on the hair for 24 hours – 4 of those hours were in front of a heater (with the heater rotating off and on). The temperature otherwise was 65-68 degrees Fahrenheit. The purpose of the heater was to simulate body heat.
A note about mohair
If you’re not sure why we use mohair for testing, it’s because it’s very similar to human hair. We don’t have a surplus of unprocessed gray human hair. Sure, there are virgin gray hair extensions and mannequins, but the cleaning process it has to go through does alter the hair and doesn’t give us realistic results which makes for poor testing.
Test 1
Mix: Cassia powder mixed with indigo powder (distilled water for the liquid). The cassia was not dye released and no fruit acid was used with cassia. The powder did not sit for any time before application.
Toning henna before oxidation vs toning henna after oxidation
Day 6: L-R 15 minutes, 30 minutes, and 60 minutes
80% Clarity Cassia to 20% Sudina Indigo Before Oxidation Application vs 75% Clarity Cassia to 25% Sudina Indigo After OxidationApplication.
A 15 Minutes
There wasn’t any visible change after 15 minutes of this particular mix before oxidation, so I chose to not do one after oxidation.
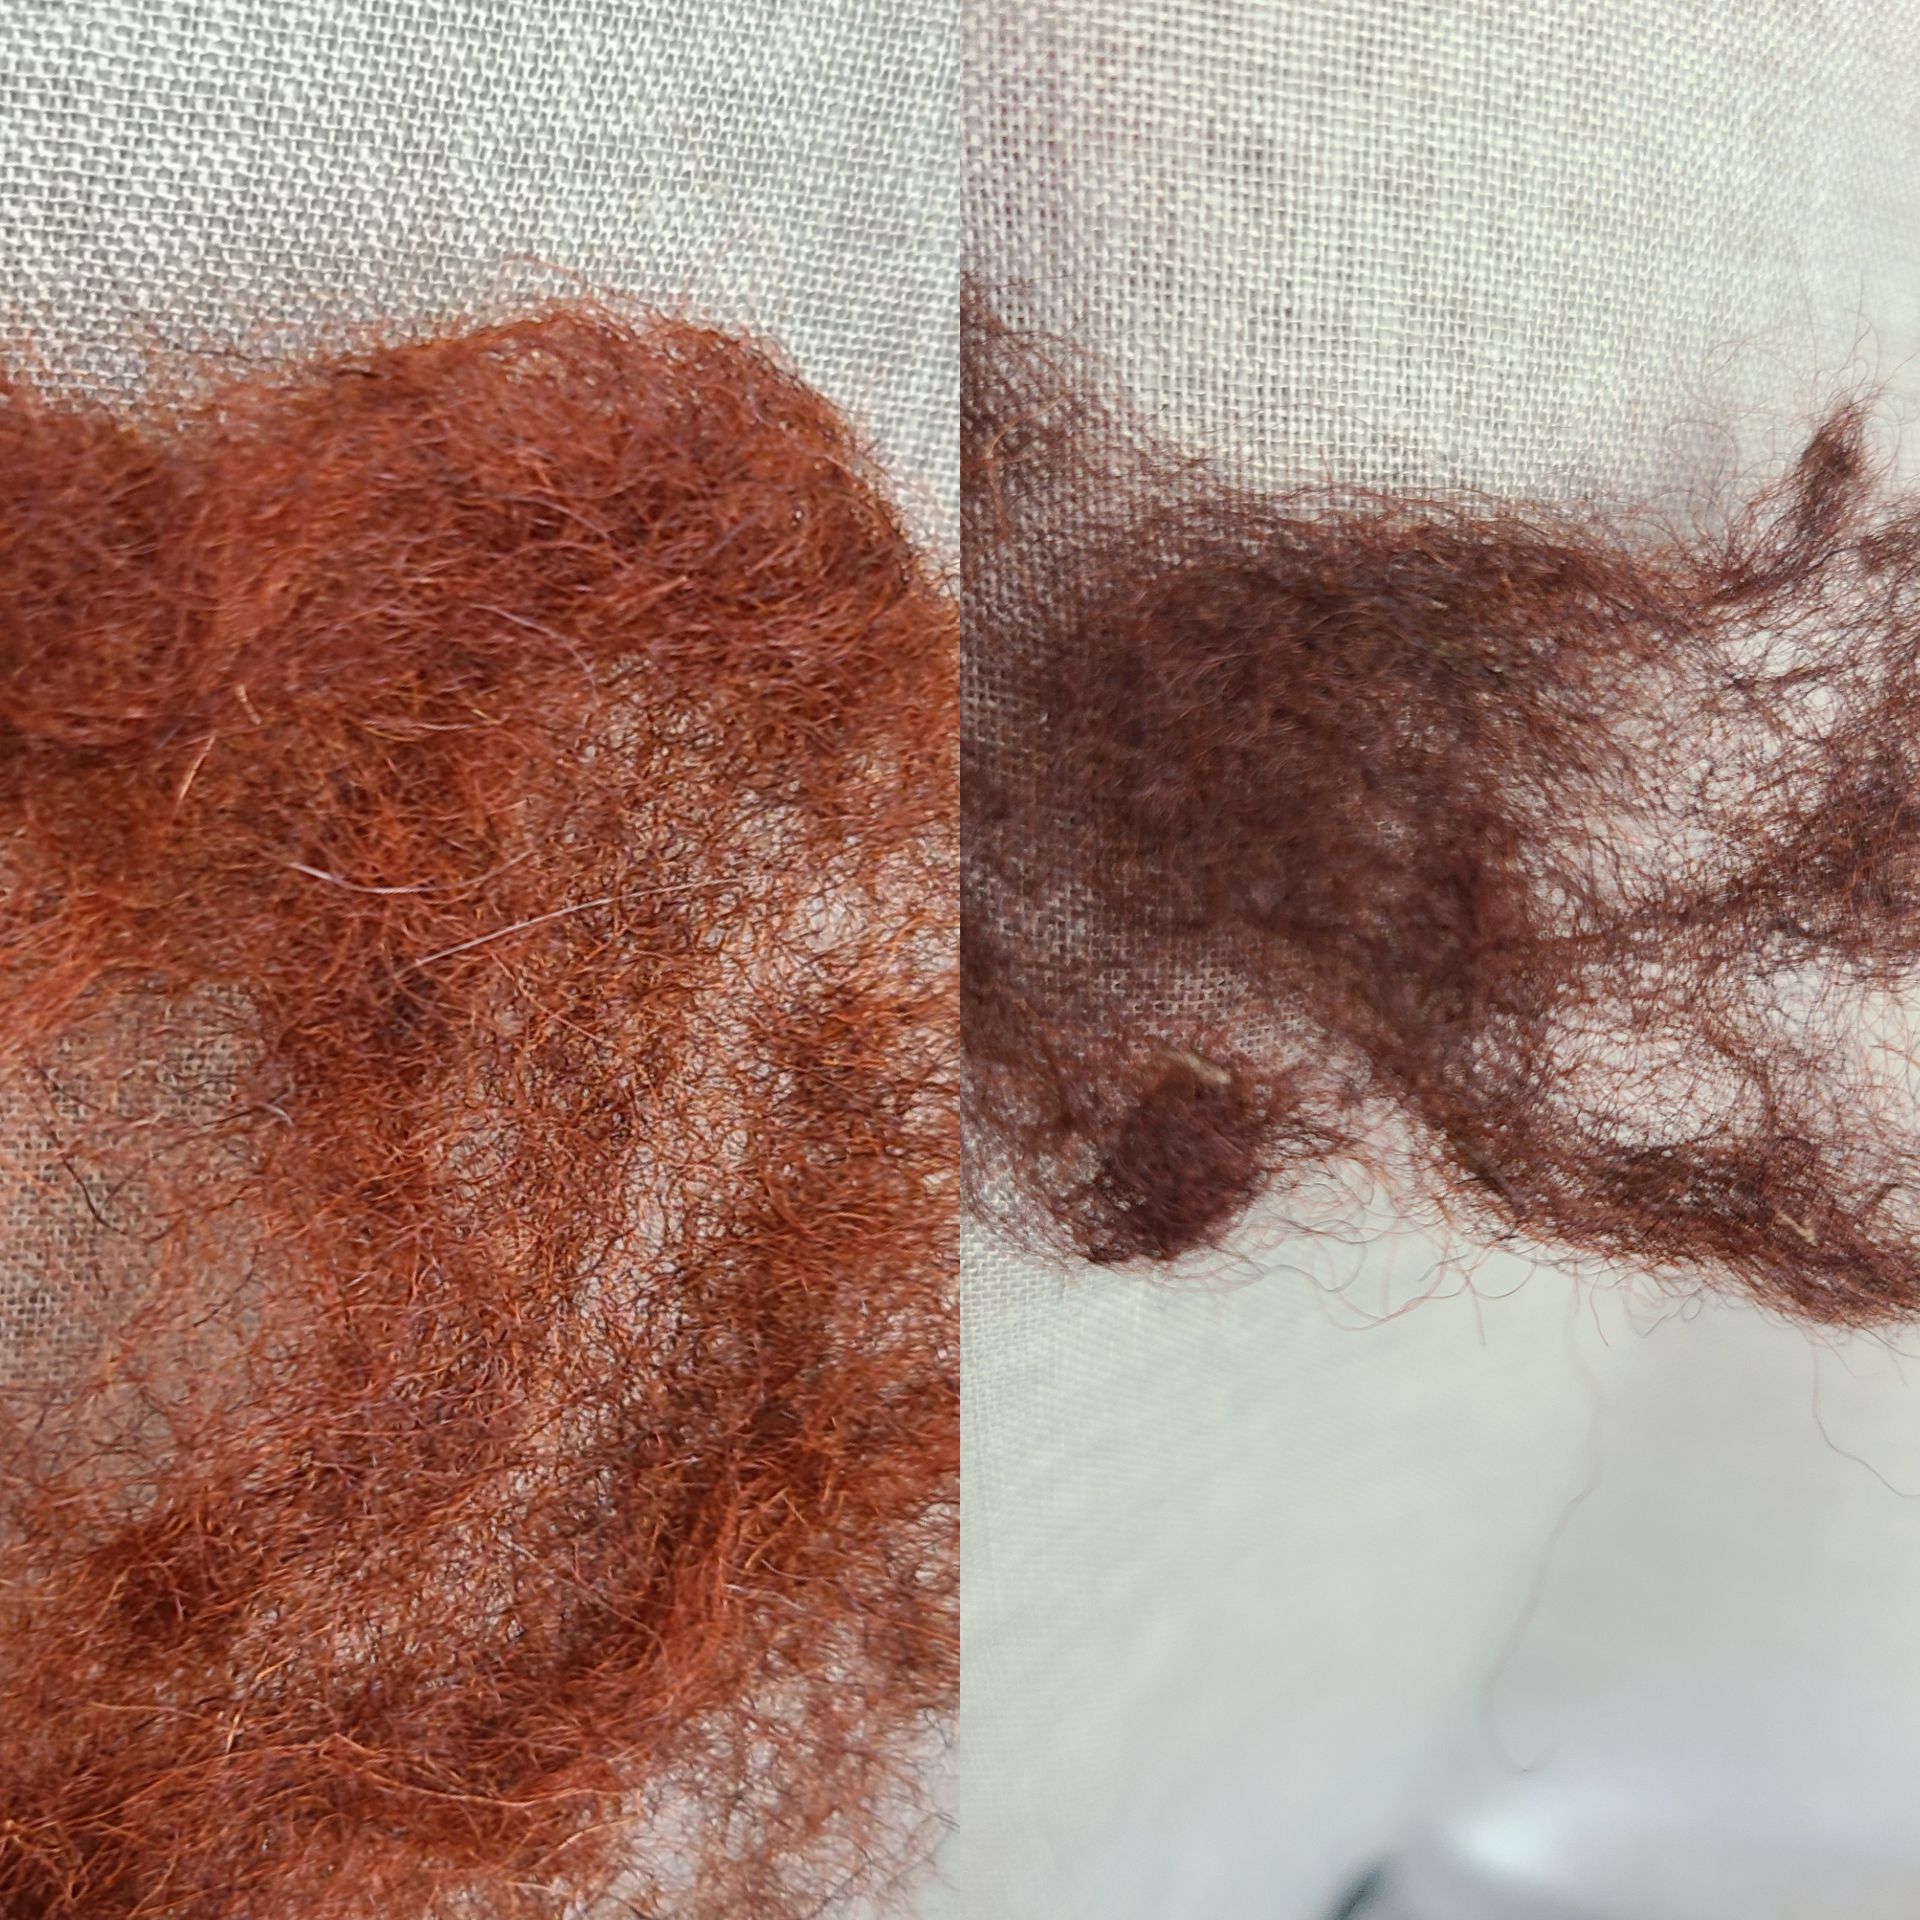
B 30 MinutesB and D 30 minutes Left side: B before oxidation application Right side: D after oxidation application
C 60 minutesC and E 60 minutes Left side: C before oxidation application Right side: E after oxidation application
Findings
Starting with A, as noted above, 15 minutes was not long enough to change anything visibly to the hair using an 80% cassia, 20% indigo mix. I chose not to do a mix after oxidation, because it just seemed that 15 minutes is insufficient for anything less than 50% cassia to 50% indigo.
Looking at images BandD you can see a little bit of change after 30 minutes, but not much. It’s important to note that the post oxidation mix (D) had 5% less indigo and 5% more cassia than pre-oxidation. I had theorized that B would have been darker thandue to the change in the formulation that was applied to the oxidized hair D. They look almost identical, but in person D is just a little bit brighter.
Finally, let’s compare the strands that sat for an hour. Visibly, it’s clear that there was a color change. However, when you compare the samples in CandE you can see that the pre-oxidation application (C) is different than the post oxidized application (E). Again, I had expected the formula that was used on E would be darker, because it had more indigo and less cassia, but C actually looks slightly darker and appears more brown.
Test 2
Mix: Cassia powder mixed with indigo powder (distilled water for the liquid). The cassia was not dye released and no fruit acid was used with cassia. The powder did not sit for any time before application.
Toning Oxidized Hennaed Hair
Toning percentages based on powder weight:
10% indigo, 90% cassia: 30 minutes A, 1 hour B 25% indigo, 75% cassia: 30 minutes C, 1 hour D 50% indigo, 50% cassia: 15 minutes E, 30 minutes F, 1 hour G 75% indigo, 25% cassia: 15 minutes H, 30 minutes I, 1 hour J 90% indigo, 80% cassia: 15 minutes K, 30 minutes L, 1 hour M
Control
A 10 i; 90 c (30)
B 10 i; 90 c (60)
C 25 i; 75 c (30)
D 25 i; 75 c (60)
E 50 i; 50 c (15)
F 50 i; 50 c (30)
G 50 i; 50 c (60)
H 75 i; 25 c (15)
I 75 i; 25 c (30)
J 75 i; 25 c (60)
K 90 i; 10 c (15)
L 90 i; 10 c (30)
M 90 i; 10 c (60)
Top left big chunk of hair – Control. First column – 15 minutes. Second column – 30 minutes. Third Column – 60 minutes.
Notes and Observations
The Results
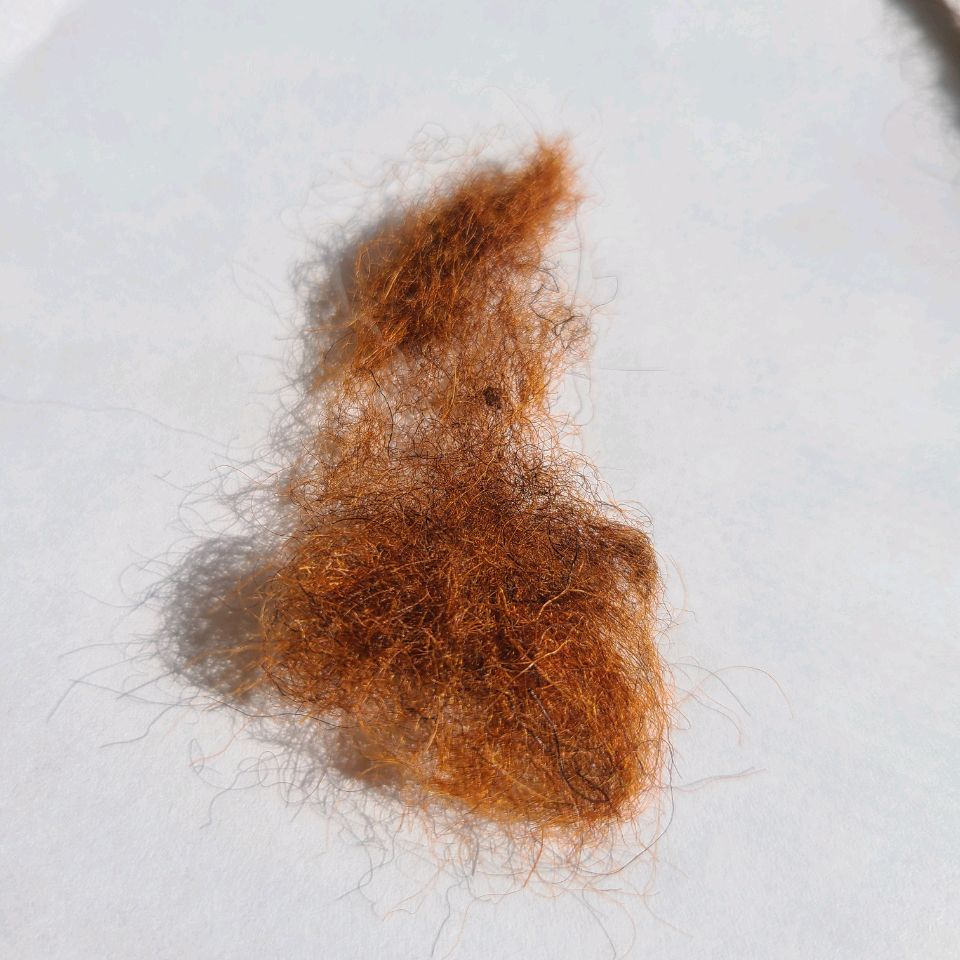
The control hair vs mix M
It makes sense that as the ratio of indigo increases and cassia decreases, that the results get darker and less red. While some of the ratios are different, the results are similar at different timings. For example: there are similarities between J and L. J was 75% indigo and 25% cassia, but left on for one hour, where as L was 90% indigo and 10% cassia but left on for 30 minutes. This can be helpful, because if you have to tone thick and/or long hair, you may want to start out with using 75% indigo and 25% cassia, but then half way through switch to 90% indigo and 10% cassia so that way your results blend, and you don’t end up with one part of the hair being much darker than the rest.
There are also similarities between mix I and K. Mix I is 75% indigo and 25% cassia left on the hair for 30 minutes. Mix K is 90% indigo and 10% cassia left on the hair for 15 minutes.
Toning non-gray hair
It’s important to note that when you’re considering a mix for toning, you should observe the starting level and keep in mind how well the hair absorbs indigo. What may work for one client, may not work for another. The best way to determine the best ratio and timing for your client’s specific hair, is to do a small test. This will take time initially, but will save you time if the mix and timing you tested didn’t quite work out. (Can you imagine having to keep reapplying a mix because it didn’t come out the way you were expecting? Eek!).
Toning freshly hennaed hair
More research is needed to compare using these exact mixes on freshly hennaed hair. If you feel that you need to tone freshly hennaed hair, again, testing is recommended to be on the safe side. The most important information to take with you from this section is that hennaed hair, regardless if it’s only henna, henna/indigo, or henna/indigo/cassia need to oxidize for at least 5 days. You can expect another blog on this specific subject comparing the same mixes on freshly hennaed hair to get a better observation on this particular subject.
Lowlights
This technique doesn’t have to be used just for toning henna. One could do lowlights on hennaed hair by using different ratios of indigo and cassia. The mix could be created on the fly, and could be a nice service to add in when one wants more dimension.
In conclusion, it’s safe to say that cassia and indigo can be used for toning down bright hair. It seems that, unless the toning mix is more than 50% indigo, there really isn’t a point to leave the mix on for less than 30 minutes.
Maria • Ancient Sunrise Specialist • Licensed Cosmetologist
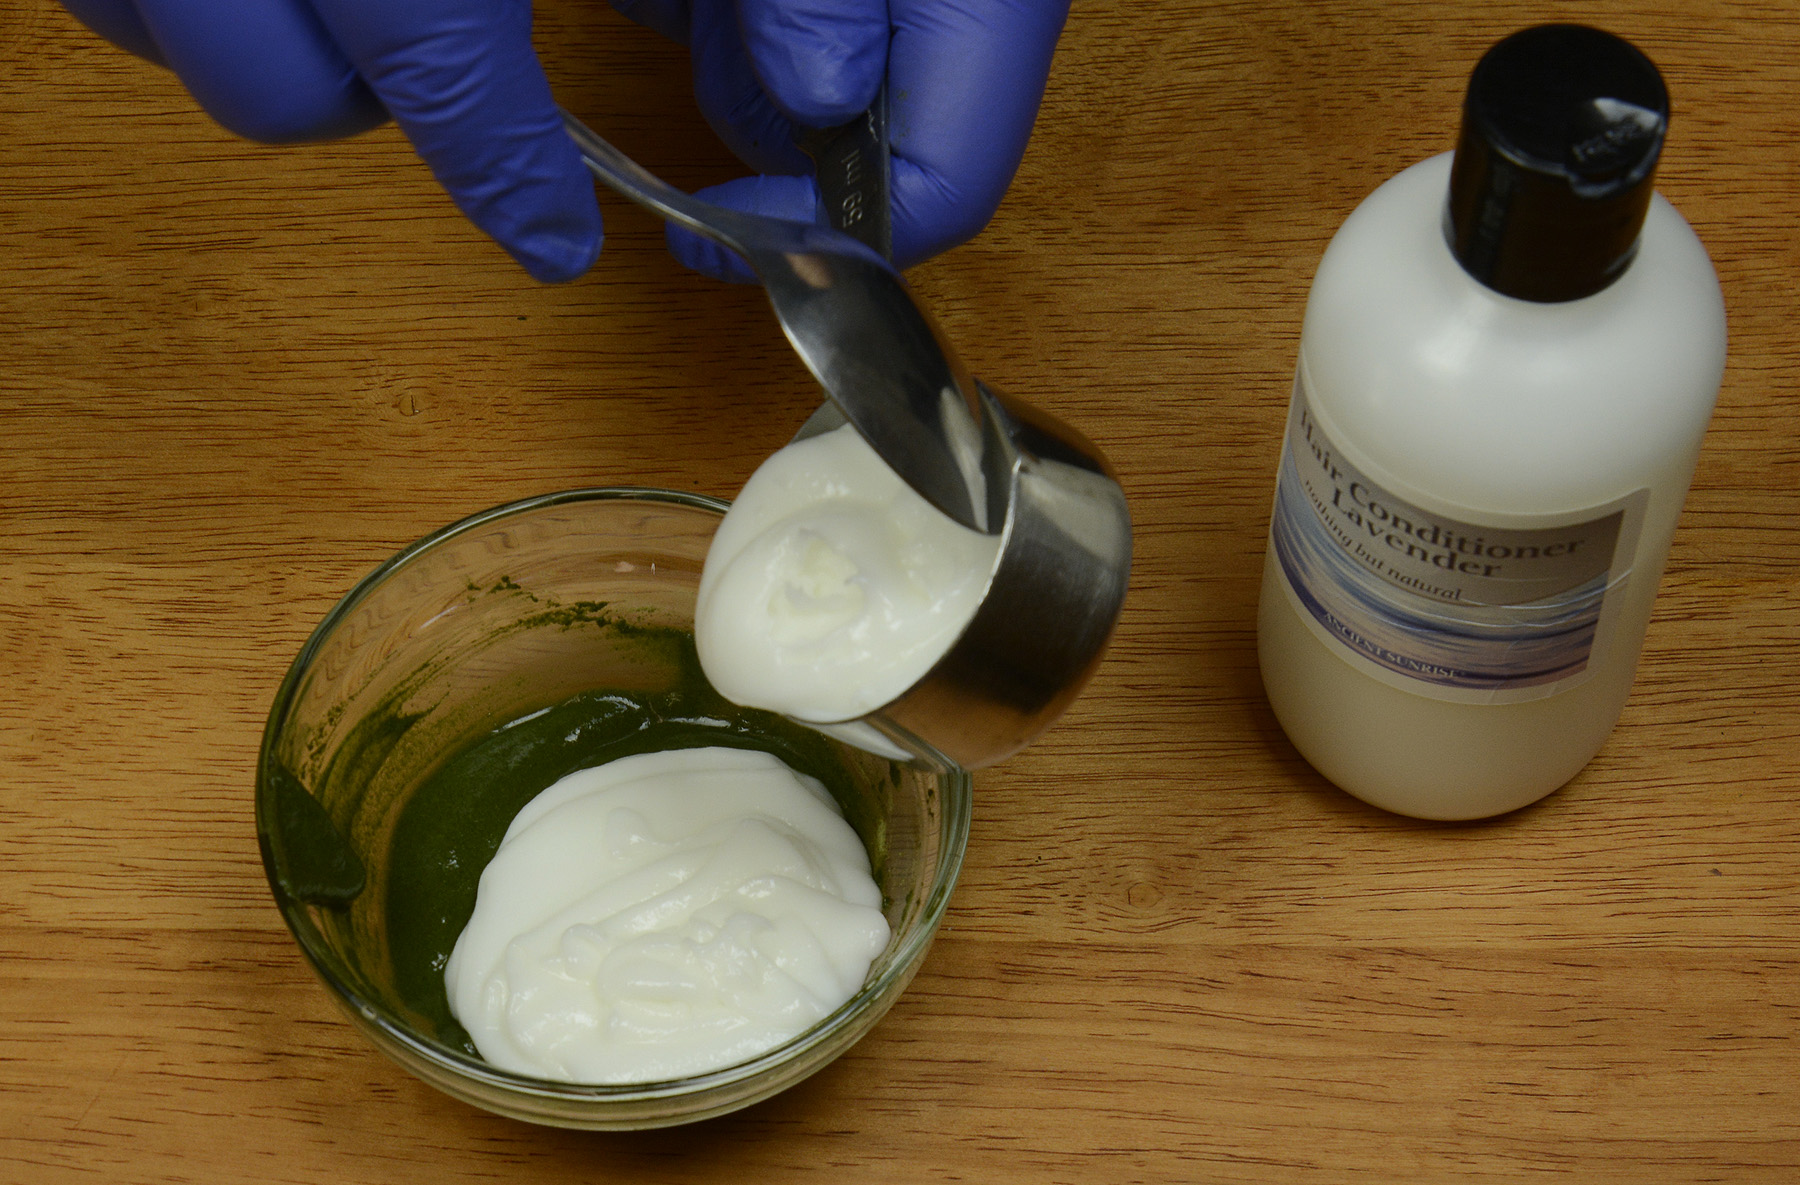
In the henna for hair world, a “gloss” is usually a mixture of prepared henna and/or indigo paste diluted with conditioner, yogurt, aloe gel, coconut milk, or some other medium. The result is supposedly a more subtle color change along with “deep conditioning.” Glosses are extremely popular and attractive, especially to those who are new to henna. They seem to somehow be easier, less intimidating, and user-friendly. The idea of a subtle color change and killing two birds with one stone by mixing henna and conditioner seems wonderful…right?
I’m sorry to burst your bubble. There are better ways to achieve both a subtle color change and conditioning. Glosses are a waste of good henna and your money. Because the diluting medium inhibits dye uptake, color results are temporary, and most of the conditioning benefits of henna are unavailable. While they have their place in rare occasions, more often than not, there is a better alternative to the gloss. This article will explain some of the myths behind glosses, and offer better alternatives which will result in the same subtle color change, but with permanence and all of the benefits we love about henna.
A gloss is a mixture of plant dye paste and conditioner. The result of a gloss is not as saturated, nor as permanent.
Where Did the Gloss Come From?
For as long as henna has been used to color hair, the mixture has always involved henna and an acidic liquid. Oils, yogurt, milk, and other ingredients were sometimes included in these recipes, and the recipes were passed along. These uses became part of the mythology of “How people used henna back in the day.” Earlier in the history of The Henna Page and Ancient Sunrise®, we tinkered with and recommended methods for using glosses. These were always meant to be a quick, temporary fix, not the go-to method. Over time, the use of the gloss grew, spread through natural beauty blogs and videos, other henna companies, and word of mouth within families and communities. Some companies now even sell oil-based bars containing henna, promising color and conditioning.
If people have been adding all kinds of things to their mix for hundreds of years, it must be the correct way to do it, right? The desire to use natural beauty products sometimes comes with a desire to go back to a mythical time of purity: A time before commercialization brought about harmful chemicals, when humans were more intuitively connected with nature and all things healthy. Looking back on older methods and recipes seems to make sense. Sadly, this mythical time did not exist. People also once painted their faces with lead and brushed their teeth with urine.
Past methods come shrouded in nostalgia, packed with folk remedies and wives’ tales, and lacking good science. We have science now! By systematically studying how these ingredients work at the molecular level, we can now determine the most effective methods, and come to the conclusion that adding certain ingredients into henna mixes renders the mix much less effective. An effective henna mix only requires quality henna powder, an acidic liquid, and an understanding of temperature and time. Oils, fats, silicones, and glycerins block dye molecules from binding to the hair strand. Much of the valuable benefits to henna are doing right down your drain.
“But, I love dyeing my hair and getting a deep conditioning treatment at the same time.”
Henna is an amazing conditioner. In addition to adding strength and shine to your hair, it re-balances moisture, reinforces the keratin cuticle, and has anti-fungal properties. Make it into the gloss, and you won’t get all of those amazing benefits at their full strength.
There is an ongoing myth that henna is drying or damaging to the hair. This myth has contributed to the use of oils, conditioners, and other “moisturizing” ingredients in a henna mixture. The idea was that the addition of these ingredients would protect the hair from negative effects of henna. Some henna for hair products are made of poor quality henna, full of large plant particles and sand. Compound hennas contain metallic salts, PPD, and other additives that did nasty things to the hair. If you are using finely sifted, 100% pure BAQ henna, the idea of henna being drying or damaging is absolutely untrue.
Most earlier hennas available in the US were compound hennas, containing harmful additives. There are still compound hennas sold today, which claim to be pure. Always go with lab-tested henna!
Some people report their hair feeling dry and unmanageable after using henna. This is because, when the paste is processing on your head, the low pH causes the outer keratin scales of the hair to temporarily lift, allowing the dye to enter more effectively. During the following days, as the dye oxidizes and settles into place, the hair will go back to normal. Rinsing with cool water and/or vinegar can smooth the cuticle down more quickly.
There is nothing wrong with using a conditioning treatment after washing out your henna. Feel free to apply whatever you planned to mix into your henna, separately and after you have hennaed your hair. Many people find that it is not necessary, as henna is an effective enough conditioning treatment on its own.
“I’ve done it this way for ages, and it works for me.”
Many people begin with glosses when they start using henna, and find that they love the results. They continue to use the same method for several years. While they do get some color and conditioning benefit, without learning new and better methods, they never know how much better it could be! It’s like having a California roll for the first time and deciding that you love sushi, but never eating anything other than California rolls following that. (Okay, a bit of a stretched analogy, but I will personally fight you on the ways of proper sushi.)
Try one of the methods I’ll describe later in this article. Henna, indigo, cassia, and fruit acid powders make natural hair coloring amazingly versatile, and you’ll find you can achieve nearly any natural hair color with the right mixture. You will find that skipping the conditioner gives you a much richer color that doesn’t fade, and longer-lasting strength and shine.
“I don’t want a huge color change.”
You don’t have to have one. At Ancient Sunrise®, we’ve mastered the art and science of formulating mixtures to suit every need. We work one-on-one with our customers to help them achieve their desired color. Very often, our customers simply want to cover their gray hair to match their natural color. If you want just a hint of red, or to darken your color one or two shades, that’s no problem at all. It can be done with the right mix of henna, indigo, and/or cassia.
“I like glosses because they’re easier to apply and rinse out.”
It is true that many henna for hair products contain henna that is poorly sifted and full of large particles that get tangled in the hair. If you have not yet tried Ancient Sunrise® products, you may be surprised by the difference. Ancient Sunrise® plant dye powders are finely sifted. Ancient Sunrise® Rajasthani Jasmine henna, Ancient Sunrise® Zekhara indigo, and Ancient Sunrise® Zekhara cassia are the finest out of all of them, and great for those who have thick, curly, or textured hair, as well as those with delicate damaged hair.
Indigo powder can be a little gritty, and this can be solved with a little CMC powder, which makes the paste much silkier without inhibiting the dye.
If you are already using Ancient Sunrise® products and are still frustrated with application and washing, contact Customer Service. They have a number of tips and tricks that make the process much easier. For example, some prefer their paste thicker or thinner. Some work from the top of their head down, or vice versa. Some like to enlist a friend or significant other to help. When washing henna out, a “mermaid rinse” works very well. Soak and swish your hair in warm water to loosen out the majority of the paste, then shampoo and condition as normal. Sometimes massaging a handful of conditioner through your hair after the mermaid rinse helps the extra particles slip out. Again, there’s nothing wrong with using conditioners after henna; just don’t mix them in.
“What about indigo glosses?”
Indigo glosses are a mixture of a small amount of indigo paste and a diluting medium, usually conditioner. These are used to subtly darken or tone down hair that is too bright or light after a henna/indigo treatment, or if the indigo has faded from the hair over time. We recommend them occasionally, but they are best used as a temporary fix rather than a true method. The result is not permanent.
If you used indigo in your mix but it did not bind effectively, leaving brassy roots, mix up a small amount of regular, full-strength indigo paste, dab it into the areas that need to be fixed, and rinse it out after a few minutes. If you have just dyed your hair and it looks too bright, wait a few days for the color to oxidize before trying to adjust it. It may settle out on its own.
Indigo glosses can be avoided as you perfect your mix and technique. This may involve increasing the amount of indigo you use in your next mix, and thoroughly cleansing your hair prior to application.
Apply indigo paste, or a henna/indigo mixture to roots that came out too light.
Alternatives to Glosses
The first and most obvious alternative to the gloss is to simply omit the conditioner, and apply the henna mixture as is. The color results will be more vivid and permanent. Your hair will get the full power of the strengthening and conditioning properties of henna. If you have naturally darker hair, you do not need to worry about your result being too bright or red, as henna is translucent and cannot lighten the hair.
If you have a naturally lighter hair color and worry that henna will make your hair too red, mix it with cassia. A mixture of 1 part henna and 4 parts cassia will give light hair a warm, strawberry blonde glow. Both the henna and cassia will make your hair shiny and strong. You may also choose to play around with acids, or add a small amount of indigo if you don’t want the result to be too bright. This article goes into further detail.
You could try using cassia paste in place of conditioner. Mix cassia powder with distilled water, and combine it with your henna or henna/indigo paste. Cassia that has not been dye-released will impart very little color. It can dilute the strength of your other plant dyes without inhibiting uptake the way conditioner might.
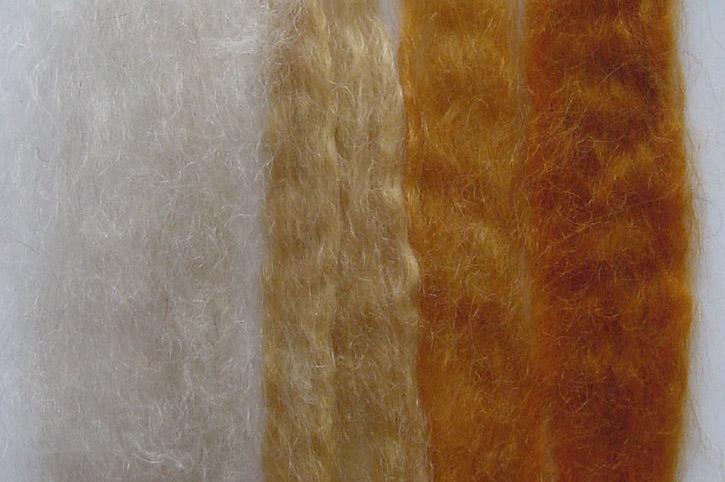
Mohair dyed with cassia and henna in different proportions. The sample to the left is the original color.
If you are new to henna and are attracted to glosses because you are worried about having a permanent result you don’t like, instead of relying on the temporary nature of a gloss, strand-test a few different mixtures on hair that you’ve collected from your hairbrush or a trim, and use those to settle on a color, rather than using your head as a guinea pig.
Test some hair collected from your hair brush with a small amount of paste to determine the color result.
If you are using glosses because you want your color change to be temporary, then sure, a gloss may be the way to go. Henna is permanent when used properly, and can only be removed from the hair using lightening treatments. You may want to try mixing up some zizyphus paste to use in place of conditioner in your gloss. Ancient Sunrise® Zizyphus spina christi powder is a natural cleanser and conditioner. Its natural plant waxes may prevent the henna from binding as successfully.
Conclusion
Glosses are overused. They gained popularity through the spread of some less-than-accurate information. More often than not, a full-strength mix of henna, indigo, and/or cassia will give you the same, or better results. It may require some recipe or technique adjustments, but we believe that you will be much happier with the color and condition of your hair after ditching glosses. You will not need to re-apply as frequently, saving money and time. If you need assistance, contact Ancient Sunrise® Customer Service via phone, email, or online chat.


 Maria • Ancient Sunrise Specialist • Licensed Cosmetologist