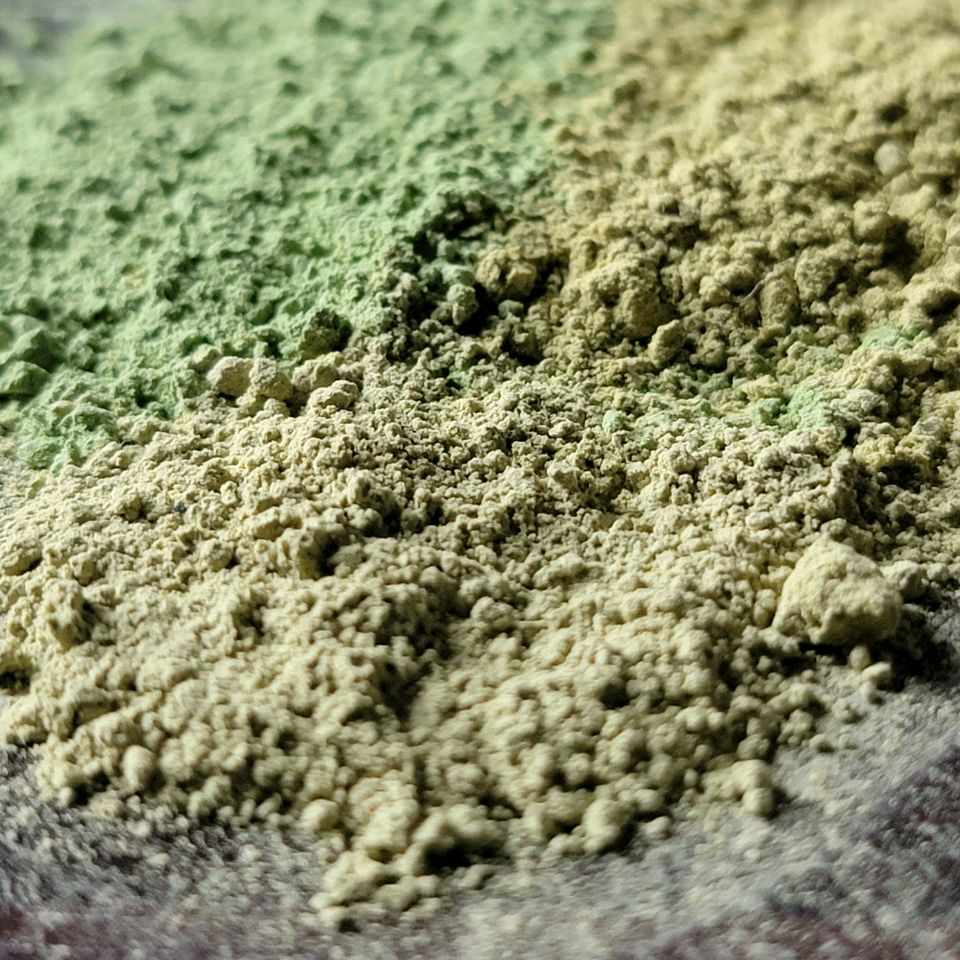
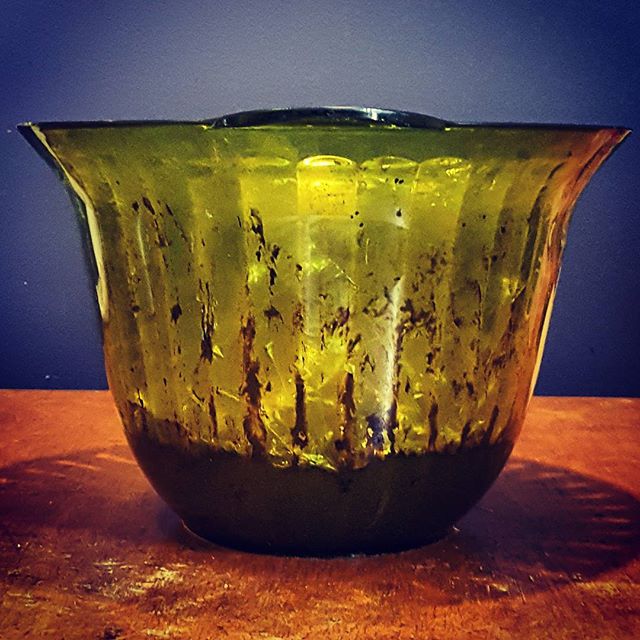
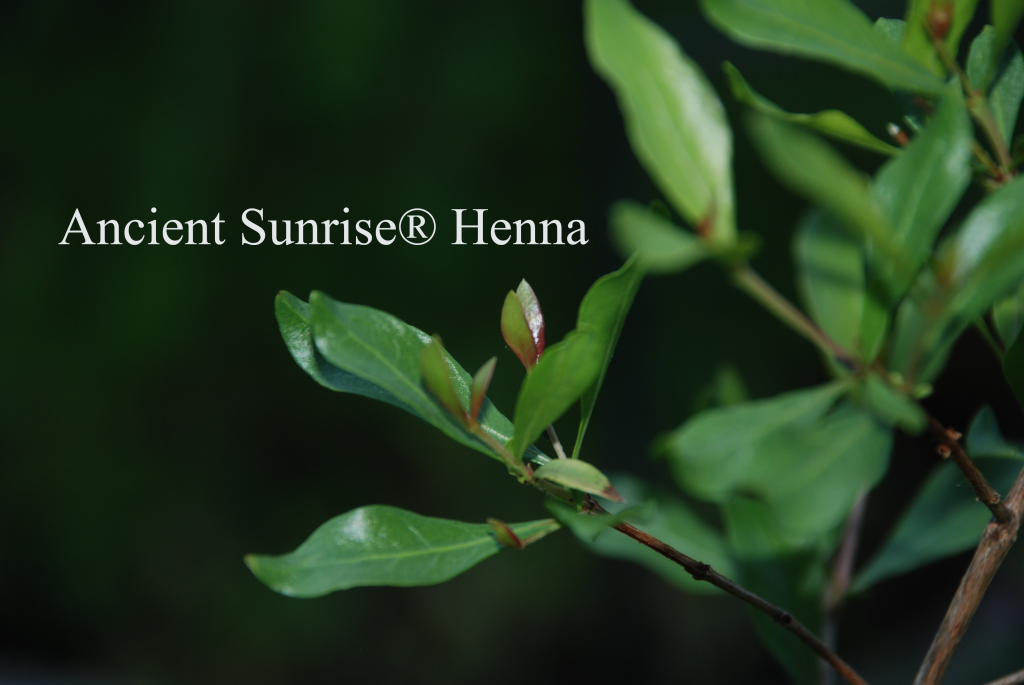
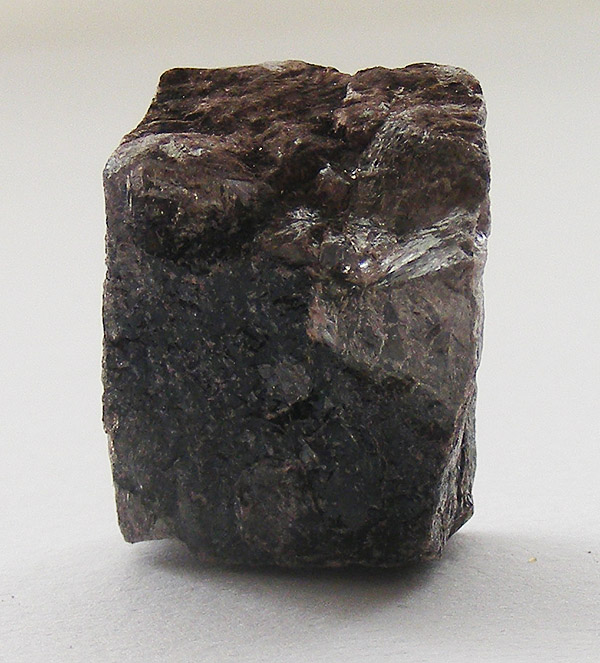
Ancient Sunrise Clarity Cassia (cassia auriculata) is a powdered organic plant leaf that is 100% natural and pure. It is a natural plant based hair conditioner and can be used to condition all hair types. (Yes, even chemically dyed hair and 4c natural hair.) Clarity cassia is super easy to rinse, too! Keep reading to learn more about cassia benefits for hair.
I have been dyeing my hair with Ancient Sunrise plant dyes for more than ten years. Henna for Hair is a site dedicated for the use of henna for hair color and can answer your questions about using plant based hair color. I consistently achieve beautiful results when I use henna and indigo on my graying hair. Two years ago I started adding cassia for conditioning as well.

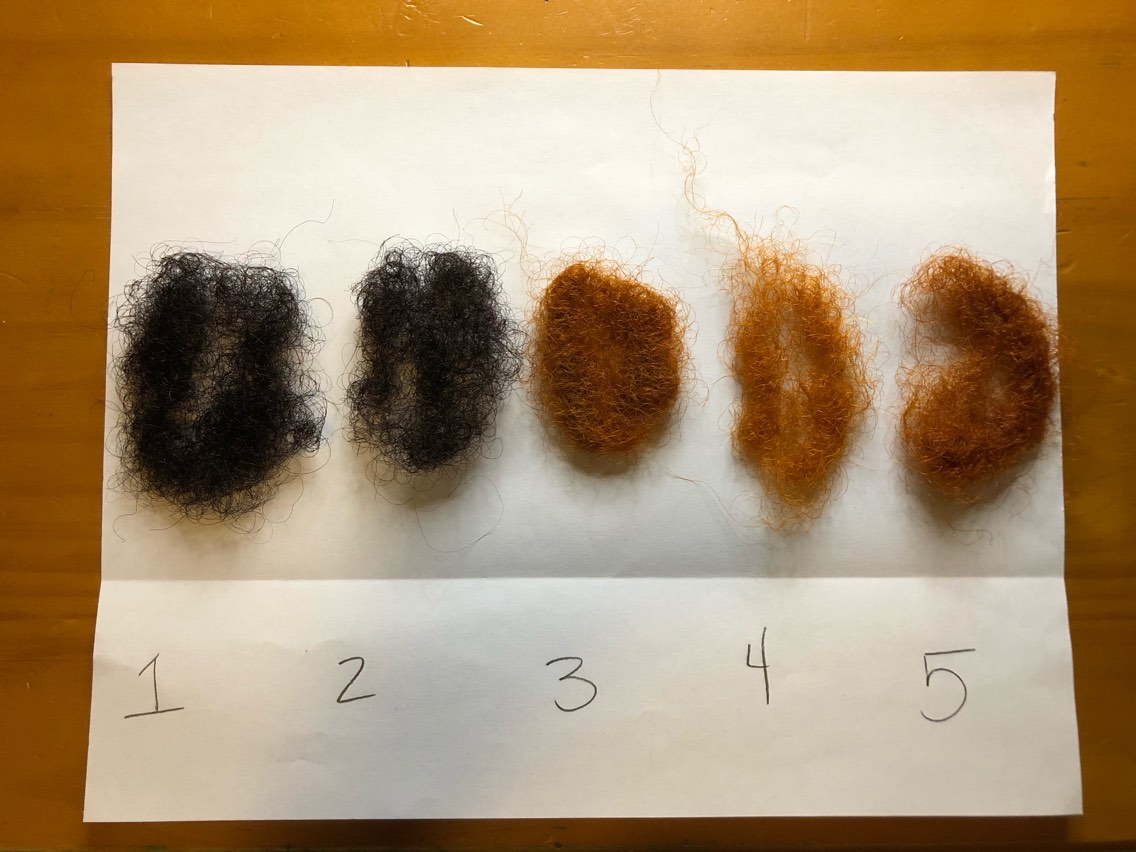
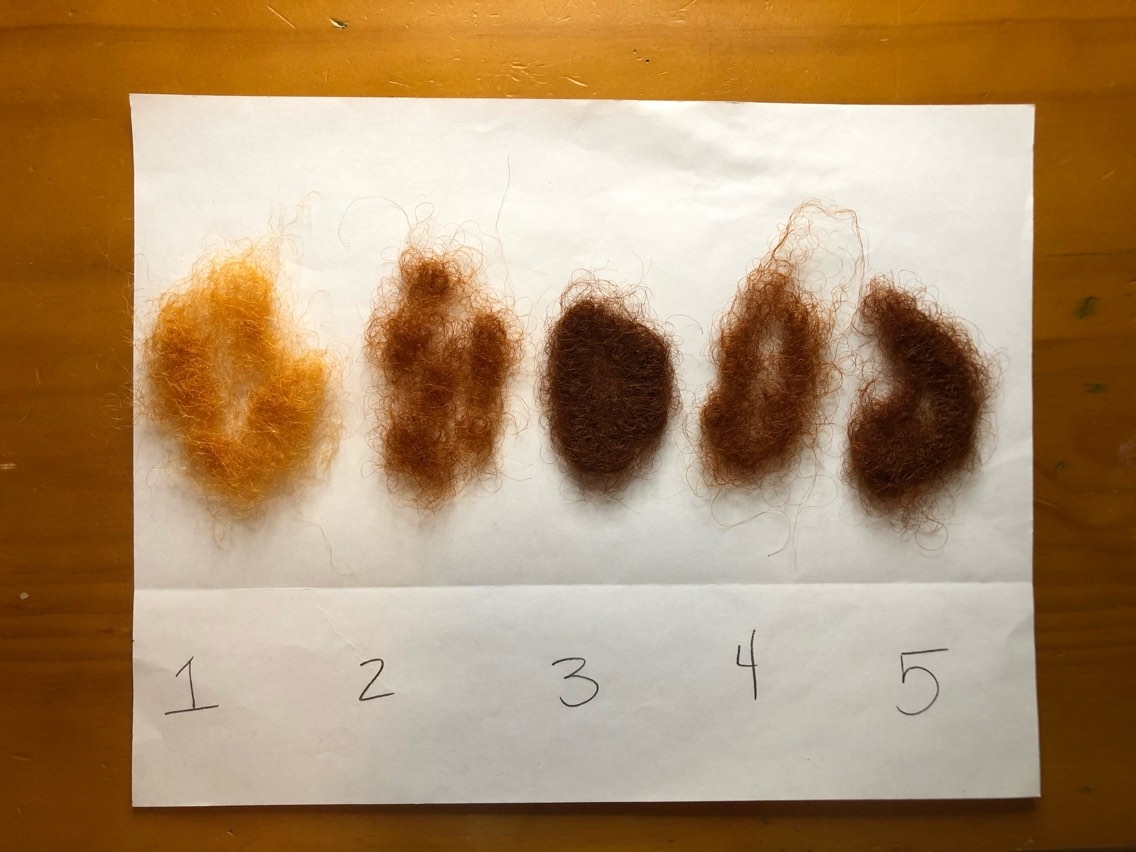
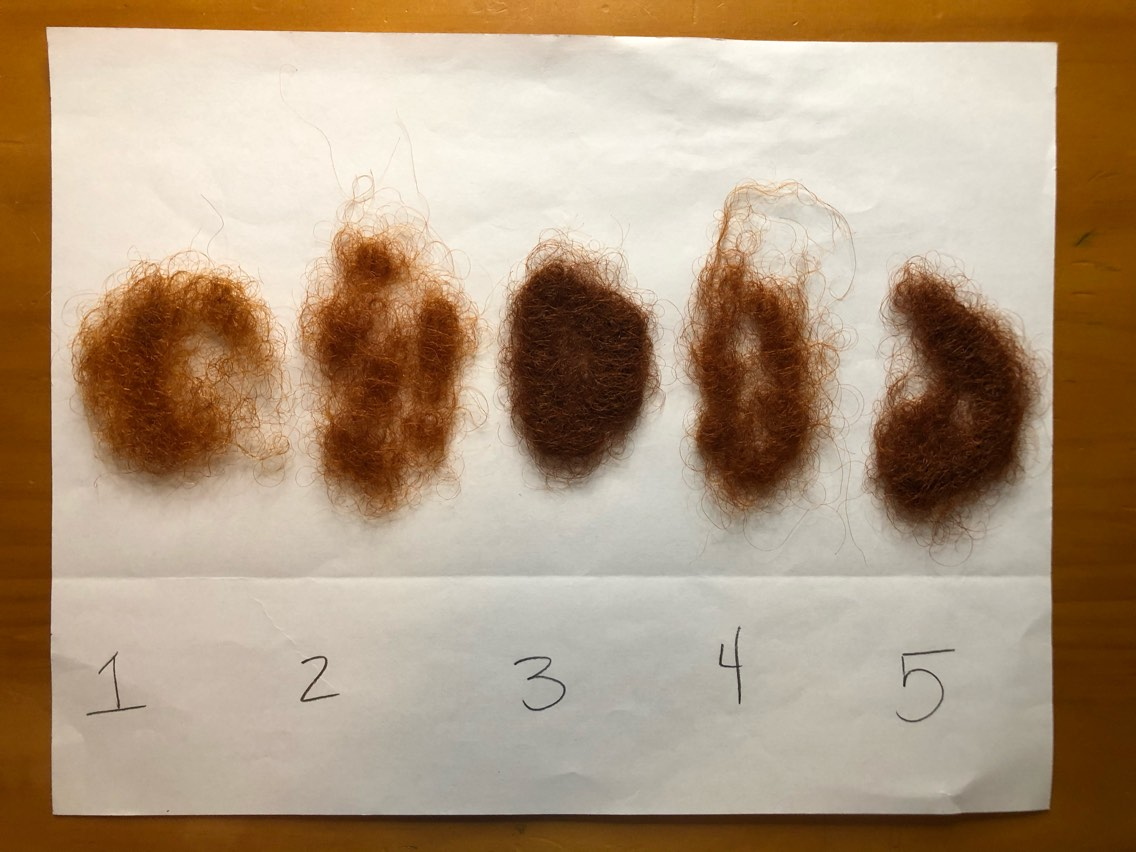
The Beginning of my Cassia Obsession
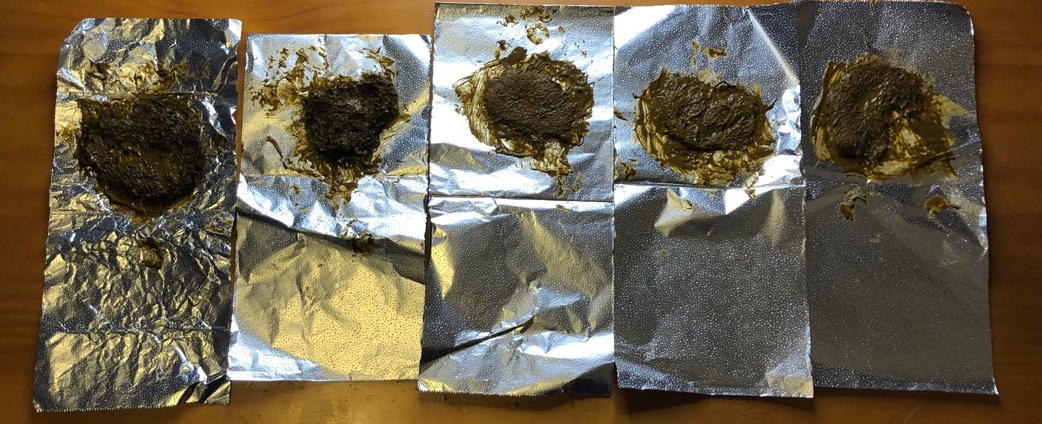
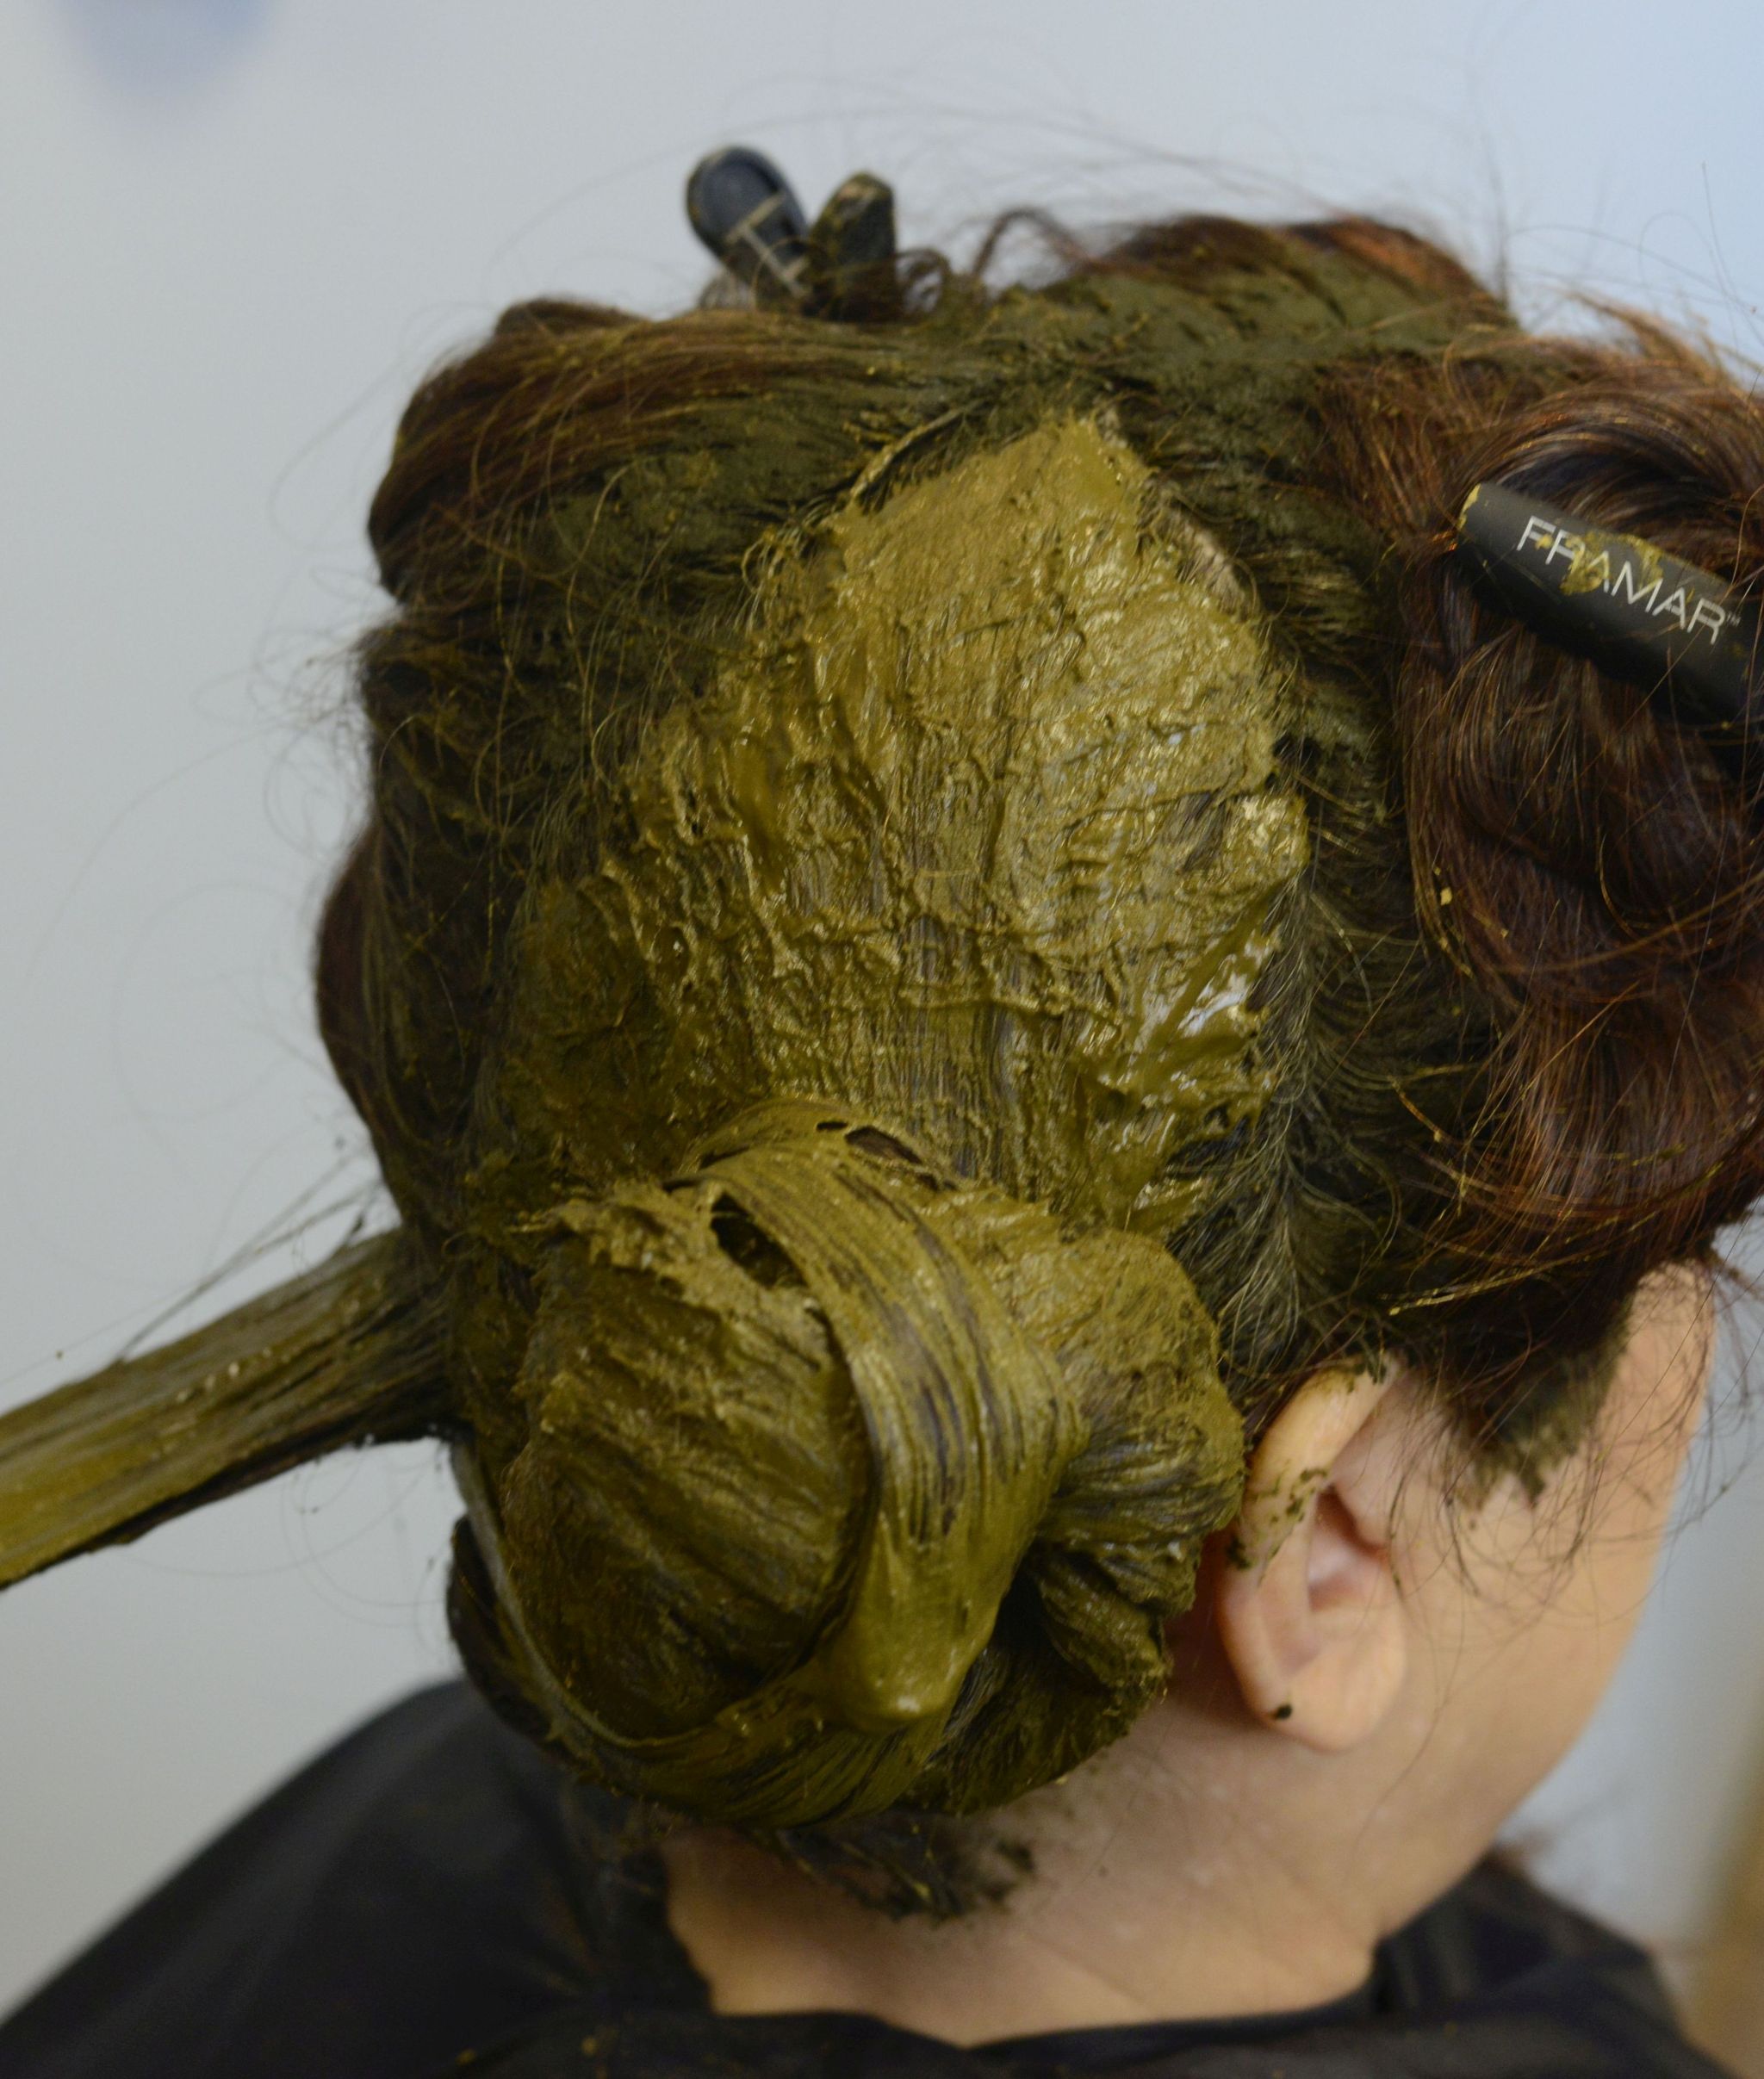
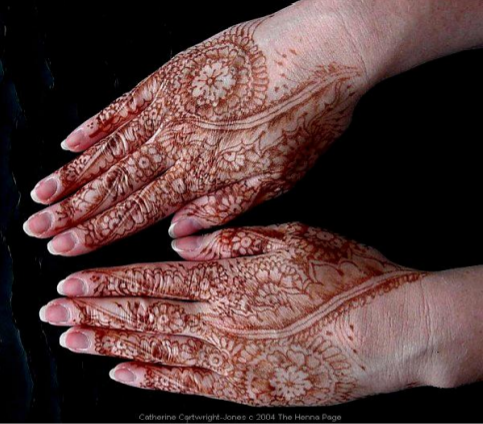
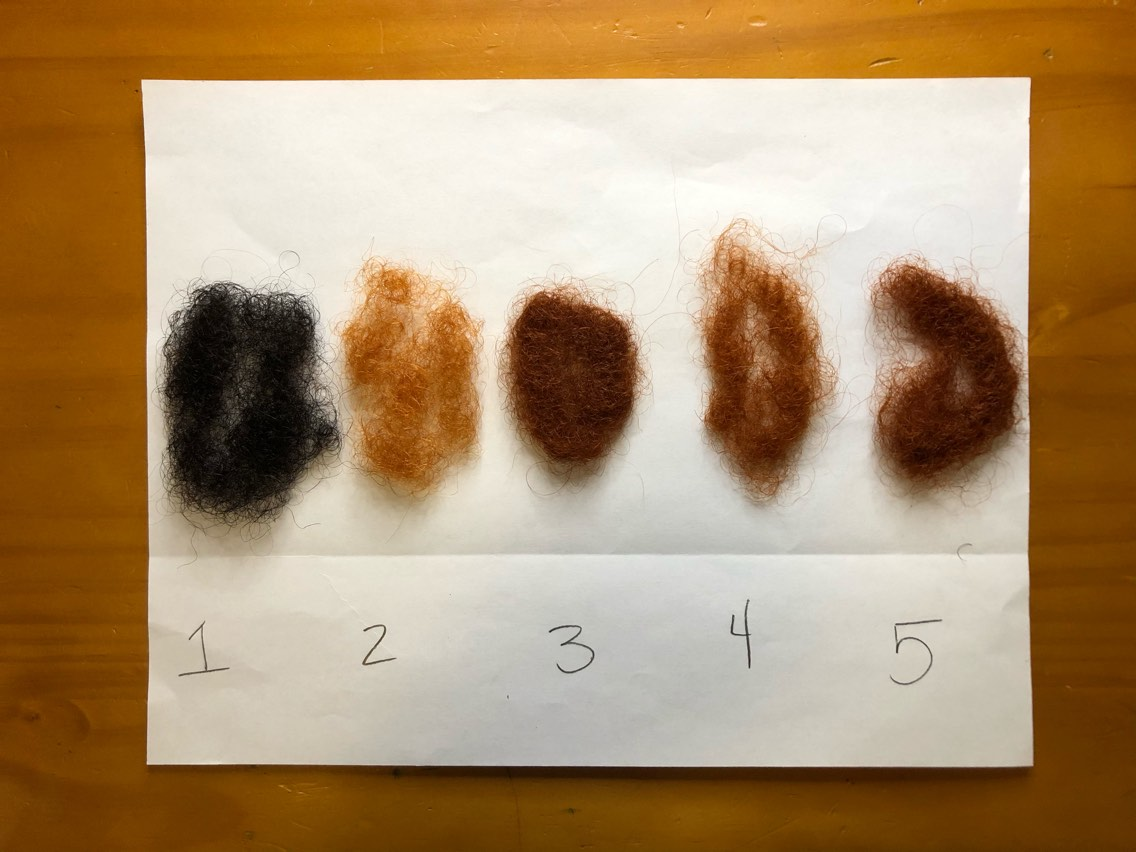
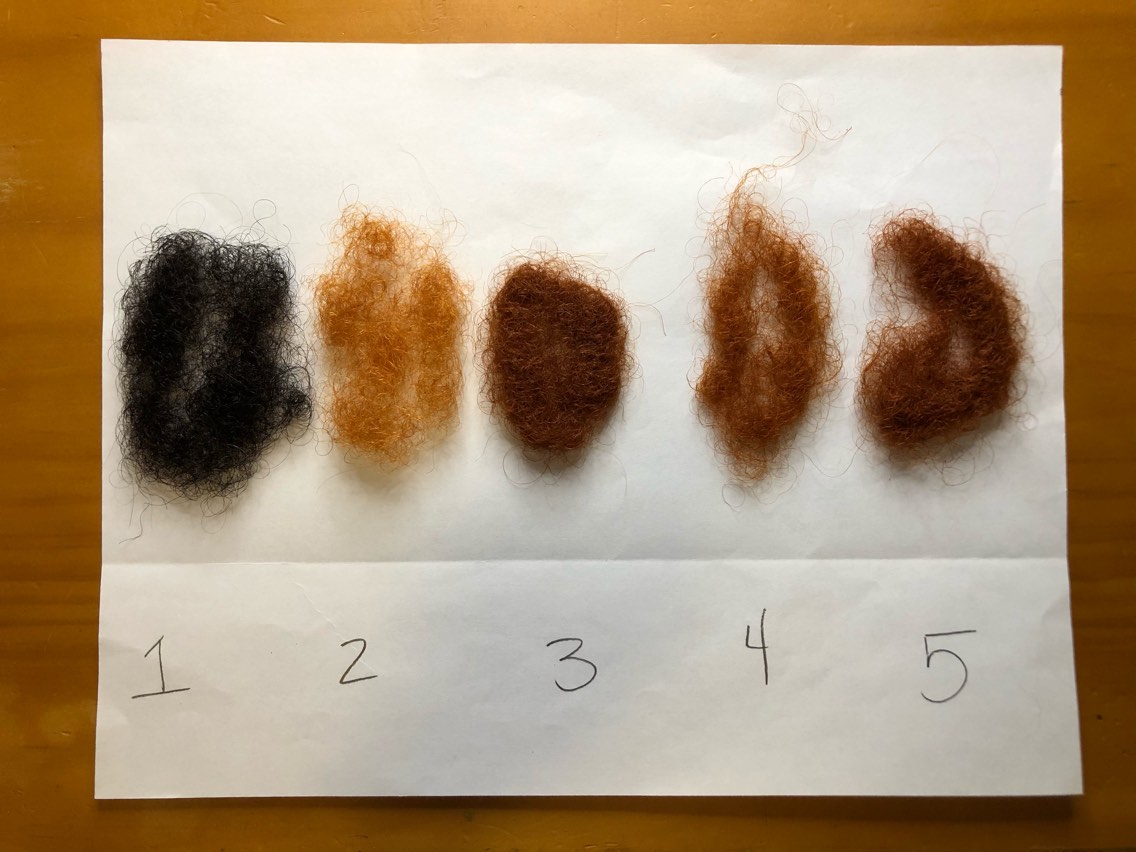
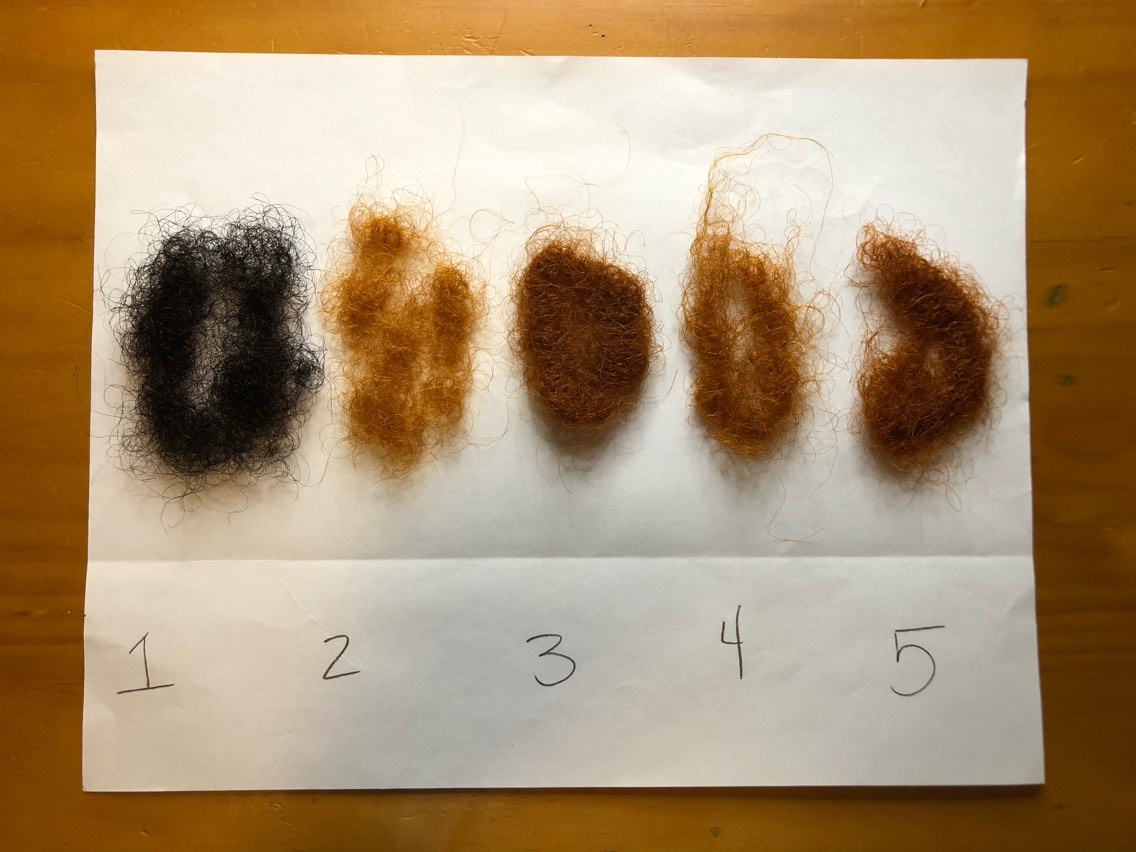
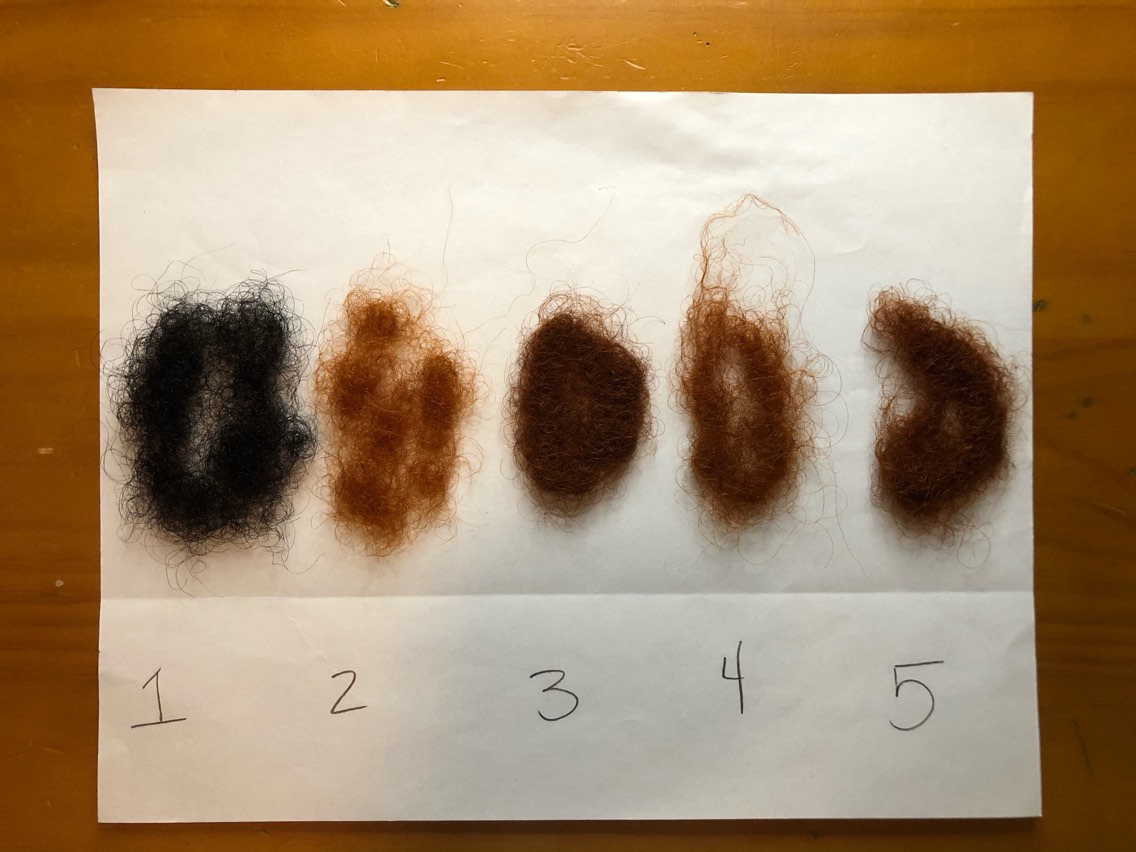
Our staff Cosmetologist incorporated the Cassia into my henna mix for the first time to dilute the paste’s stain. We were trying to avoid darkening the original color. The cassia diluted the mix enough to safely apply over ten years of henna and indigo applications.
See this previous blog for the full story and tips for maintaining graying brown hair with henna and indigo.
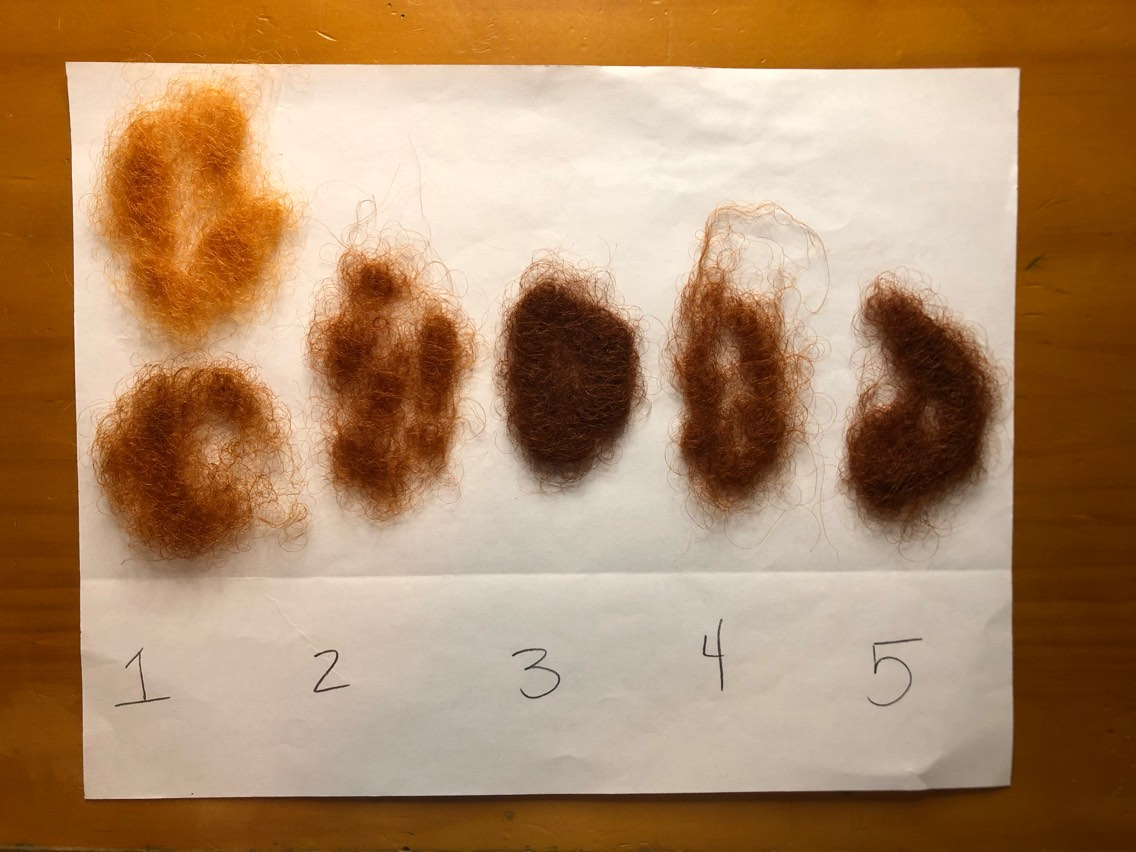
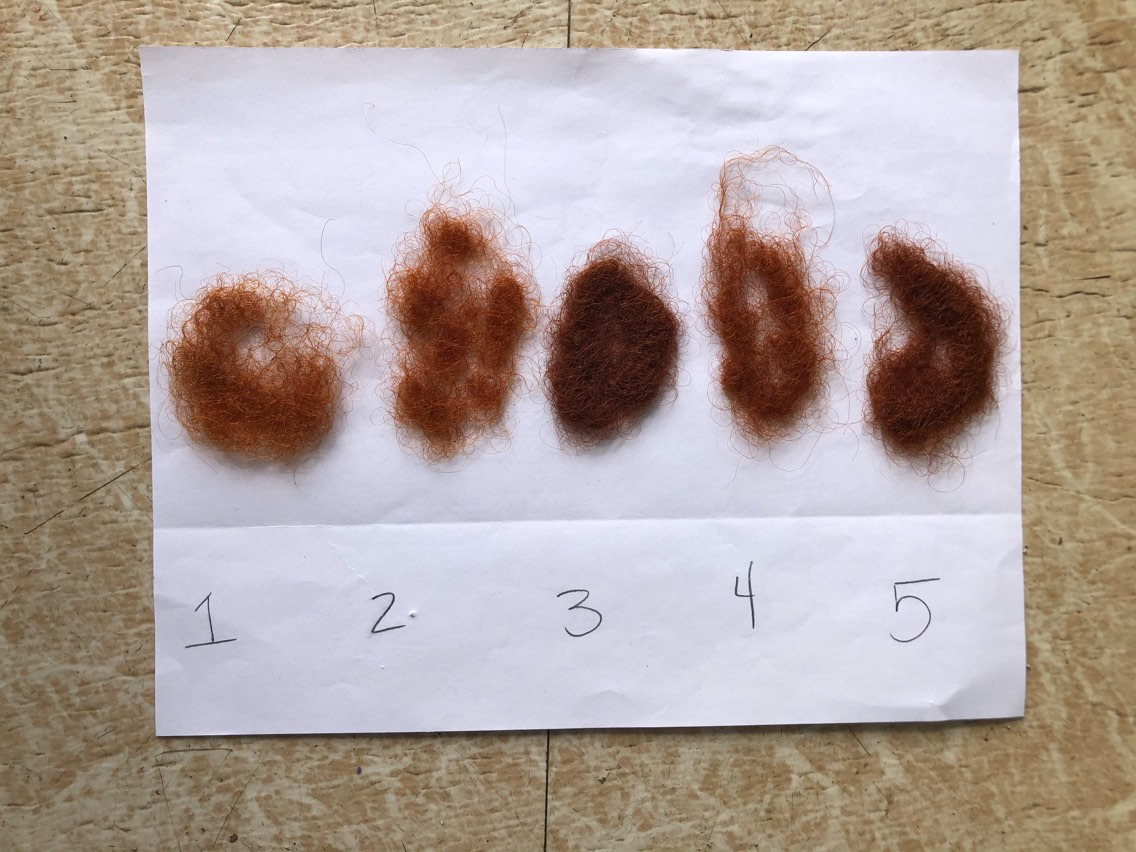
Adding the cassia to my henna mix gave my ten year hennaed hair more shine and brightness. It also conditioned my hair and gave me lots of volume. It even tamed those pesky grays at the temples, smoothing out the frizz!
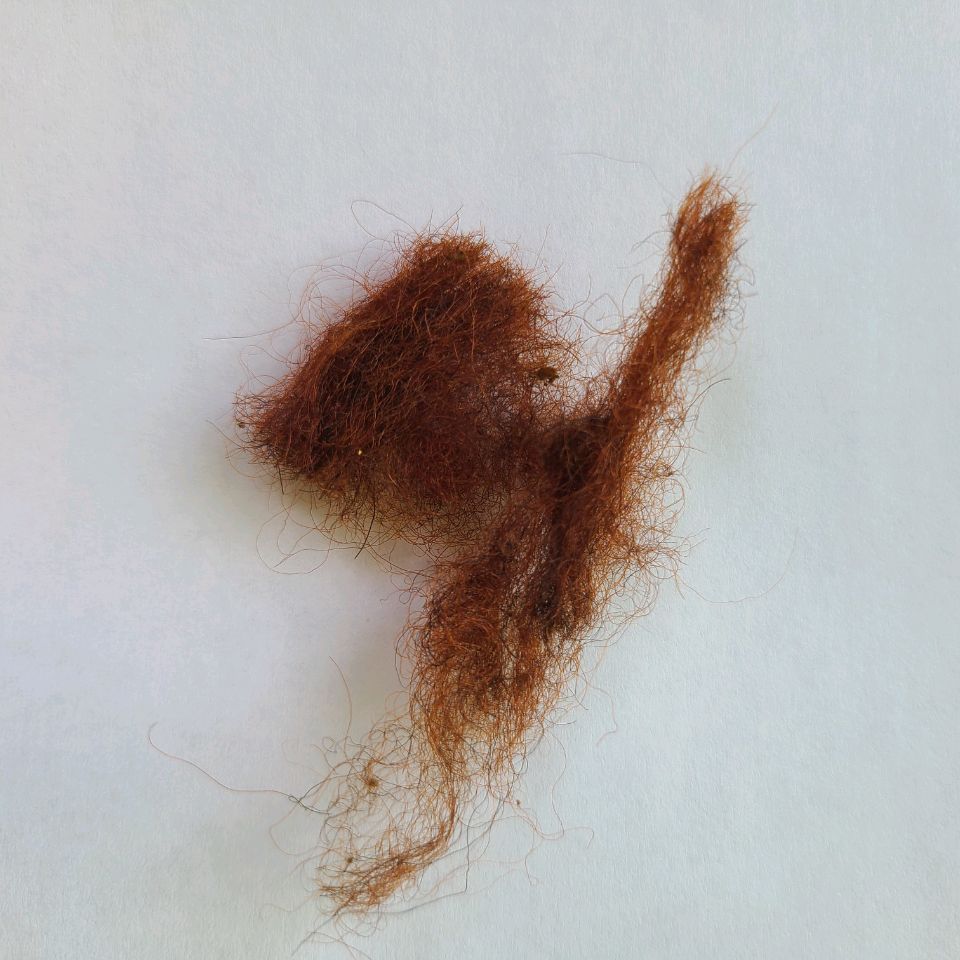
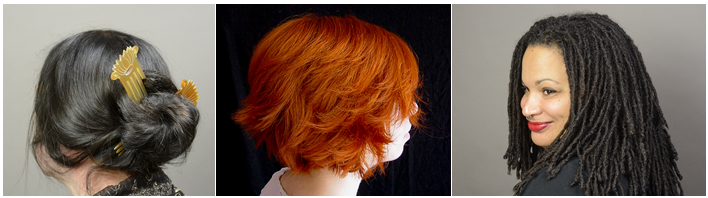
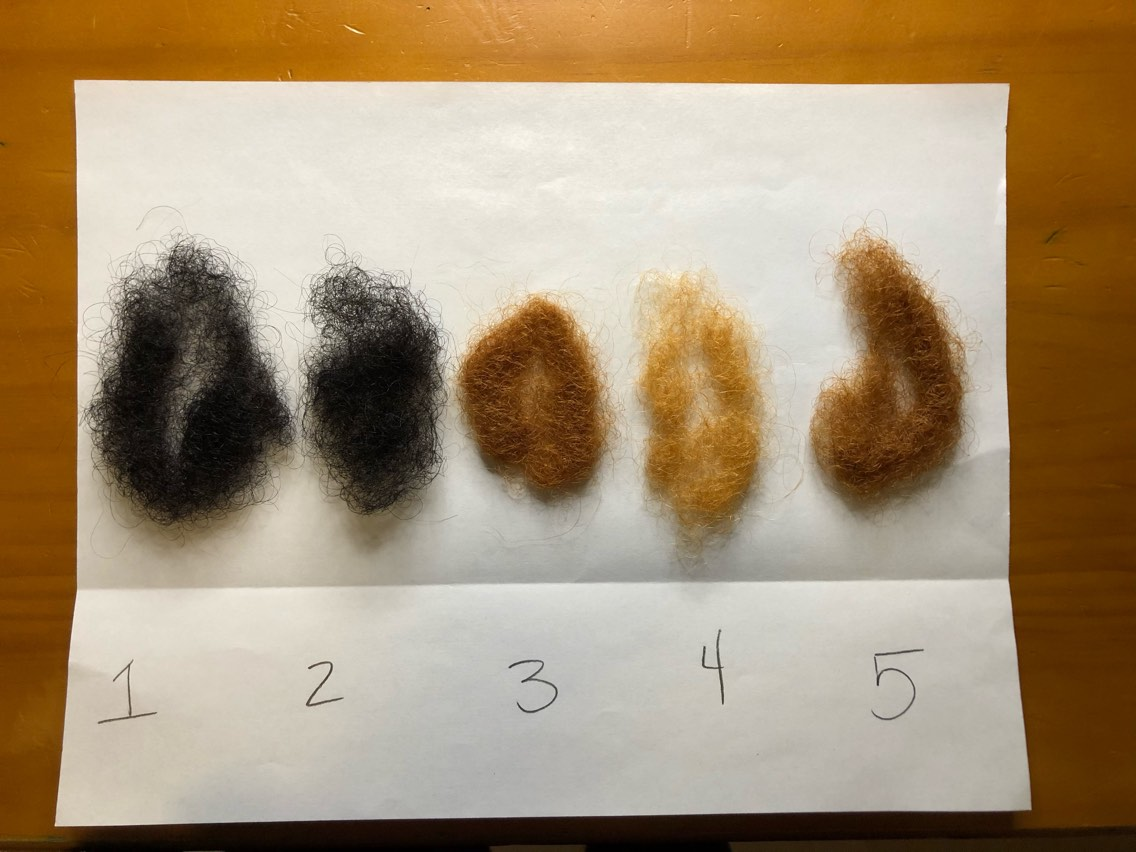
Henna also conditions the hair but adding the cassia takes it up a notch. My hennaed hair is primarily gray now and has gone from poker straight to having a nice wave. The cassia lifts and defines curls and enhances wavy hair.
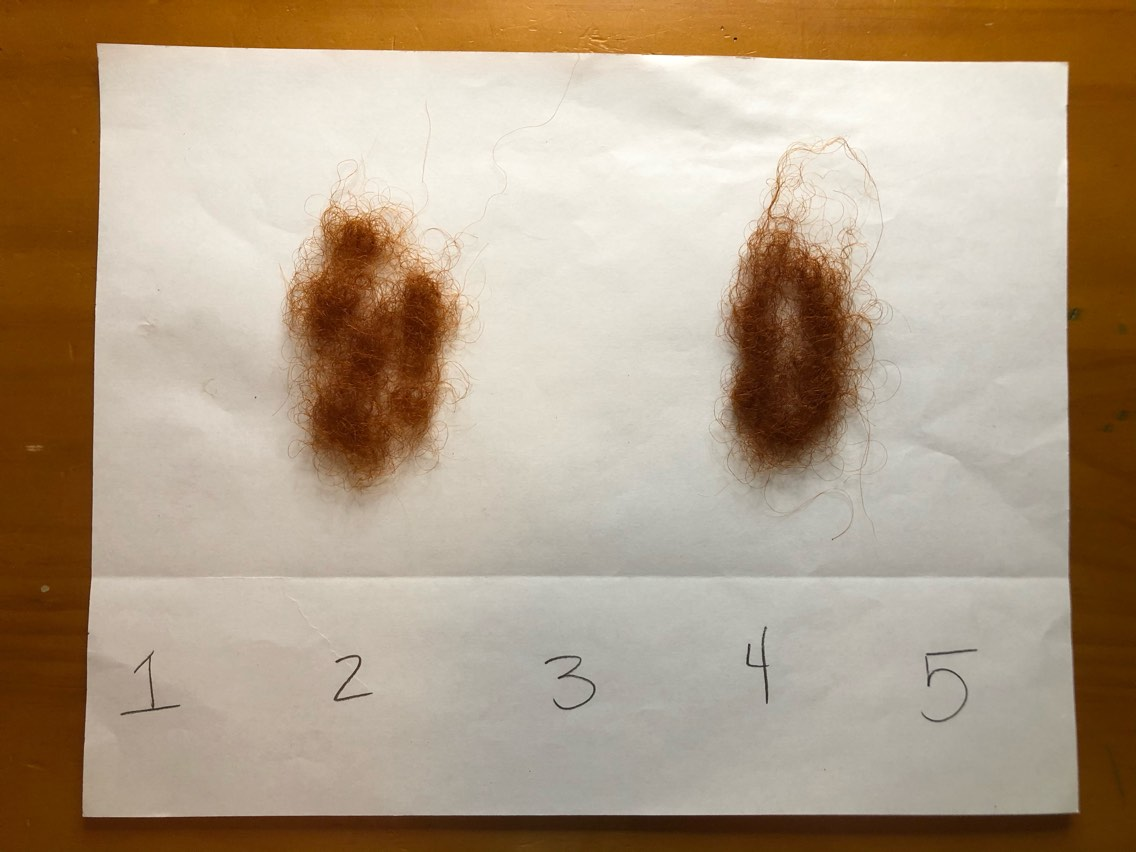
I applied heat to create a beachy wave after using cassia and the results were great. The waves lasted for three days with a little touch up! The waves fell naturally with minimal styling effort.
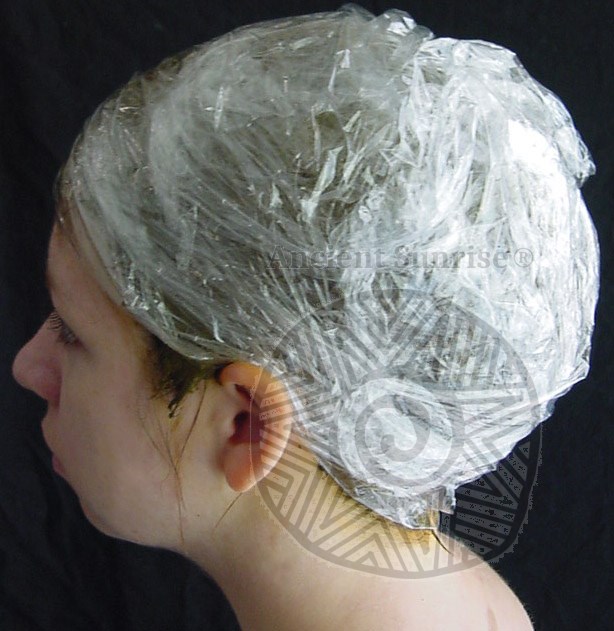
The treatment can be applied all over your hair to condition. 4c natural hair types can use the baggie method if the conditioning is only needed on dry ends, too. It’s a great, natural, home conditioning treatment. Damaris and I are working on a blog to show you how to use the baggie method. Check back soon or add us to your RSS feed so you’re notified when it’s live.

Cassia Benefits for Hair
- Conditioning. Cassia makes dry hair soft and manageable. You can use it all over or as a spot treatment for dry ends.
- Volumizing.
- Lifts and defines curls and waves.
- Helps hold hair style for up to 3 days.
- Adding Cassia into your henna mix makes it a two in one conditioning mask and all-natural hair dye application.
Closing Thoughts
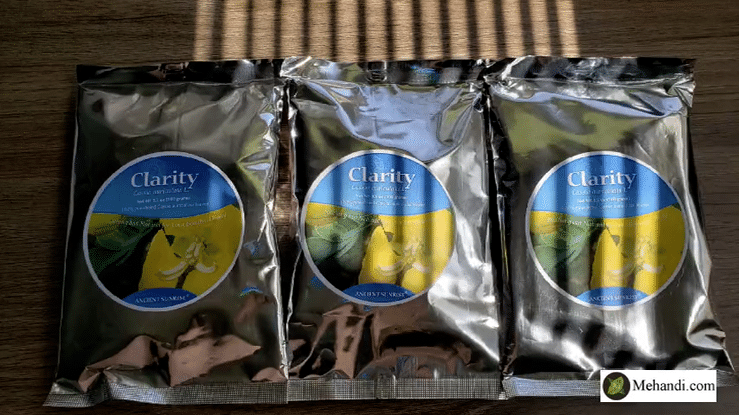
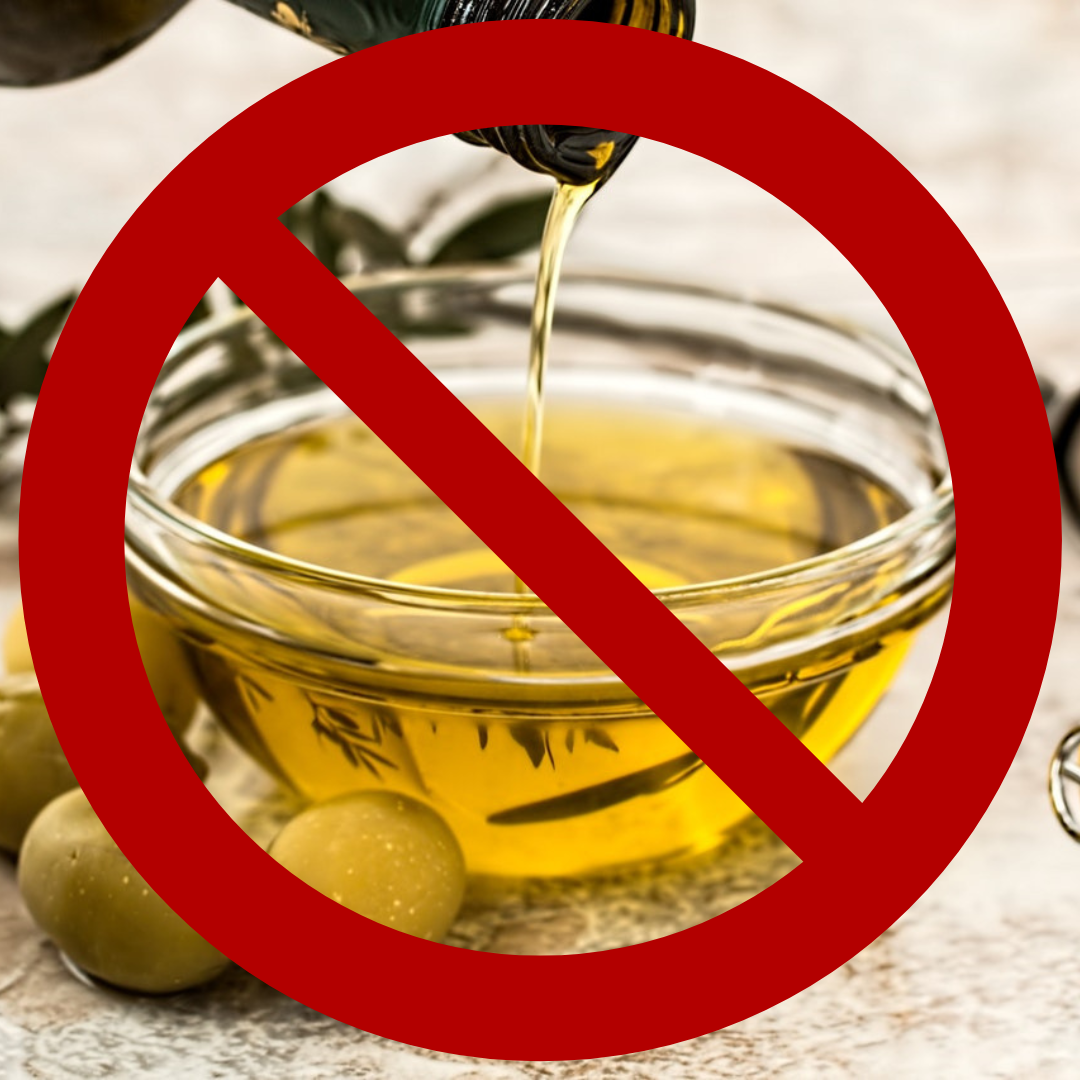
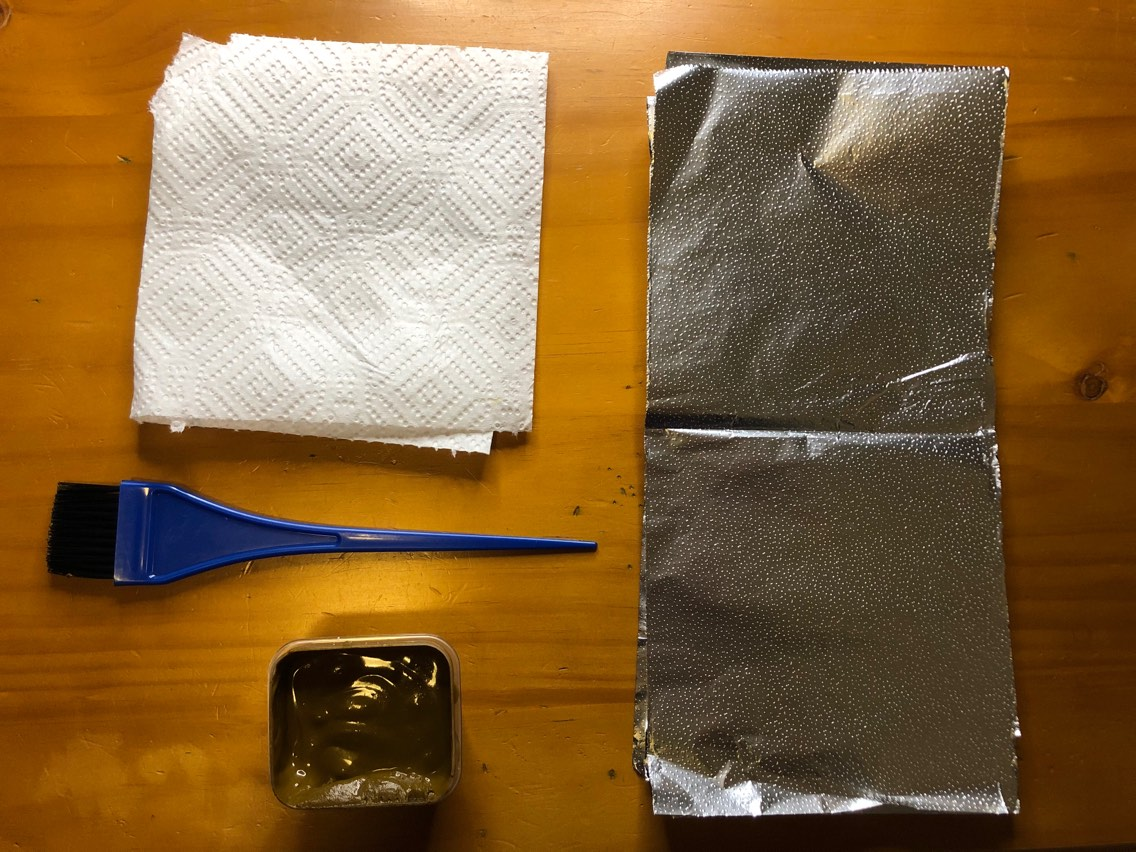
Our Clarity Cassia is a pure, organic, fine sift, all natural, plant based hair conditioner. It can be used on all hair types including natural hair, 4c natural hair and chemically treated or damaged hair. Remember to clarify your hair before the application. You can do it the day of or the day before, and Rainwash works great for this. For best results, cassia needs to be dye released 8 -12 hours before application. Instructions here.

Cassia will not change the color of your hair unless other plant powders are added to the mix. Cassia is used in the Ancient Sunrise kits that allow you to achieve golden blondes, bright reds, and medium blonde shades. Our Blonde, Fire, Sunshine, and Chai hair kits contain cassia and other plant powders. (Psst! You can save 10% on all of our cassia products until 4/15/23.)

Contact our customer service team at 1-855-634-2634 if you have any questions or need help placing your order.

 Michele • Ancient Sunrise® Inventory and SEO specialist
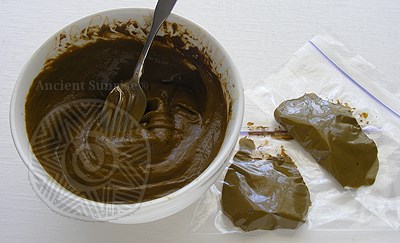


 Maria • Ancient Sunrise® Specialist • Licensed Cosmetologist
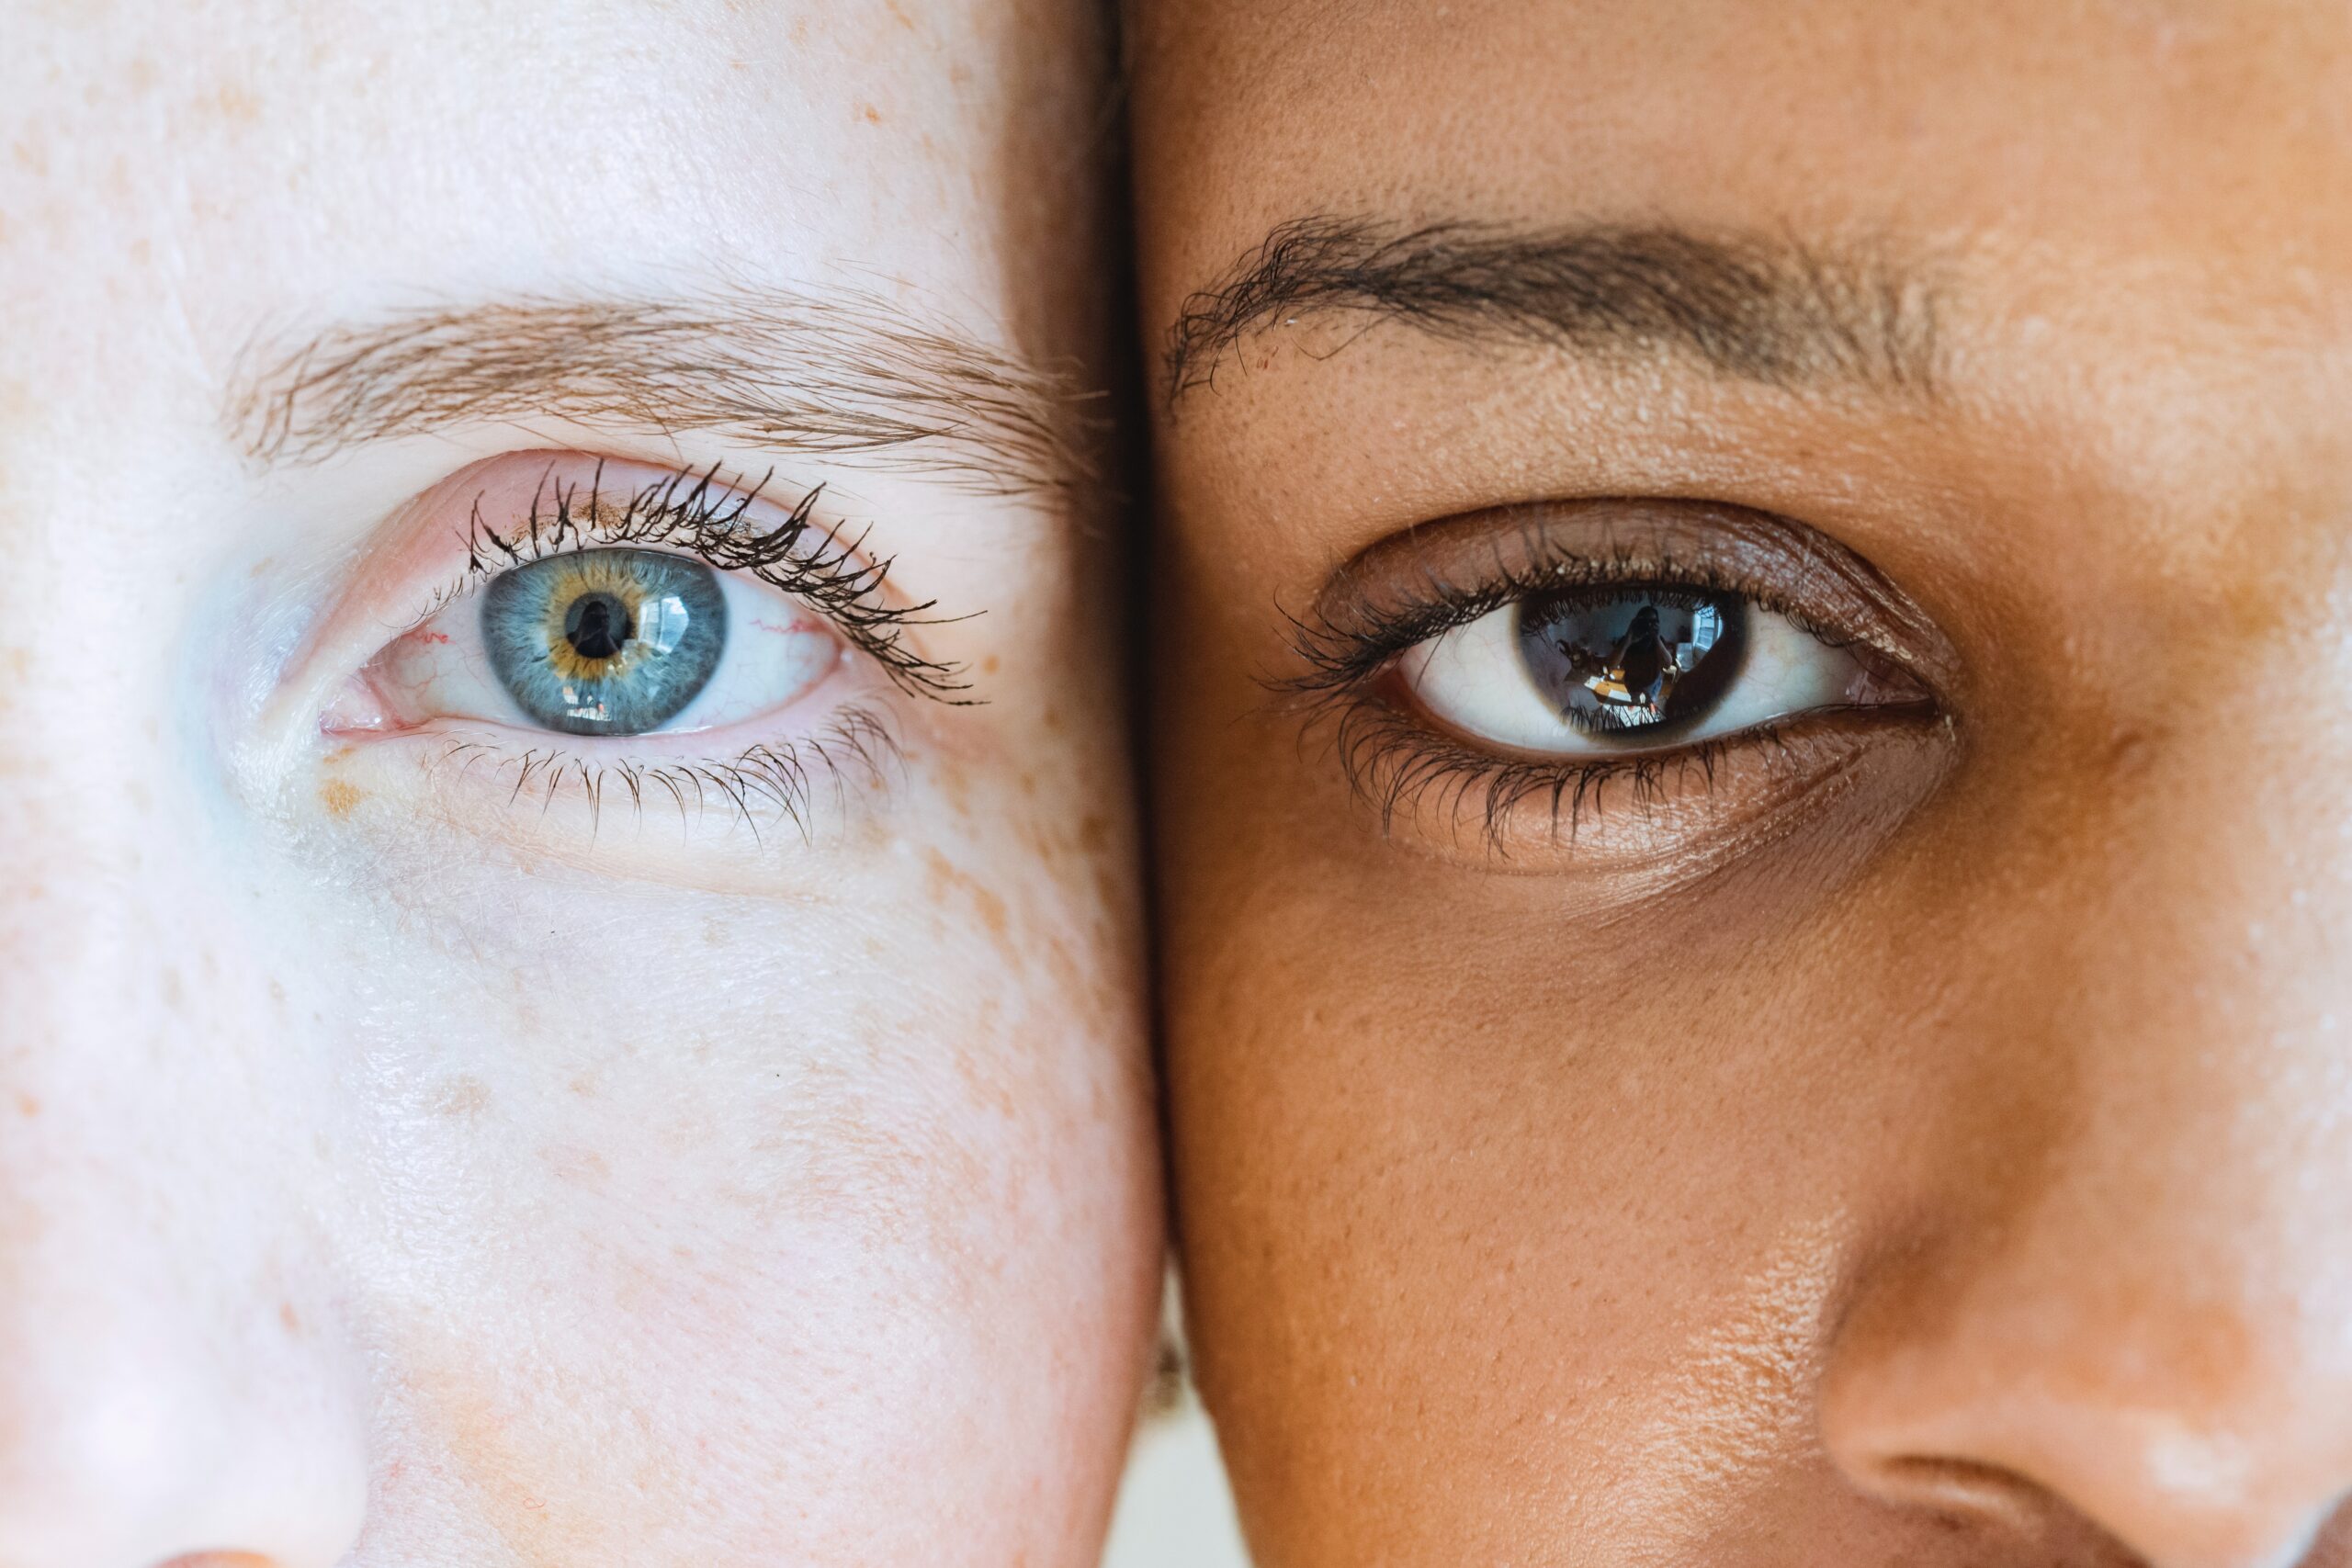


 Damaris • Licensed Cosmetologist • Ancient Sunrise Specialist