
After the first initial application(s) of henna, there is no need to continue dyeing the full length of your hair each time. Because henna stains hair permanently and does not fade, repeated applications will darken the color over time as henna saturates the hair more and more. If you are not concerned with the darkening, or intend to darken the color, you are welcome to continue applying henna to the full length of your hair until you achieve the desired effect instead of just dyeing roots. It should be noted that your root area will be lighter.
If you are not concerned with darkening, or intend to darken the color, you are welcome to continue applying henna to the full length of your hair until you achieve the desired effect. Repeated applications will not cause damage; in fact, additional henna will continue to strengthen and thicken the hair.
Because henna stains hair permanently and does not fade, repeated applications will darken the color over time as henna saturates the hair more and more. If you are not concerned with darkening, or intend to darken the color, you are welcome to continue applying henna to the full length of your hair until you achieve the desired effect. Repeated applications will not cause damage; in fact, additional henna will continue to strengthen and thicken the hair.
However, if you are pleased with the color and intend to keep it as it is, keeping to root-only applications is an effective way to maintain your result. This cuts back on time and the amount of product needed. The first section of this article will review how to apply henna to the roots.
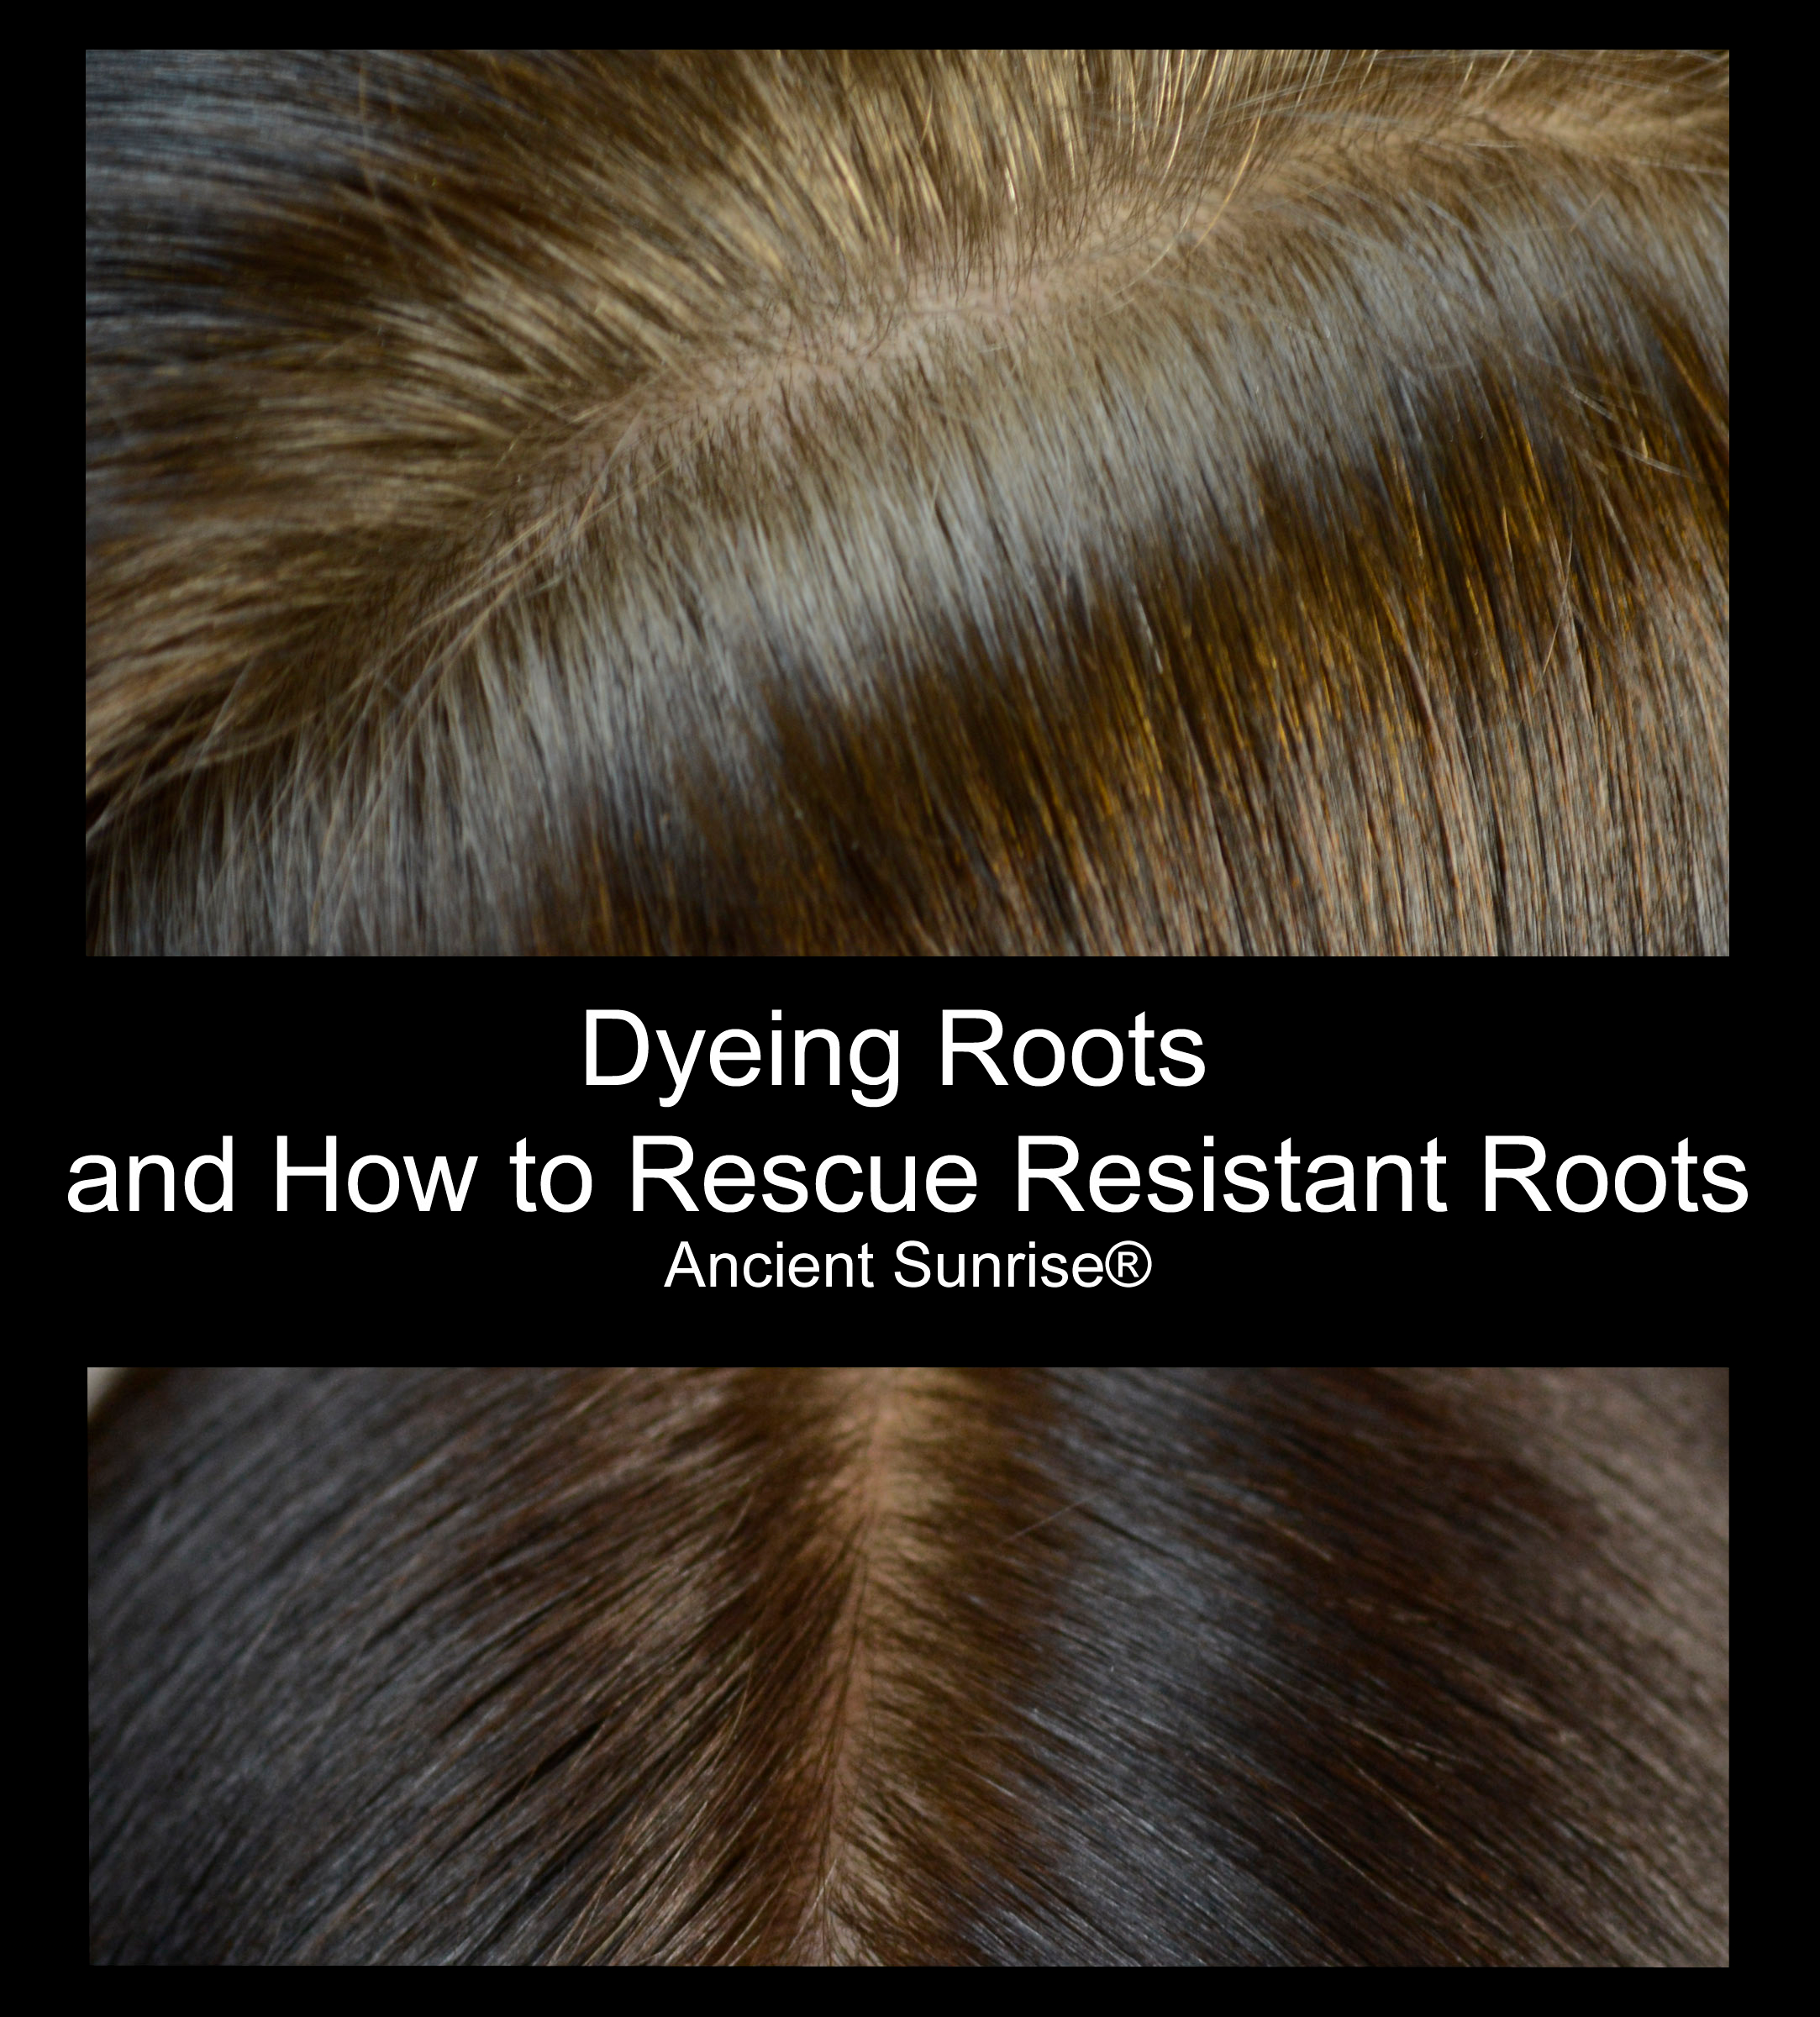
In some cases, henna users report their their henna or henna/indigo mix did not dye their roots sufficiently, leaving grays lighter, or a line of demarcation. The second section of this article explores potential reasons for roots and gray hairs appearing lighter than desired after a root touch-up.
How to Apply Henna to New Root Growth
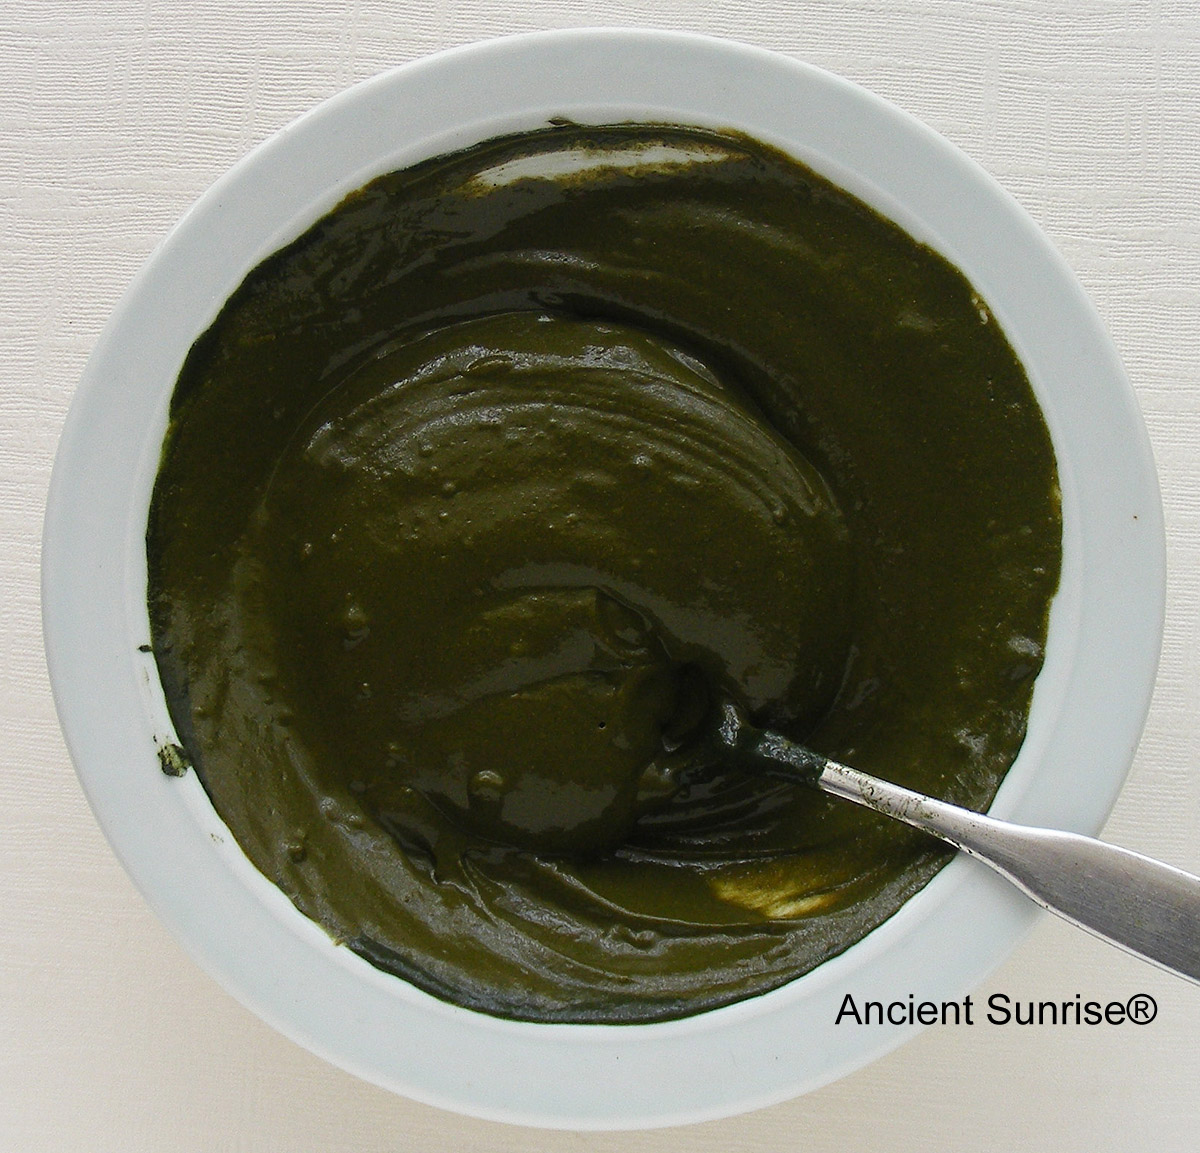
Mixing for root applications is simple enough: Mix a smaller amount, keeping to the same proportions as a full head recipe. Most need anywhere between 30g-100g of powder for root touch-ups, depending on the length of your roots, the thickness of your hair, and the precision of your application. If you have a complex mix and need help converting it into a smaller quantity, feel free to contact the customer service representatives at www.mehandi.com.
Each henna user has a preferred method for root application. The carrot bag that is included in all Ancient Sunrise® Henna for Hair kits is useful for storing leftover paste in the freezer for future use on roots.
Note: Only henna and cassia mixes should be frozen. Indigo dye demises at freezing temperatures.
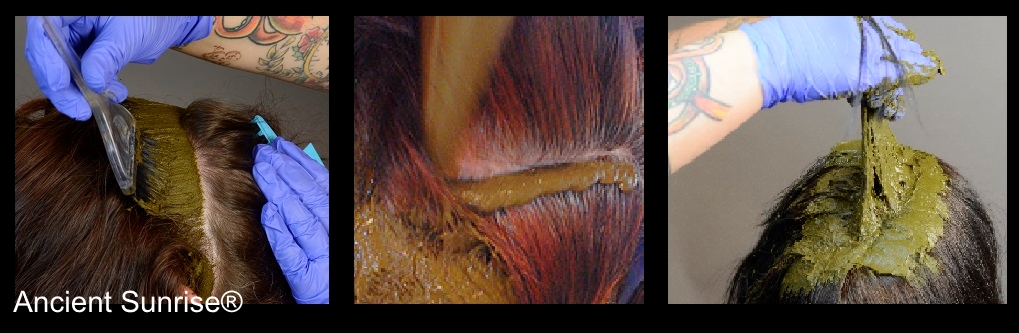
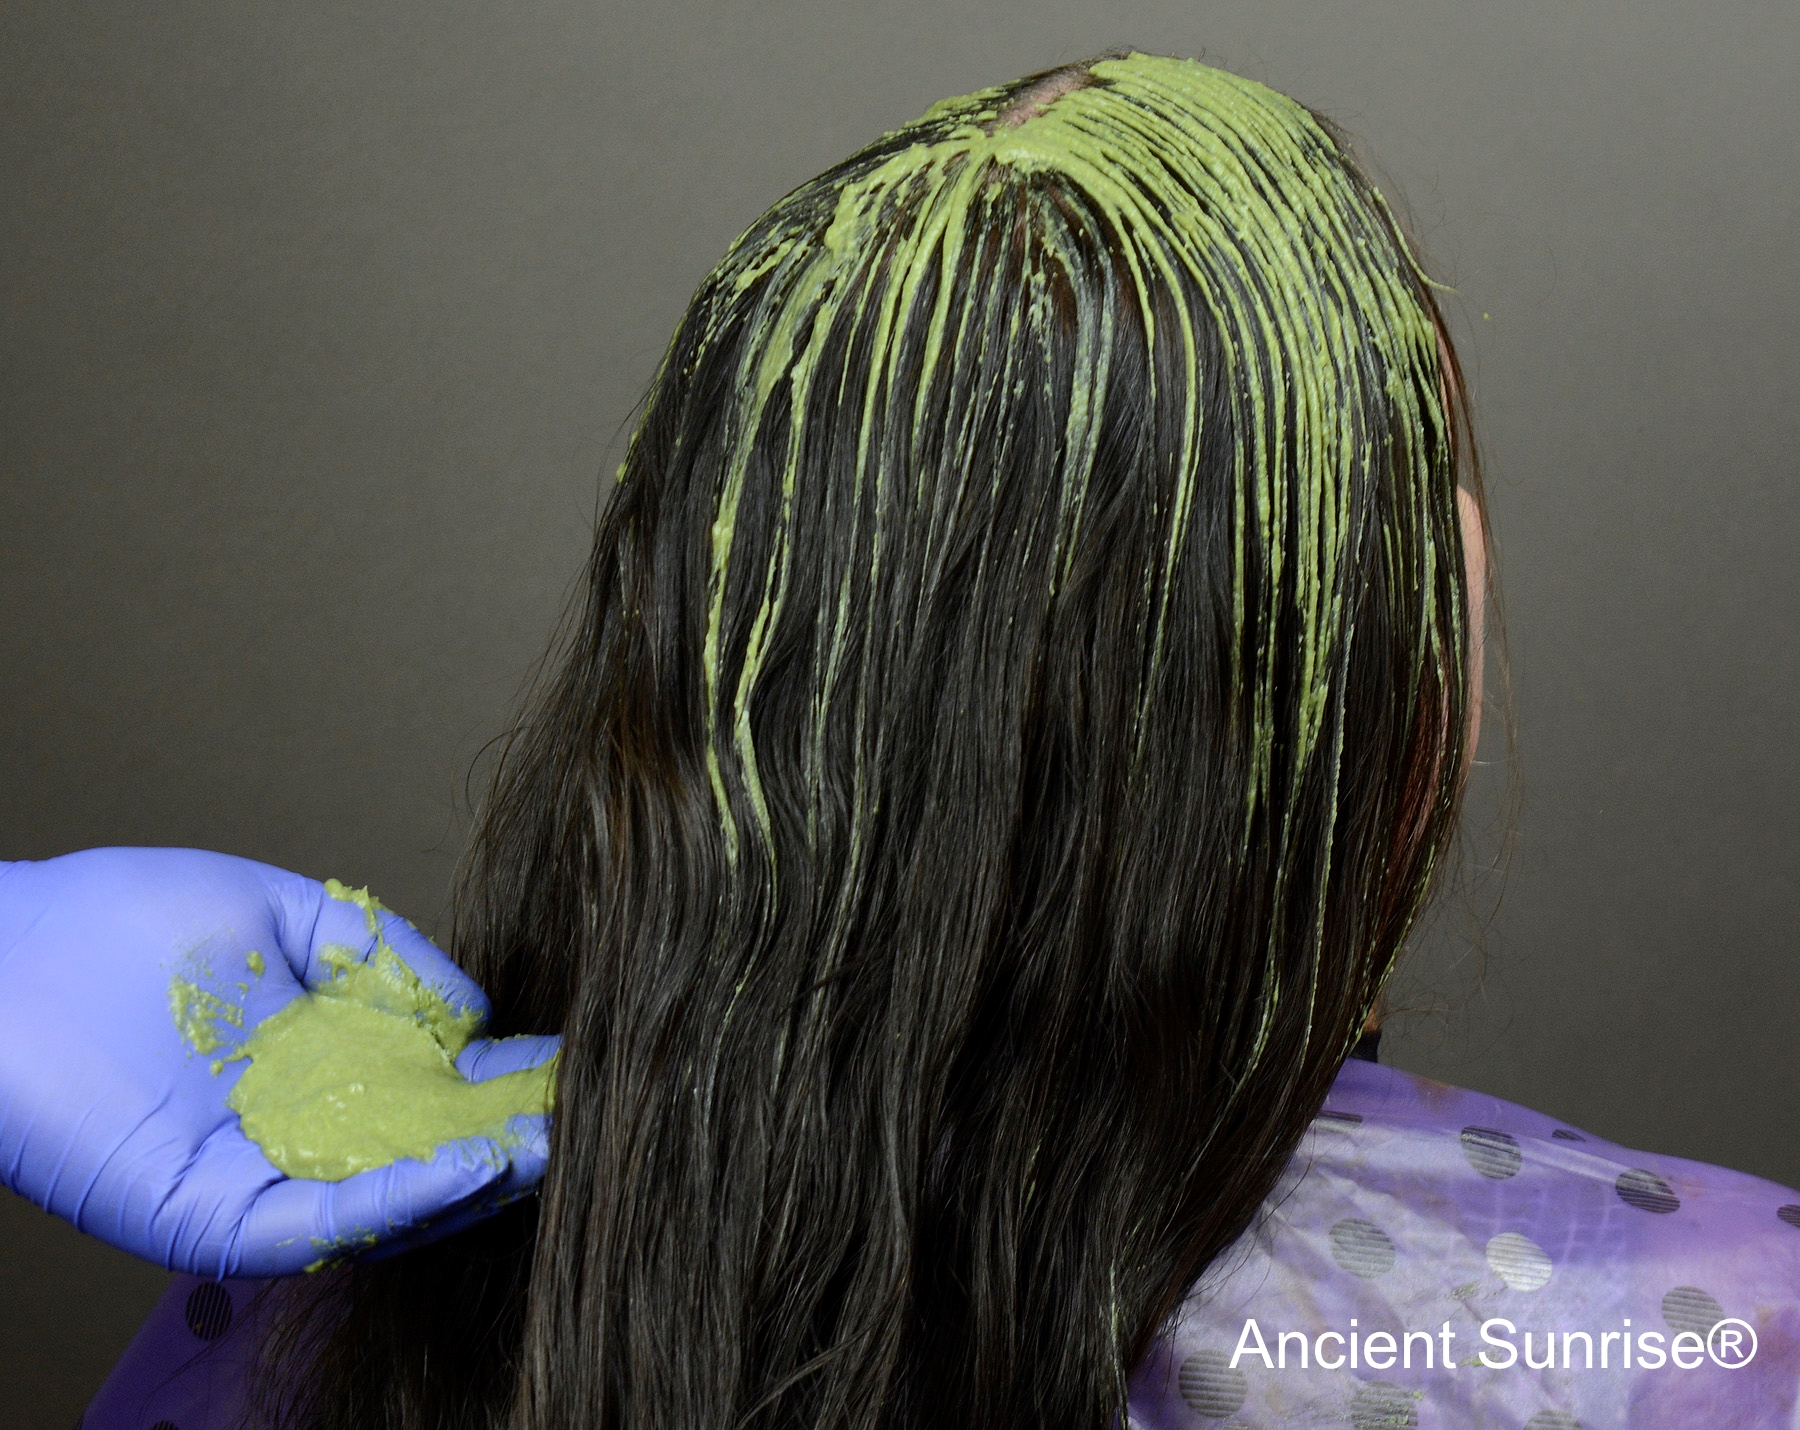
To use a carrot bag, simply fill the bag and tape or tie the end shut, snip the tip open, and squeeze the bag to apply the paste like frosting along your roots, using a gloved hand to push the paste into the hair and against the scalp. Others prefer to use a dye applicator bottle or condiment bottle with a pointed tip. This will work similarly to the carrot bag, and may be easier for some to grip and control. Another technique is to use a tinting brush, dipping it into a bowl of prepared paste.
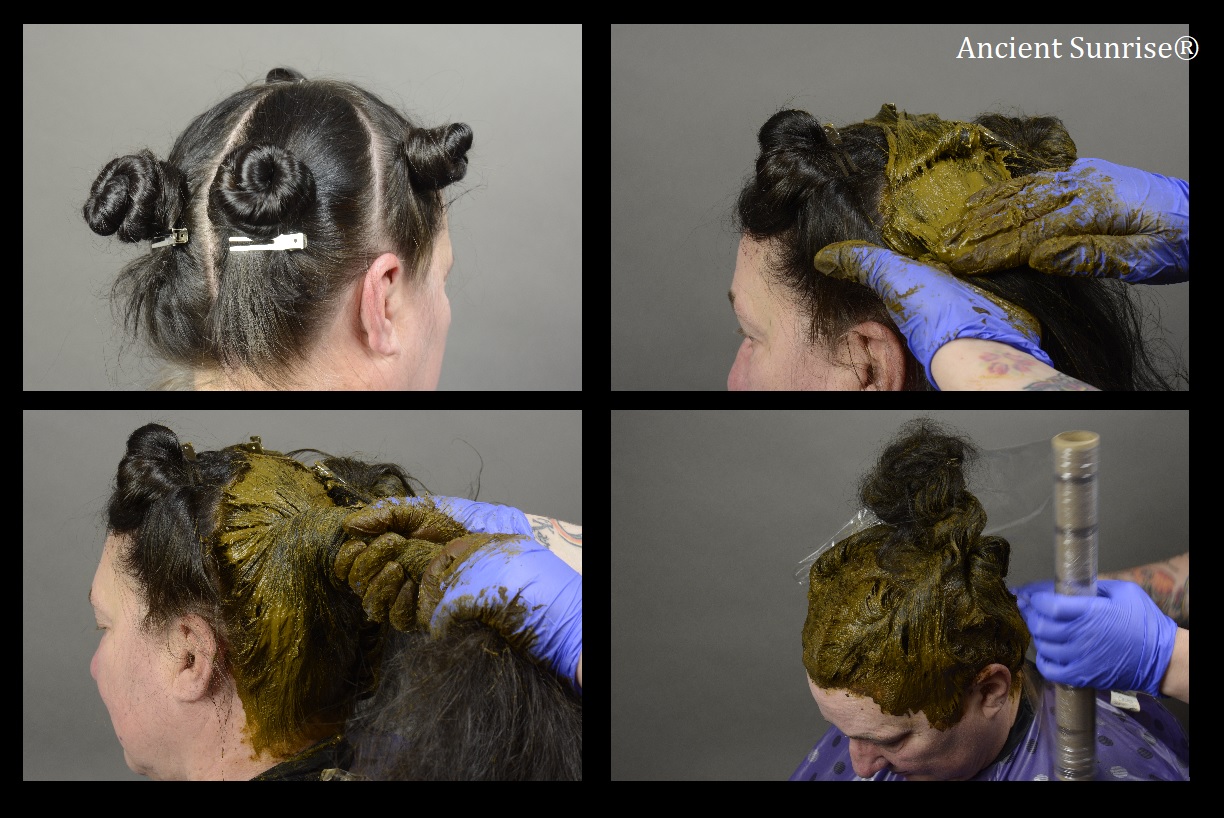
Using whatever tools you prefer, or gloved hands, apply the paste in sections, using the handle of a rattail comb to create a part a ¼ inch to the side of the area that has been hennaed, flipping the section over, and applying henna to the roots of the new section. Repeat until all roots are covered, wrap with plastic, and process for the same amount of time as a full-head application. A friend or a hand-held mirror may be helpful for applying to the back of your head.
Click here to watch a full-length demonstration by one of our Customer Service Representatives and licensed cosmetologist, Maria, applying henna to her mother’s roots.
Troubleshooting
Sometimes, customers report that their root application results are lighter than the rest of their hair, or even that some gray or white hairs were not fully covered, leaving a noticeable difference between their roots and the length of their hair. In the case of a henna/indigo mixture for brunette results, some may see that the henna has effectively stained the hair a copper color, but the indigo did not bind effectively, leaving the roots brighter and warmer than desired. There are several reasons for this happening, all of which are simple to fix or prevent.
Sebum and oils
The scalp continually produces sebum which serves to coat and protect the scalp and hair with a thin, waterproof layer. Some people naturally produce more sebum than others. The buildup of sebum will be highest closest to the scalp, then it spreads down the hair shaft. Indigo is particularly picky about the hair that it binds to. Any oils will cause the indigo to bind weakly, or not at all.
To ensure effective dye uptake, wash your hair very well with a strong detergent shampoo, taking extra care to lather and scrub at the scalp, and skip the conditioner. Do this just prior to applying henna. In the case of very resistant roots, washing the scalp with a small amount of dish detergent helps to strip oils and temporarily increase hair porosity for better results.
Mineral Buildup
The mineral content of tap water varies greatly from region to region. Hard water makes itself evident in the appearance of white residue on faucets, shower heads, and teapots. If you have hard water, you may be able to notice a metallic or sulfur smell when turning on the tap. Well water is more likely to contain a higher concentration of minerals. When you wash your hair, these minerals slowly collect onto the hair, causing a dry, brittle feeling and dulled color. The buildup of minerals blocks henna’s lawsone molecules from effectively entering and binding to the hair.
Ancient Sunrise® Rainwash mineral clarifying treatment removes minerals from the hair, leaving it brighter, softer, and easier to dye. It is a powder mixture of citric acid, ascorbic acid, and xanthan gum. Use it as a clarifying treatment prior to henna application, and periodically to keep hair bright, soft, and free of minerals.
Mix Ancient Sunrise® Rainwash with a small amount of distilled water and stir until you achieve a clear, gel consistency, similar to hair gel. Apply Ancient Sunrise® Rainwash evenly throughout the hair from root to end, and wrap with plastic. You may notice a metallic or sulfur smell while the product is in your hair. This is a sign that the Rainwash is working! It is dissolving the minerals out of your hair. For a first-time use, or for those with hard water, leave the mixture in the hair for 30-40 minutes. For periodic use (once every 1-2 weeks), leave it in for 10-15 minutes. Rinse out the product with warm water and a small amount of shampoo to ensure that the minerals are fully washed away.

It is also important to make sure that the henna mixture itself does not contain unnecessary minerals. If you mix your henna with a fruit acid powder and water, or use water to dilute another acidic liquid, be sure to use distilled water. This will ensure that there are no minerals in your paste which might inhibit dye uptake.
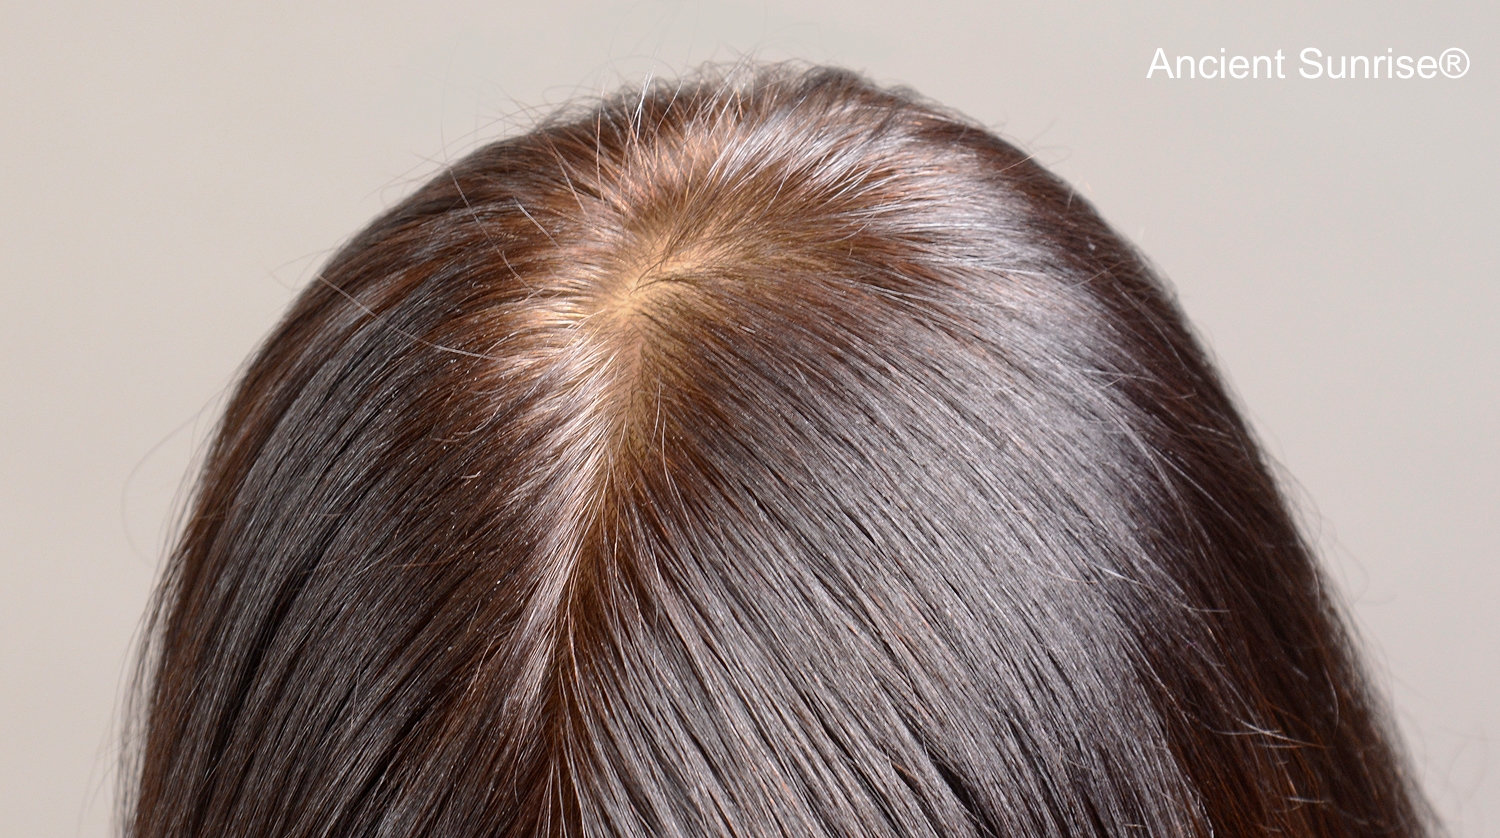
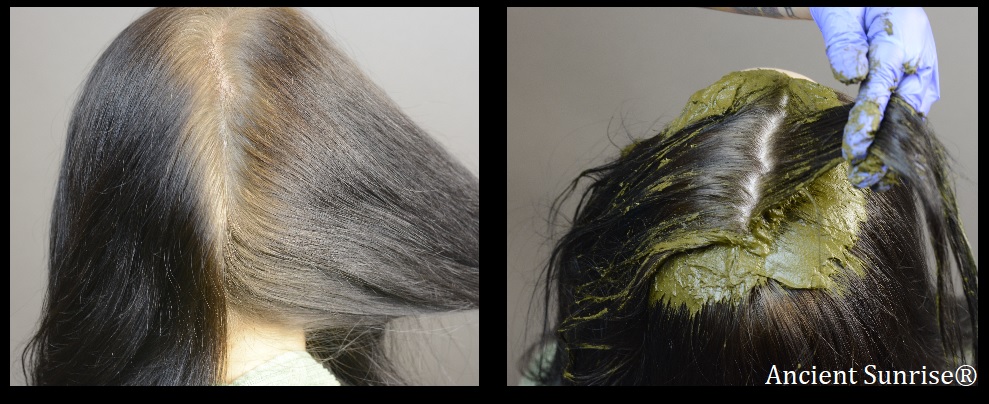
Virgin Hair and Resistant Grays
The hair is healthiest at the roots, because it has not yet had time to incur damage. The cuticle lies flat and the surface is smooth, making dye uptake more difficult. Gray hair grows quickly, especially at the temples and the crown of the head. Because gray hair contains no melanin, it may require stronger, and longer dye applications, or more than one application to fully cover.
Washing the roots with a strong detergent such as dish liquid can help to temporarily dry out and “rough up” the cuticle so the roots can better absorb dye. If you use a henna/indigo mix, or a two-step process and see that the indigo isn’t binding effectively, add a small amount of table salt to your indigo when mixing it. One teaspoon of regular table salt per 100g of indigo is enough. Be sure not to use sea salt or Himalayan salt, as these contain additional minerals.
Be sure you are using the correct plant powders for resistant gray hair. Ancient Sunrise® Rajasthani Twilight Henna has a higher dye content for better saturation of color. Ancient Sunrise® Zekhara Indigo is finely sifted, and makes for better coverage and deeper brunettes.
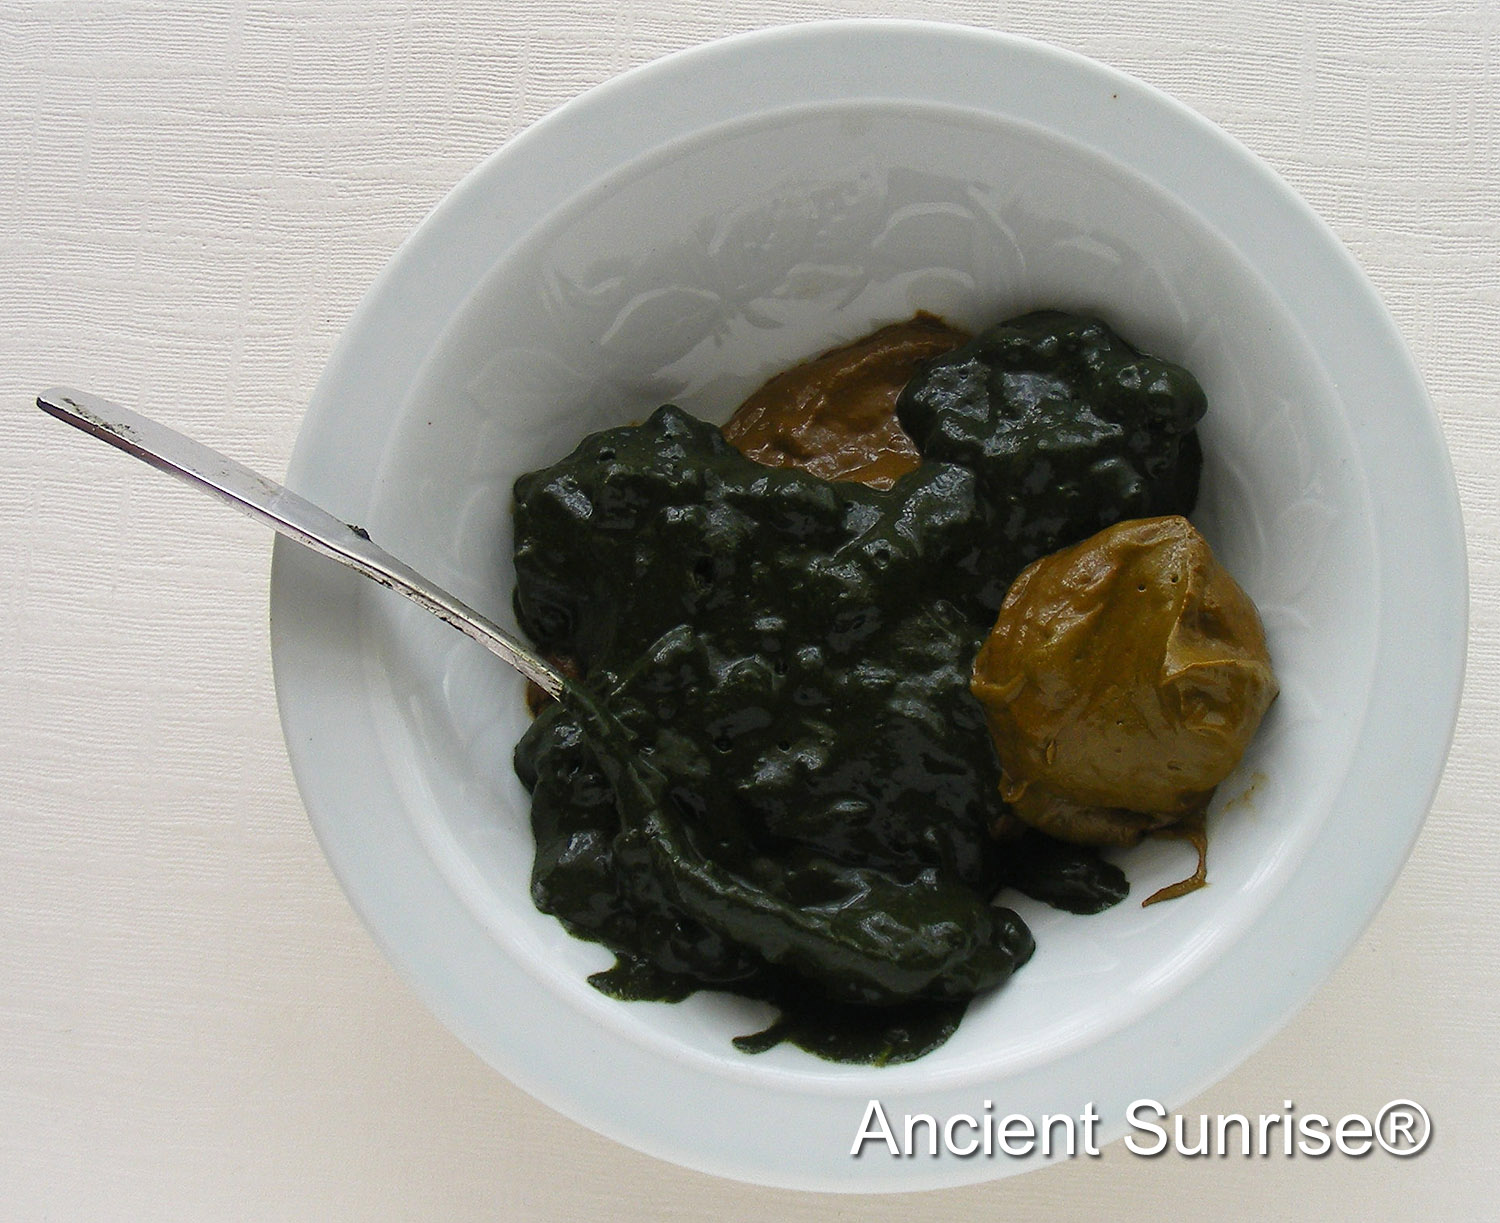
Indigo and Oxygen
The indoxyl molecule in freshly mixed indigo paste is picky. It prefers hair that is completely free of oil and mineral buildup. Indoxyls will quickly bind to oxygen in the air to form indigo, if it does not have hair to bind to. It is essential to use the indigo as quickly as possible once it is mixed with distilled water. If you tend to apply your paste slowly, or have a lot of hair, split your prepared henna paste into portions, and mix only enough indigo for each portion. Mix new indigo only after you have used up each portion.
Once the paste is applied, wrap your hair well with plastic. Because the temples and front of the hair line are most often the problem areas for coverage, it is helpful to apply an extra layer of paste to these areas before wrapping, and then using a gentle medical tape to seal the plastic down around your forehead and side burns to prevent exposure to air.
Orange Roots
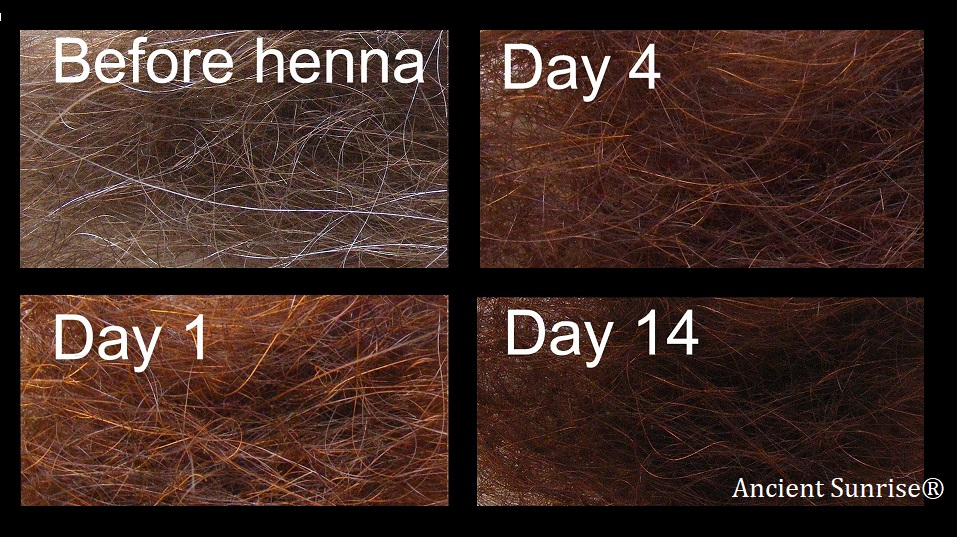
You may know by now that henna goes through a period of oxidation during the first week after application. When using a mix that is all or mostly henna, it is perfectly normal for the color to appear too bright for the first few days. Indigo also undergoes a period of oxidation, sometimes even appearing to have a greenish hue, before settling along with the henna to the desired shade.
If your roots are consistently too bright, and remain that way after a week, consider switching your fruit acid, or adding more indigo. Fruit acids like Ancient Sunrise® Amla and Ancient Sunrise® Nightfall Rose fruit acid powders help to lessen the brighter, brassier tones by muting and cooling them. Ancient Sunrise® Malluma Kristalovino fruit acid powder pushes the henna color down a few shades, making for deeper auburns and brunettes.
If you wish to try adding more indigo to your future mixes, increase the amount by just a spoonful or two at a time, until you achieve the color you desire. Adding too much indigo too quickly can cause the hair to go darker than you may like.
Final Tips
Heat Helps
Processing with heat will help for a strong bond between dye molecules and hair. Sit outside on a warm day, cover your head with a warm cap, or periodically aim a blow dryer at your wrapped hair for a few minutes at a time. If you have access to a bonnet dryer, sitting under the dryer will cut processing time in about half.
Heat will also speed up oxidation and darken the color once you have rinsed the paste from your hair. Gentle heat will work more slowly, whereas a styling tool such as a straightener or curler will cause the color to deepen noticeably. A quick solution to darkening undesirably bright hair is to expose it to heat. Be aware that the darkening caused by heat is not reversible.

Add More Indigo
Indigo Gloss
An indigo gloss is when you mix indigo and cassia together to tone mixes that are not darken enough, are too bright, or too orange/red. You read in more details about toning mixes in these blogs: Toning Henna – Part 1 and Toning Henna – Part 2.
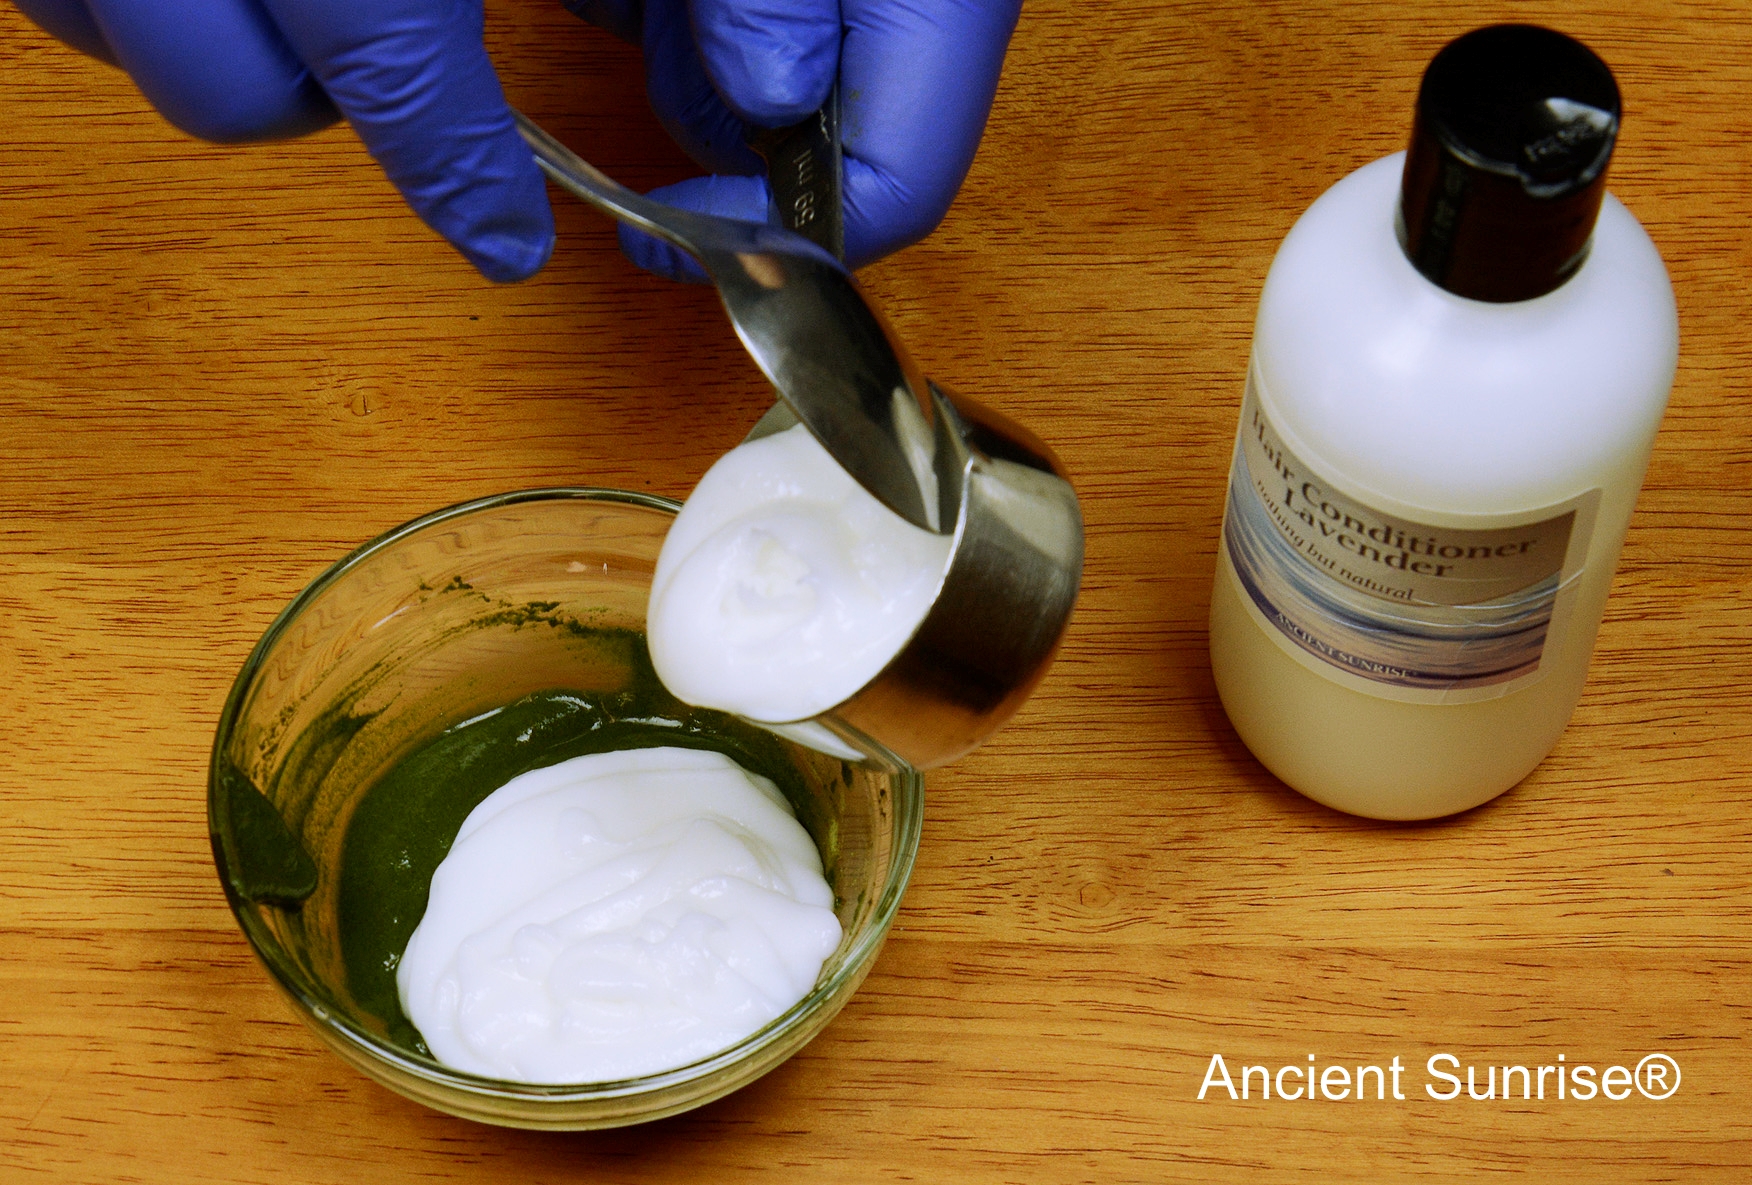
Conditioner and Indigo
While some folks prefer to use conditioner mixed with indigo, we’ve found that this is not very effective. Most customers who have attempted this have seen little to no change. Any test that we’ve done has shown no changes.
Full Strength Indigo
To fix a more noticeable contrast, such as bright orange roots and deep brunette length, dab full-strength indigo paste (not mixed with conditioner) into the lighter areas, cover, and rinse after 10-15 minutes. Be sure that your hair is clean and free of oils before doing this. Do not leave indigo on for too long; indigo alone on recently hennaed hair will dye hair black, such as in the two-step method.
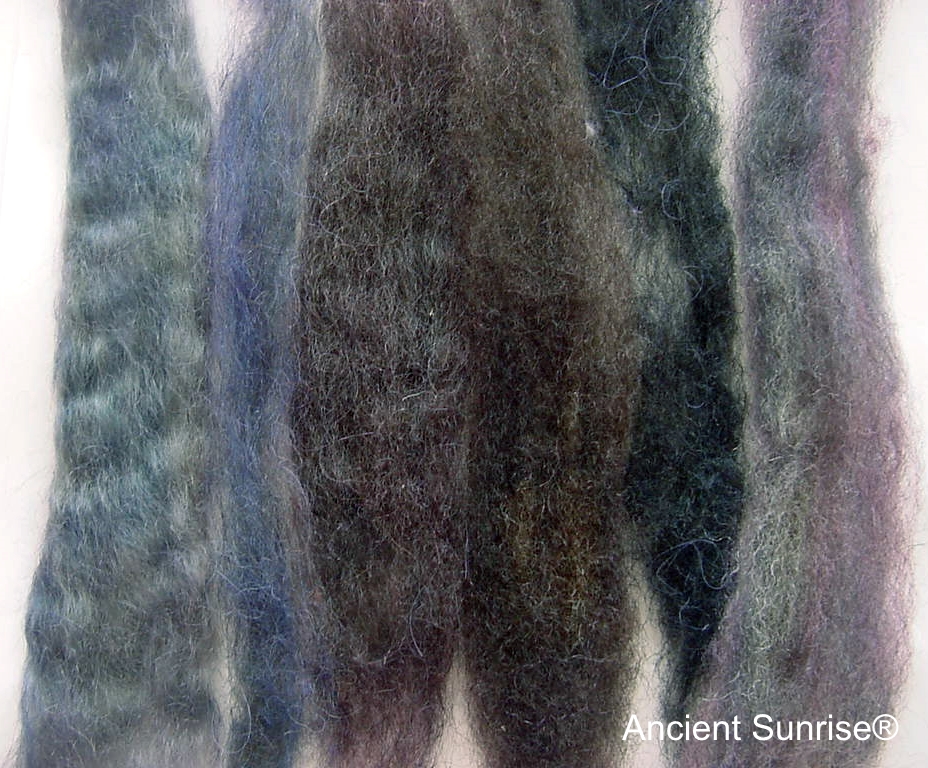
Do not apply indigo to hair that is still completely white, gray, or a pale yellow. If there are areas where henna did not stain the hair, reapply both henna and indigo. Indigo alone on light hair will result in green and blue tones. Keep in mind that unless the result of your root application is several shades lighter than the length, it is best to wait a week before attempting adjustments. Oftentimes the color will deepen and blend on its own during oxidation.
Reapply
If there is little to no color change after henna, and a stark contrast between new growth and length, feel free to reapply as soon as you’d like. There is no waiting time required between henna applications, and no harm in using henna frequently.
Feel free to contact the customer service representatives at www.mehandi.com if you have any additional questions of concerns. They are available via phone online chat, and email, and specialize in custom formulas and troubleshooting.
Author: Rebecca Chou August 2017
Edited: Maria Moore August 2022