
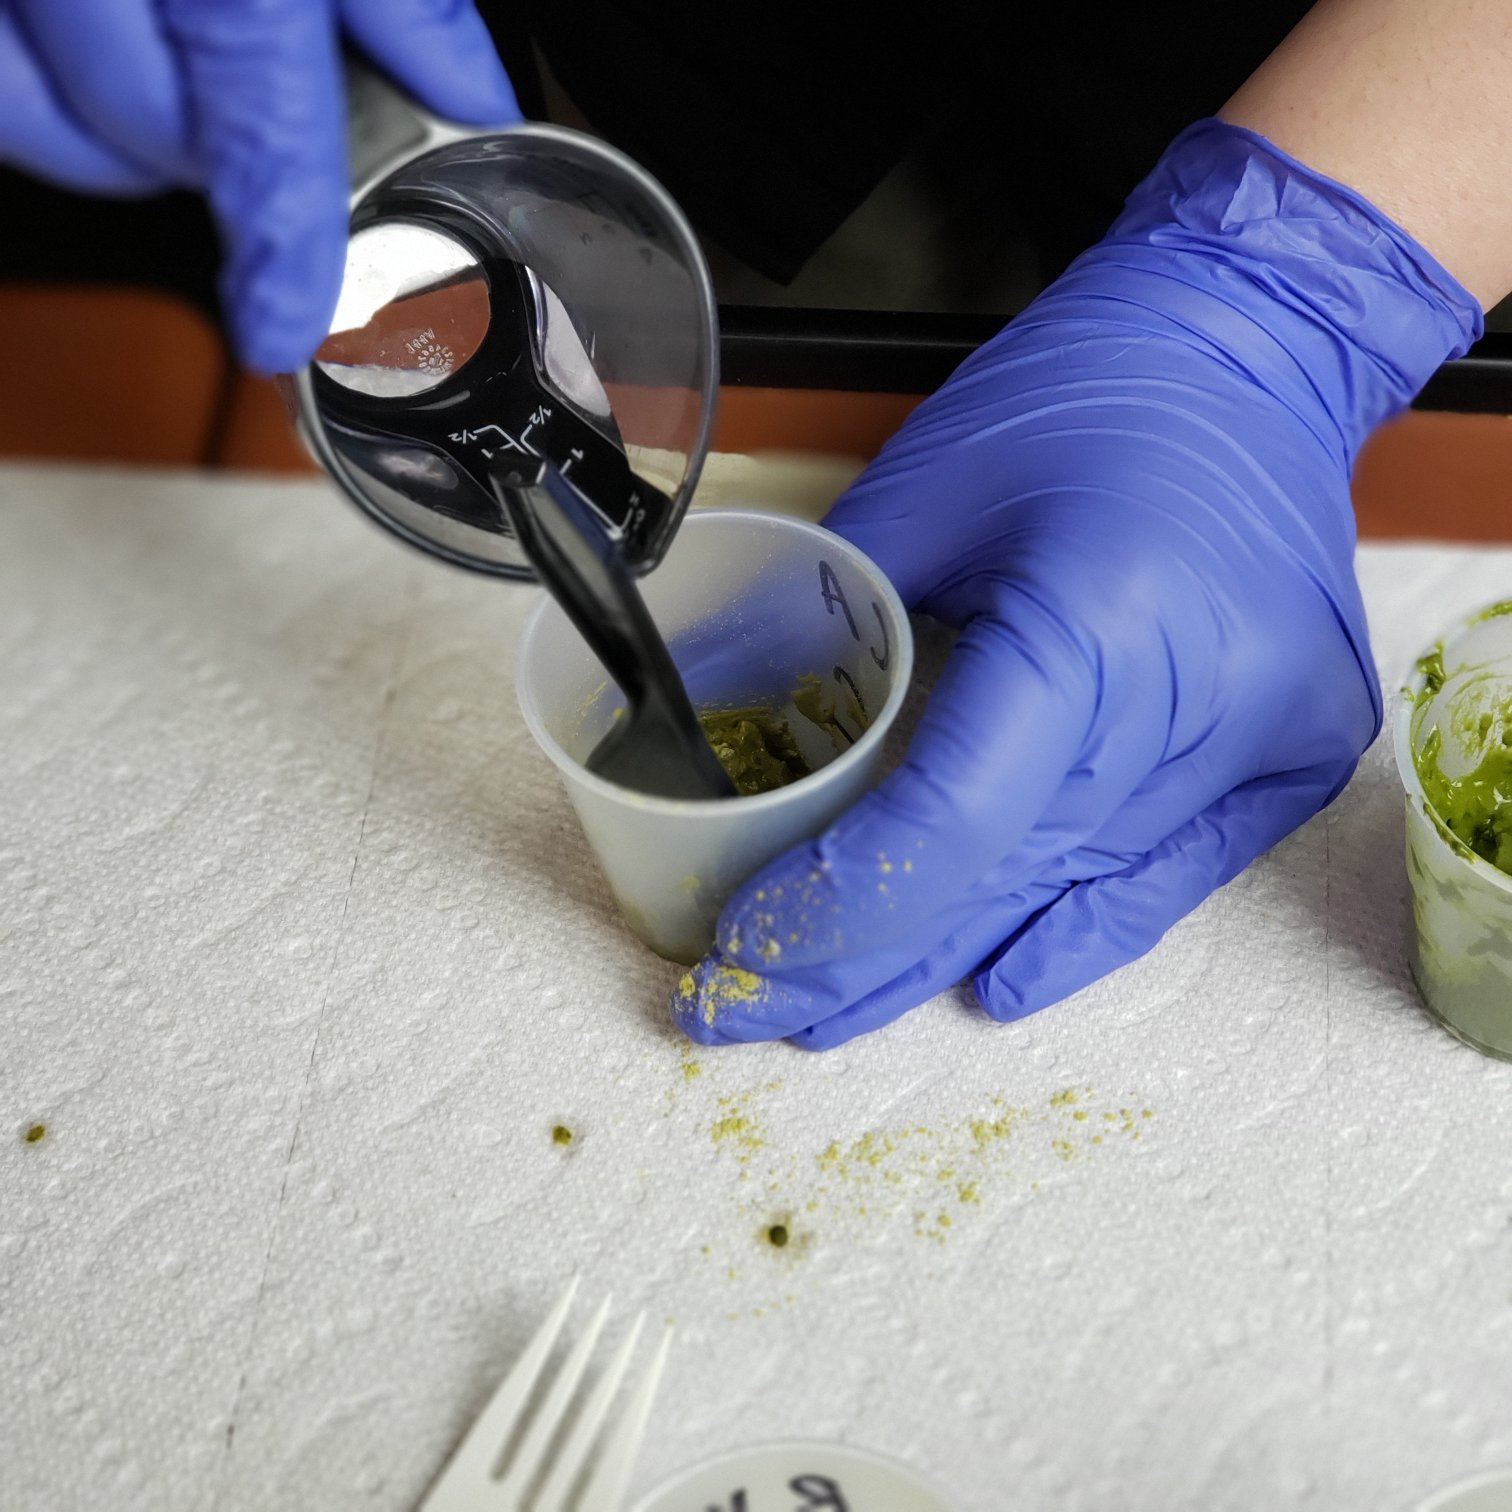
For the best coverage and permanent results, it is important to mix henna powder with a mild acid and allow the paste to sit for a period of time. This process is referred to as “dye-release.” Improper dye release can lead to weak stains that fade overtime, and undesired color results.
A Quick Chemistry Lesson
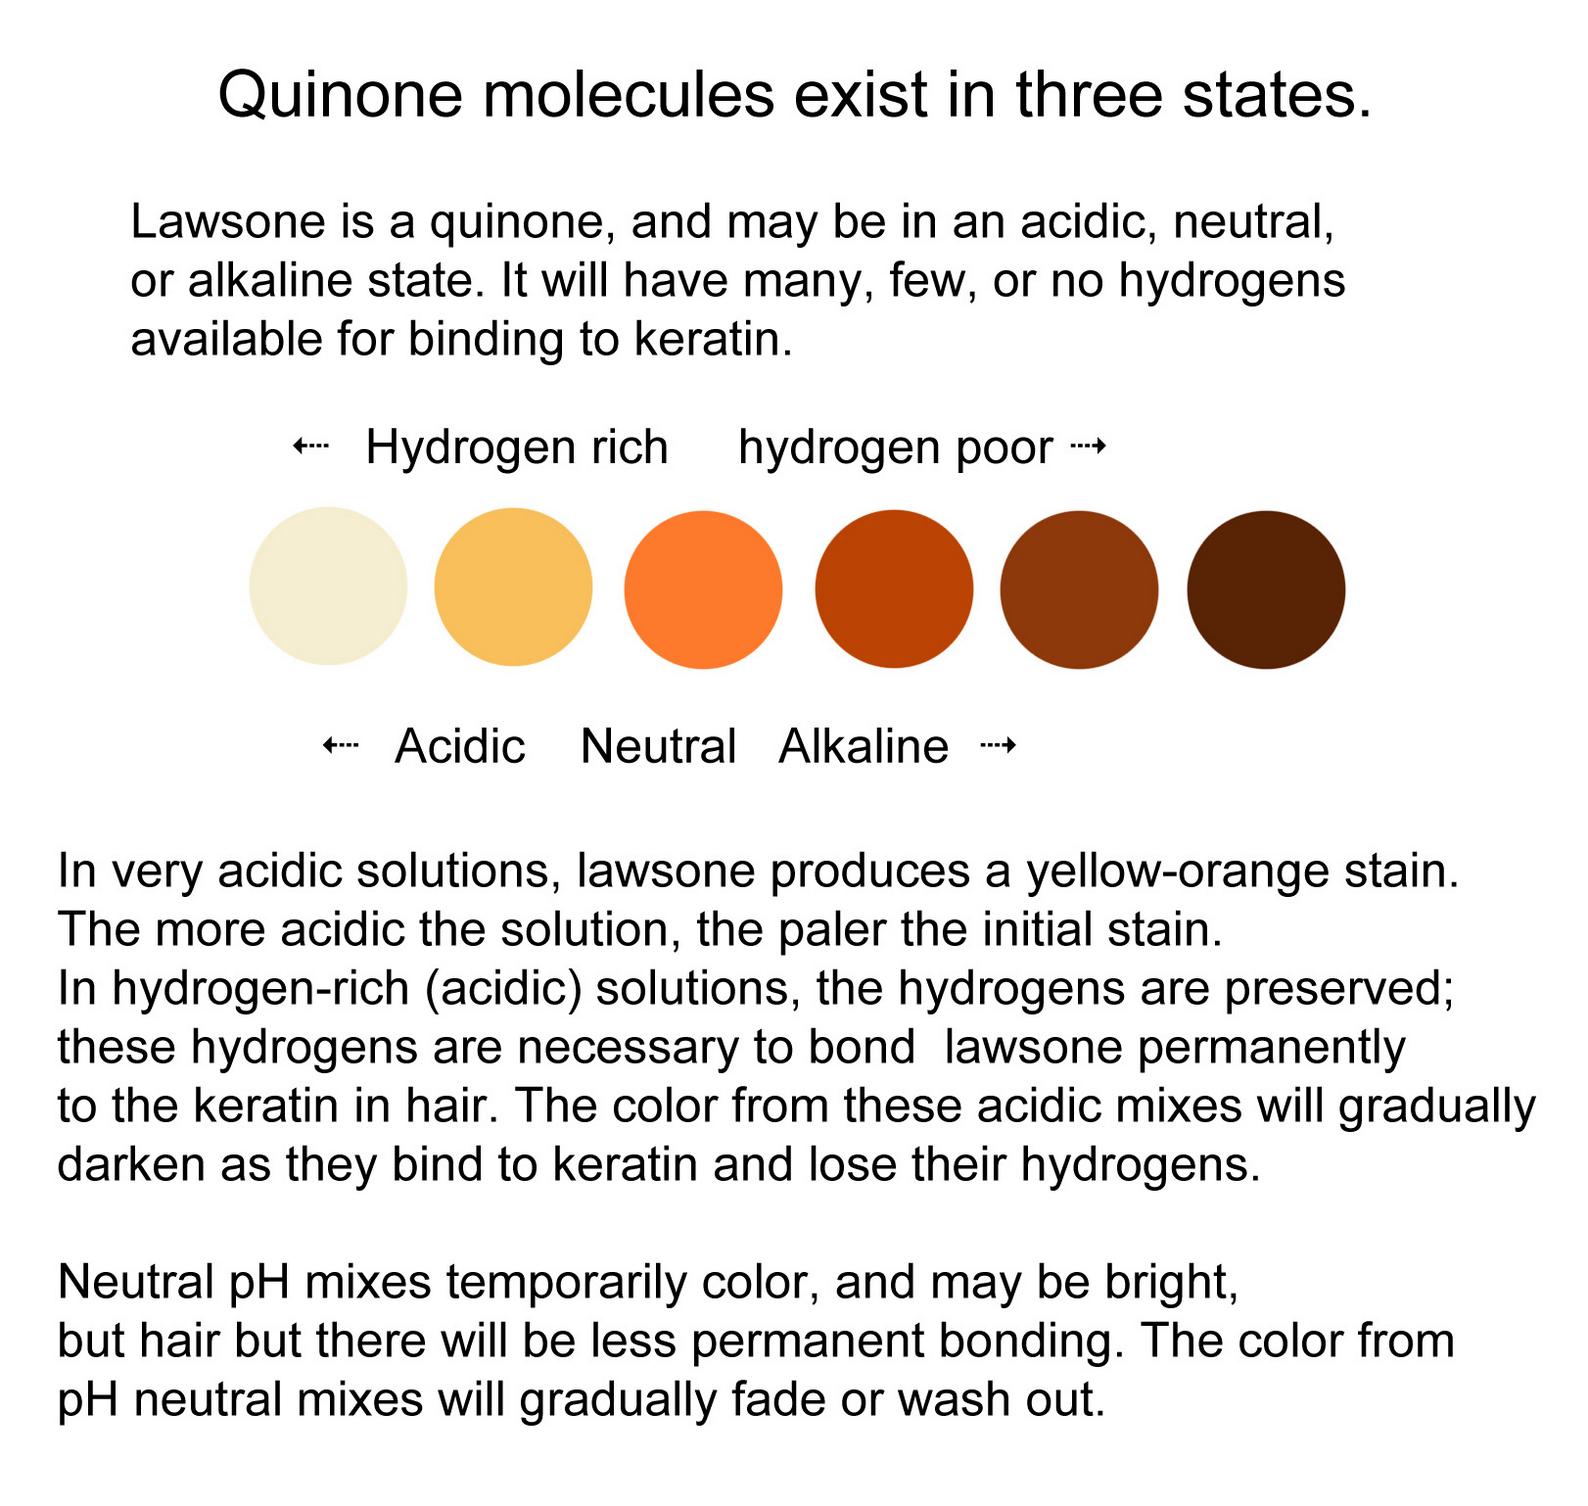
Henna leaves naturally contain lawsone, a red-orange dye. In powder form, henna will not stain keratin. Henna powder must be mixed with a liquid to allow hennocides, the lawsone precursors to be released from the plant material and migrate out into the paste. The precursors are converted into aglycones, through the replacement of the glycosyl group with a hydrogen atom. These hydrogen atoms function like the nub parts of puzzle pieces, so the dye can bind effectively to other molecules. Aglycones are intermediary molecules which will bind to other molecules to convert into a stable form. If the bond occurs with
keratin, the result is a permanent stain on the outer layers of the hair.
Acidity
Low pH (acidic) mixes are rich in hydrogens, which keep aglycones relatively stable until it is time to use the dye. This hydrogen-rich environment provided by the acid liquid allows for a longer and fuller dye-release as well as a more stable bond to keratin aglycones to bond to the keratin of the hair through a Michael Addition.
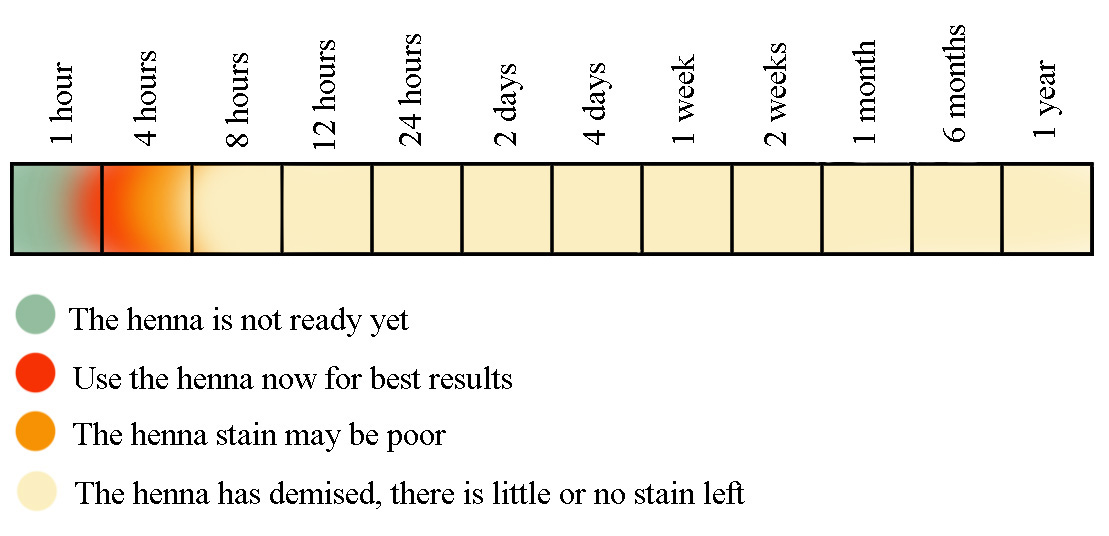
If the paste is left too long before use, the aglycones bind to surrounding molecules and to the oxygen in the air until there are no precursor dye molecules left to bind to the hair. This is called “demise.” Demised henna will result in poorer coverage with a weaker, less permanent bond. The resulting color may also be less vibrant. Full demise, at room temperature, begins twelve hours after mixing the paste, and is complete after one week.
The low pH level of an acidic henna paste allows the aglycones to remain stable for a longer period of time. This allows for a slow, steady dye-release for the optimal amount of available aglyones. Mixing henna without an acid (such as using only water) will cause the paste to have a weaker dye release which demises faster. The optimal pH level for a henna mix is right around 5.5, which can be achieved with a number of fruit juices, or the use of a fruit acid powder and distilled water.

Hennocide precursors convert into an aglycone state in a low pH environment, and eventually oxidize to a stable molecule.
Mixes that are alkaline or pH neutral will cause demise to occur more quickly. Without hydrogens to facilitate the Michael Addition bond, the stain will be weak, and fade over time. Therefore, water-only mixes, or alkaline liquids such as coconut milk are not recommended.
Temperature
The temperature of the mixture will affect the speed at which dye-release and demise occur. Some henna for hair brands recommend mixing henna with boiling water. While this causes an immediate dye-release, the dye is much weaker, resulting in light, brassy tones. On the other hand, cooler temperatures will slow or halt the chemical reactions. This is why it is possible to store leftover henna paste in the freezer for months without loss of effectiveness. Optimal dye-release occurs at room temperature after 8-12 hours, with full demise occurring after 48 hours.
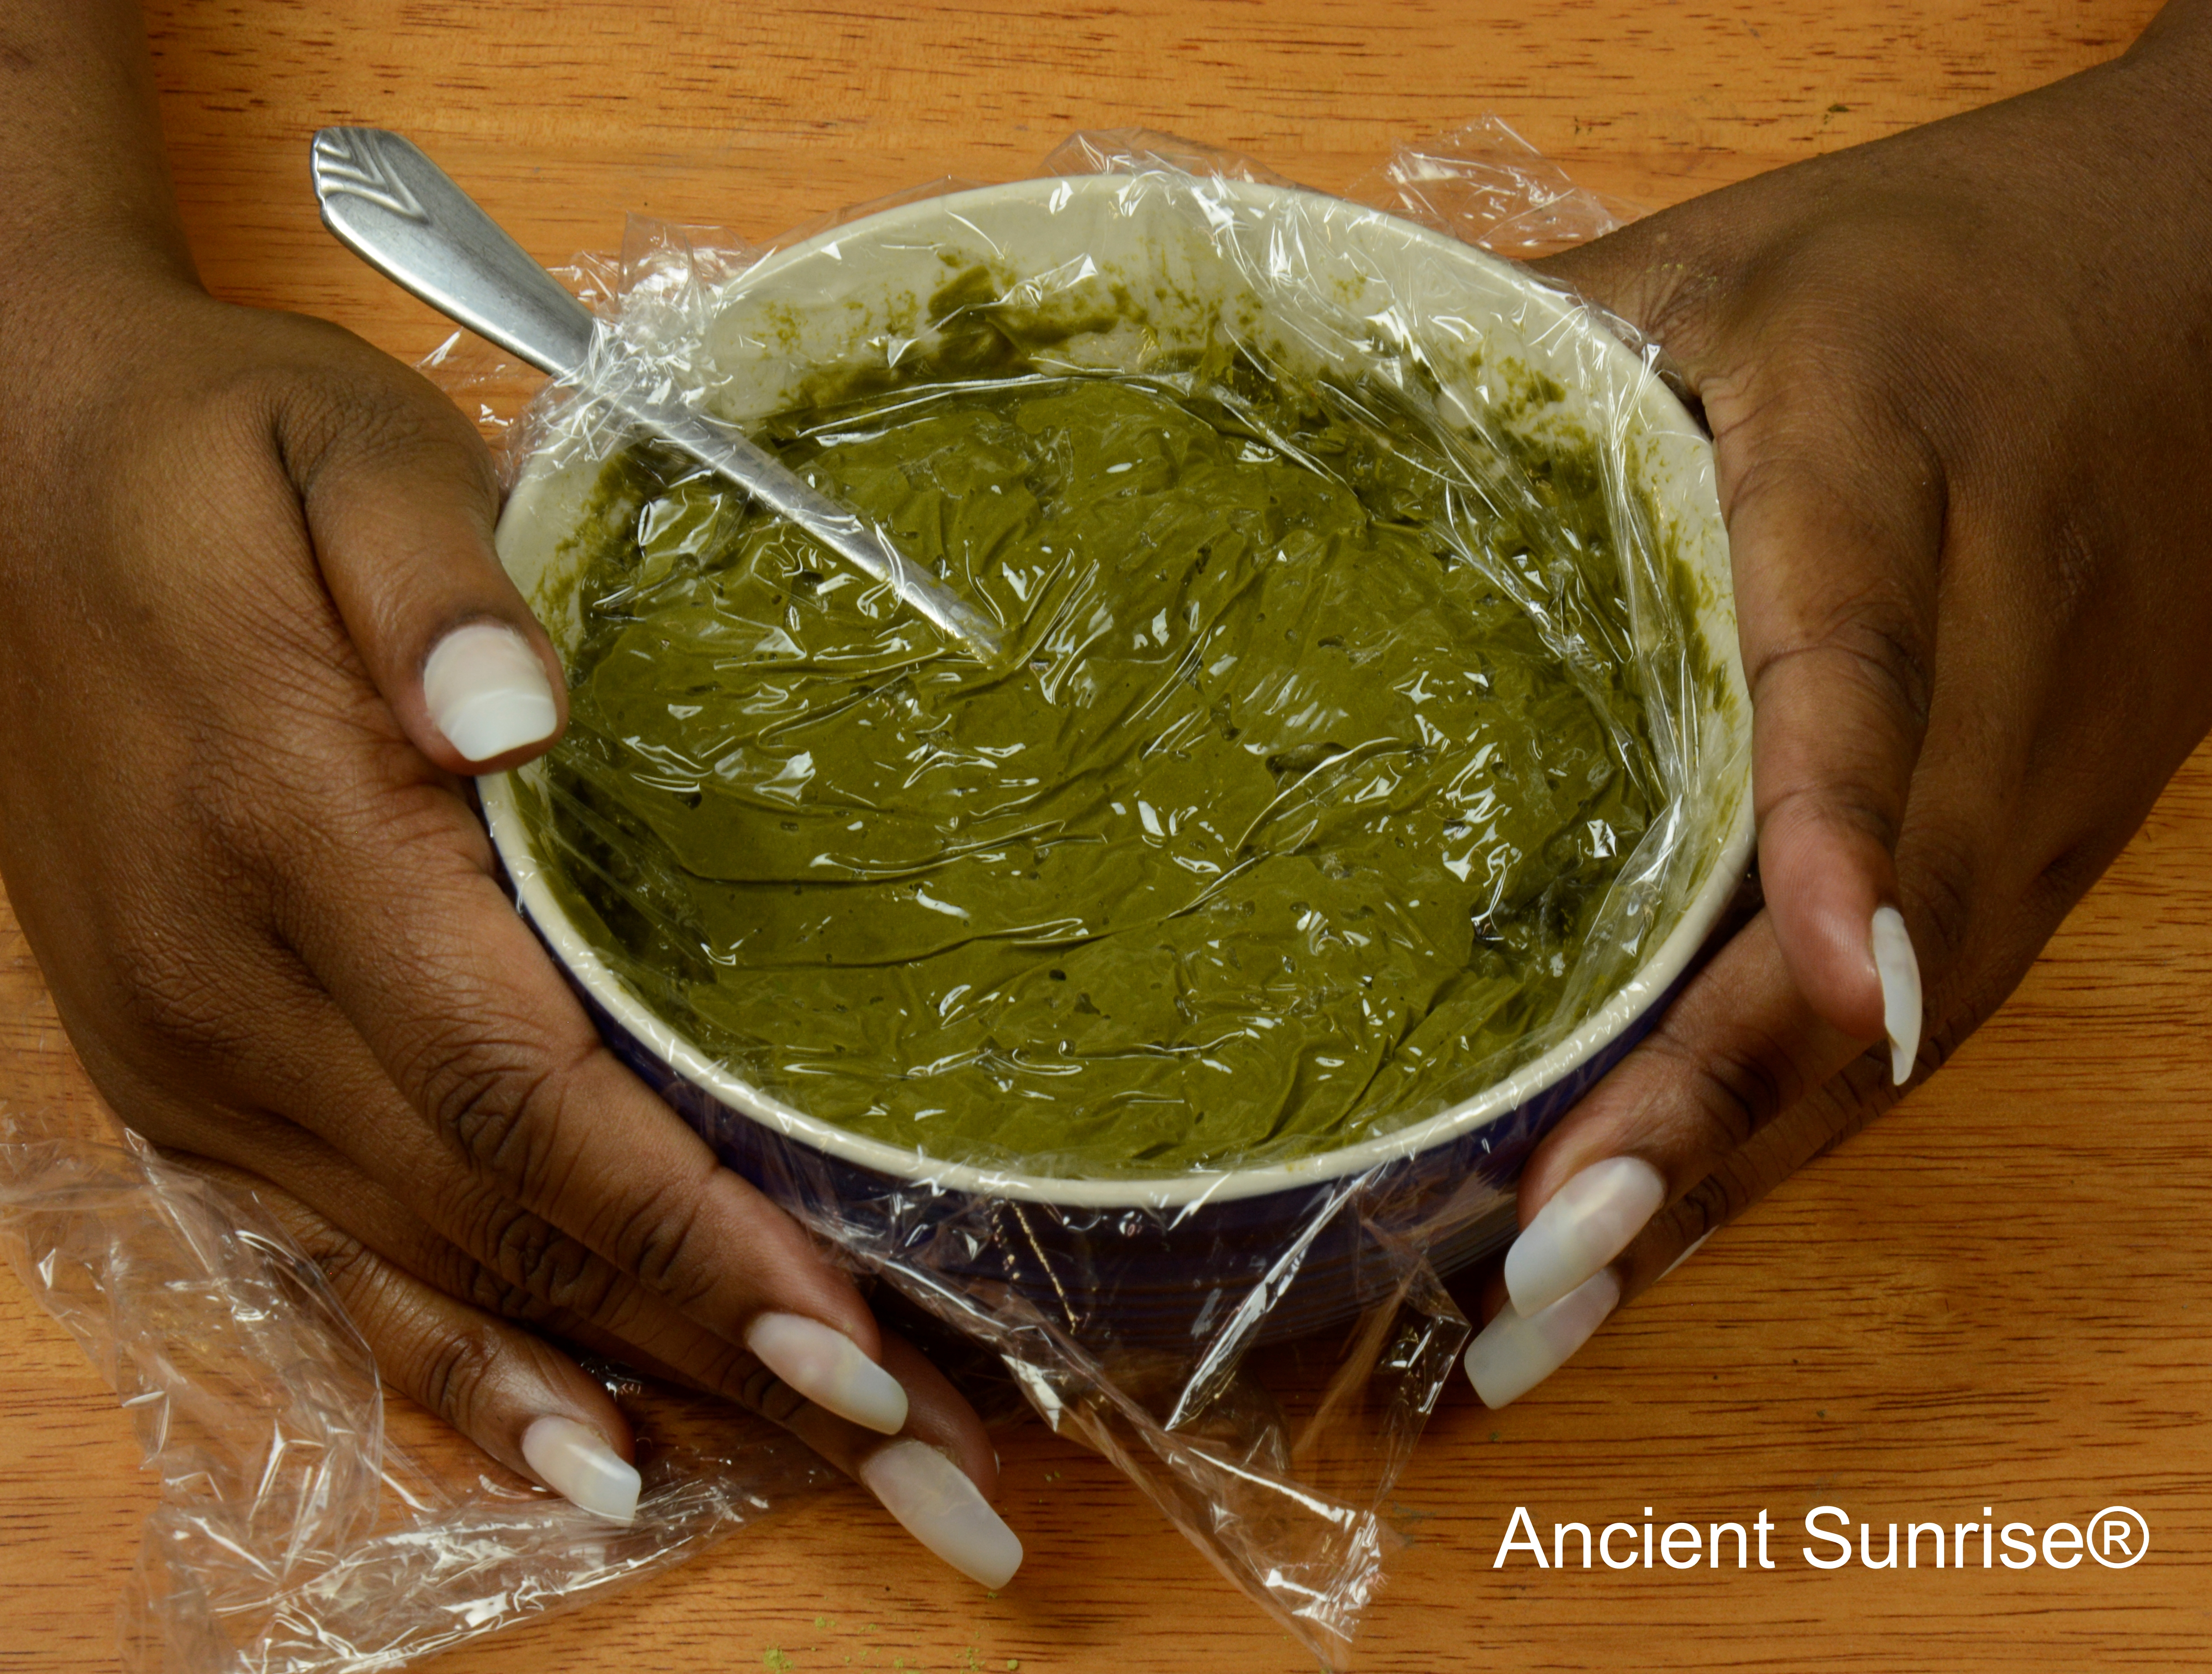
Be sure to cover your paste with plastic to prevent unnecessary exposure to air.
The Best Dye-Release Method
For the best results, dye-release henna at room temperature (70-80 degrees, F) for 8-12 hours. To dye hair in the morning, mix the paste right before bedtime. To dye hair in the evening, mix the paste after you wake up. The paste will be at its best anywhere within the 8-12 hour window. After 12 hours, demise will begin. Paste left at room temperature for over 48 hours will give weak results. In a cool, or air-conditioned room (65-70 degrees, F), the paste may be left out slightly longer than 12 hours.
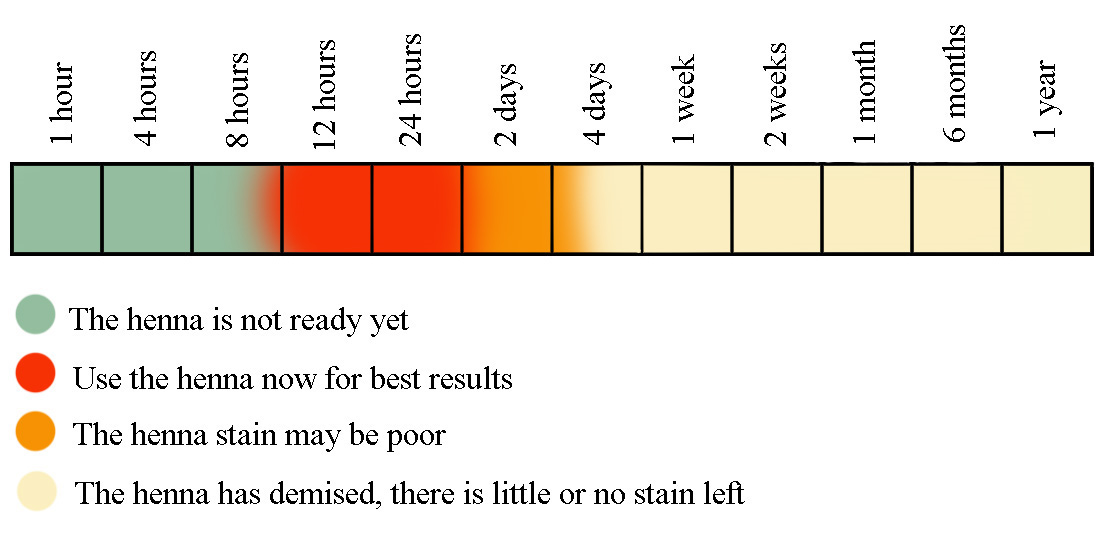
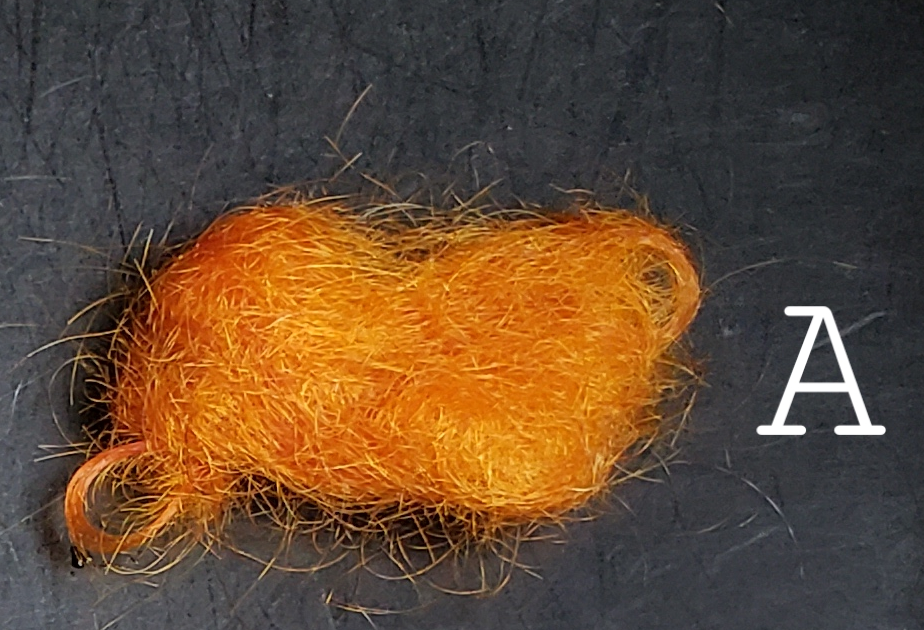
Henna at 65 degrees F will be ready between 8-12 hours, and demise slowly.
Checking for Dye-Release
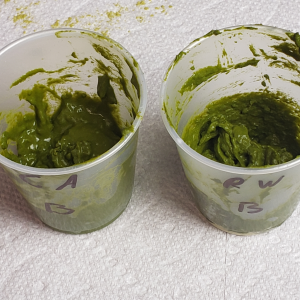
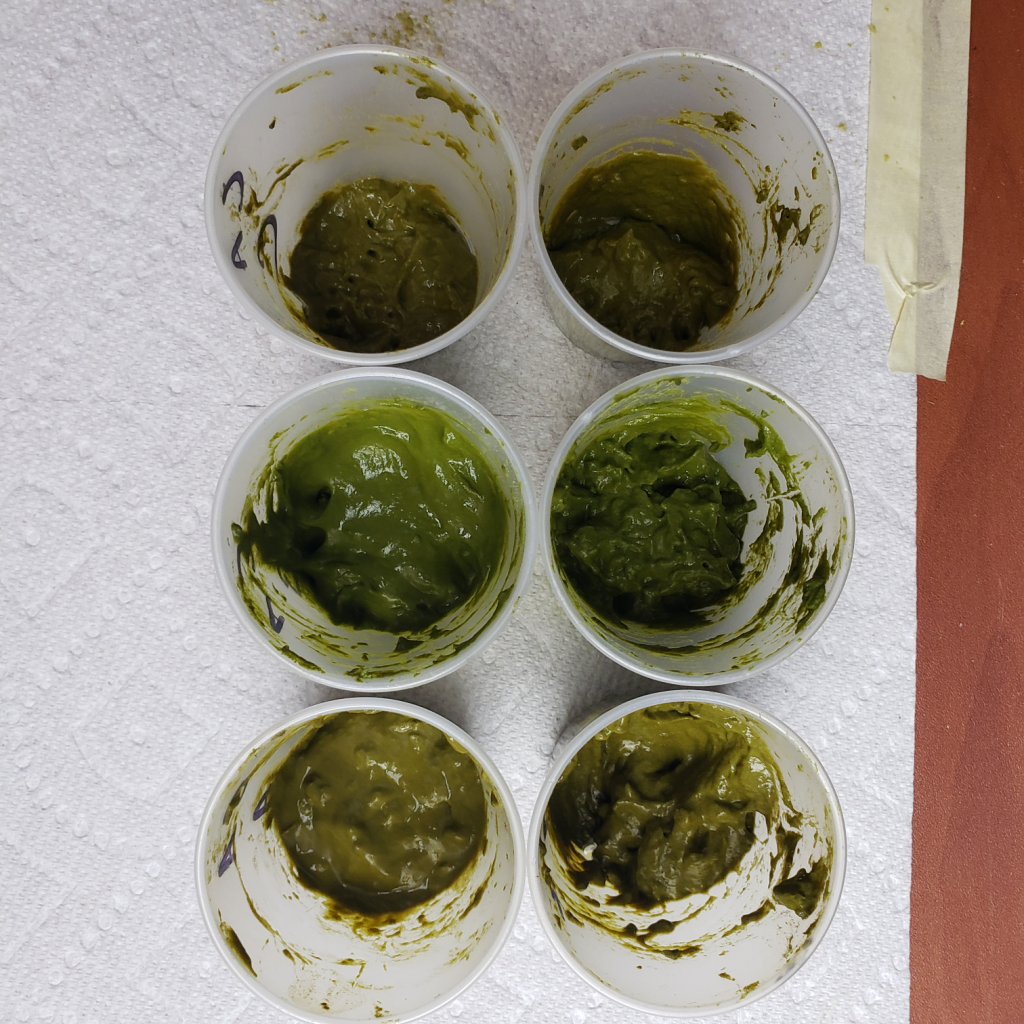
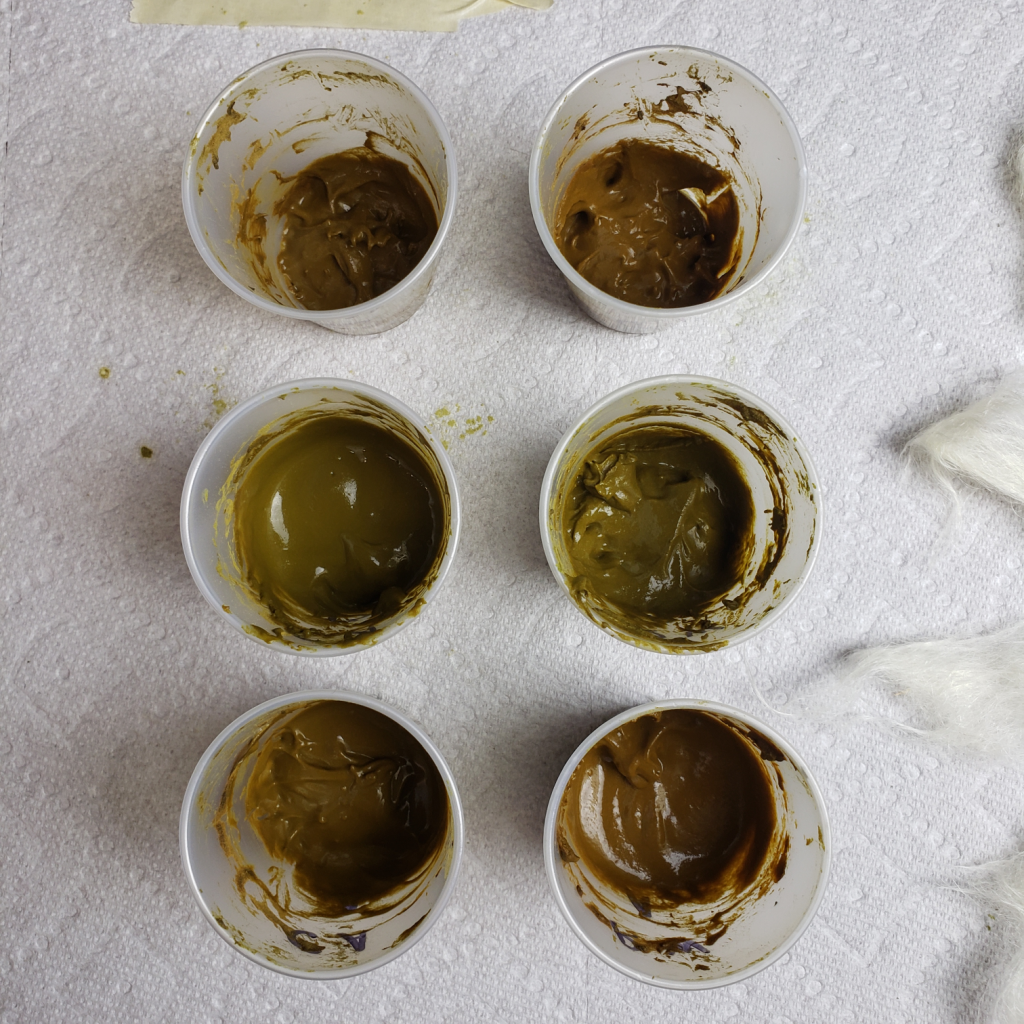
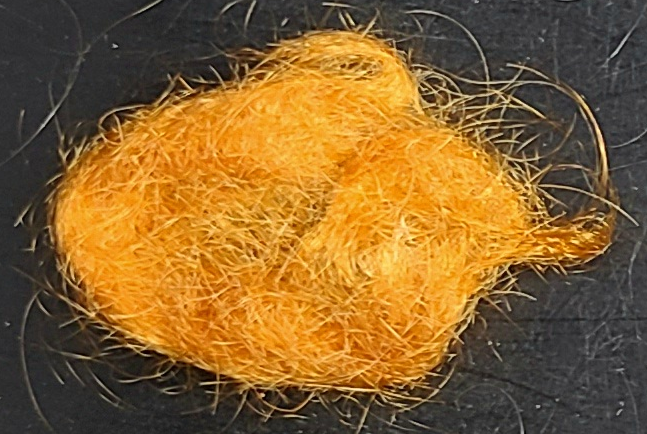
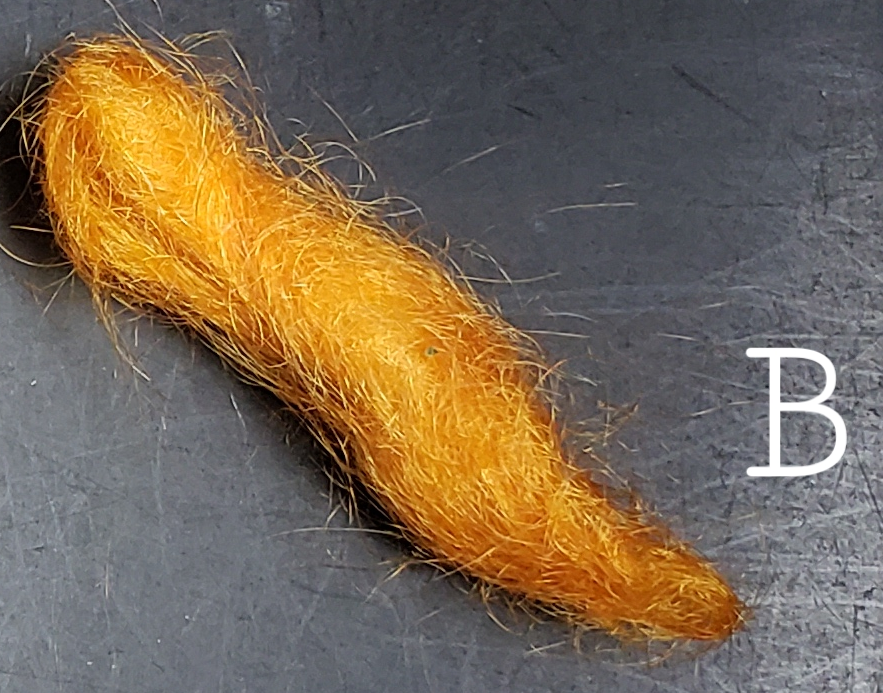
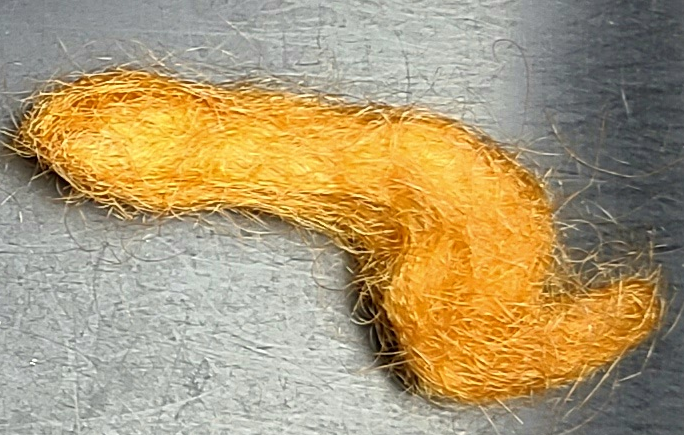
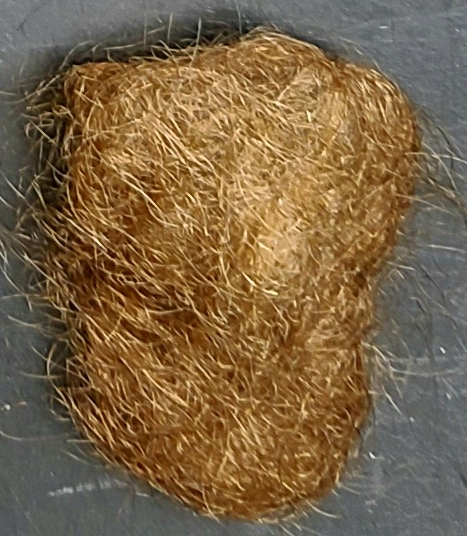
When henna paste is ready, the surface of the paste will be a darker color than the paste underneath, and there may be some reddish-orange liquid collecting on top. Stir the paste and dip a fingertip into it, or apply a drop to your palm and wash it off after a minute. If a bright orange stain remains on your skin, the paste is ready.
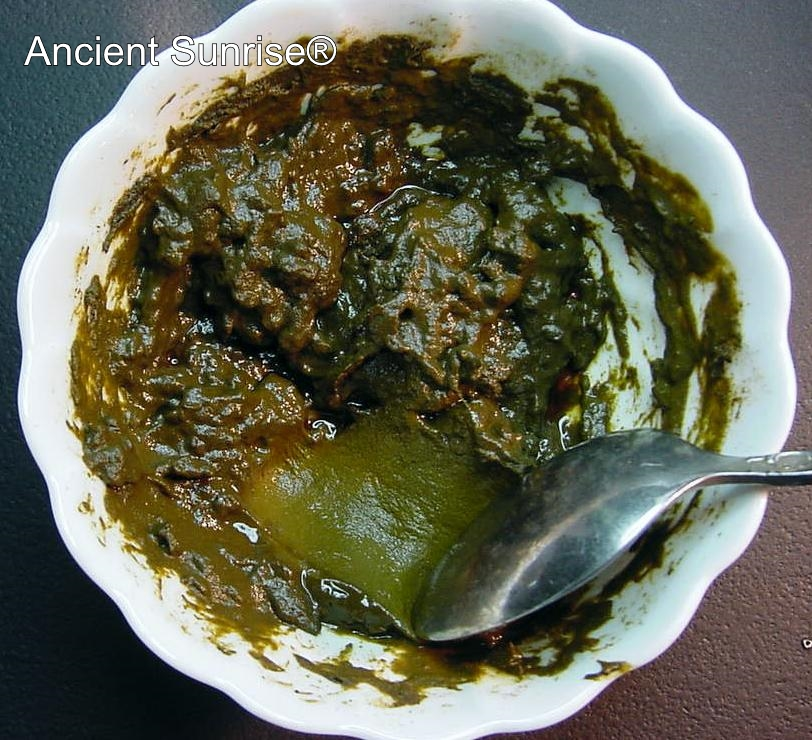
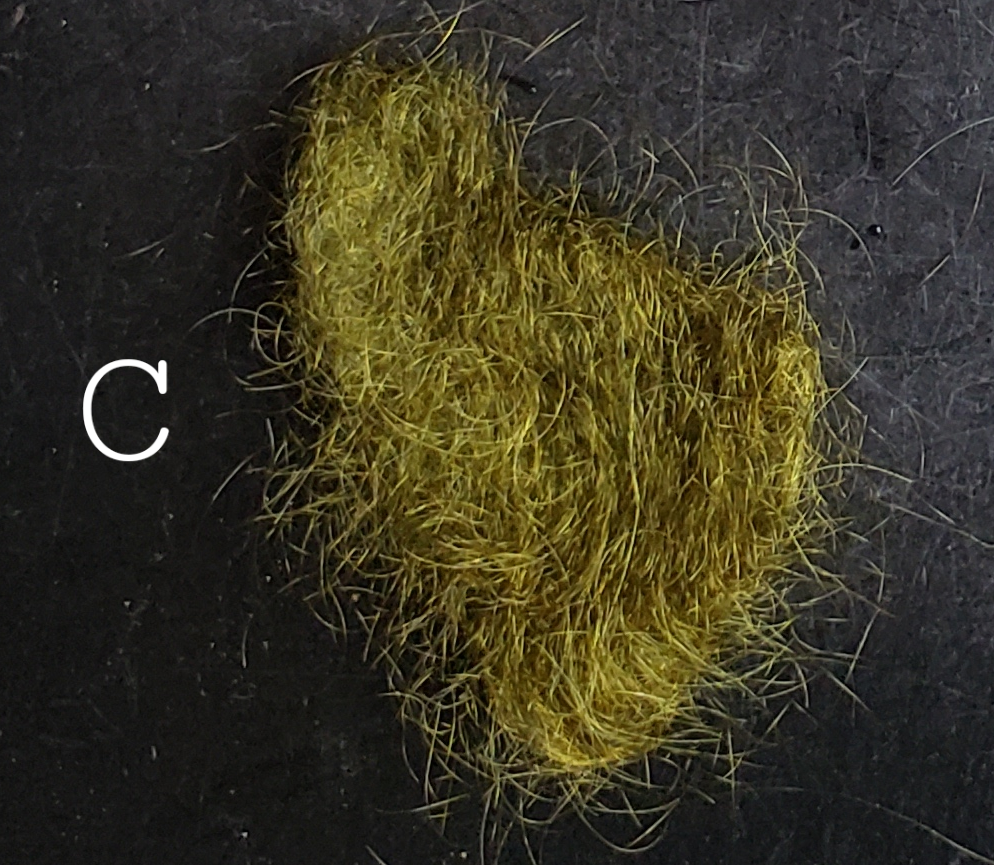
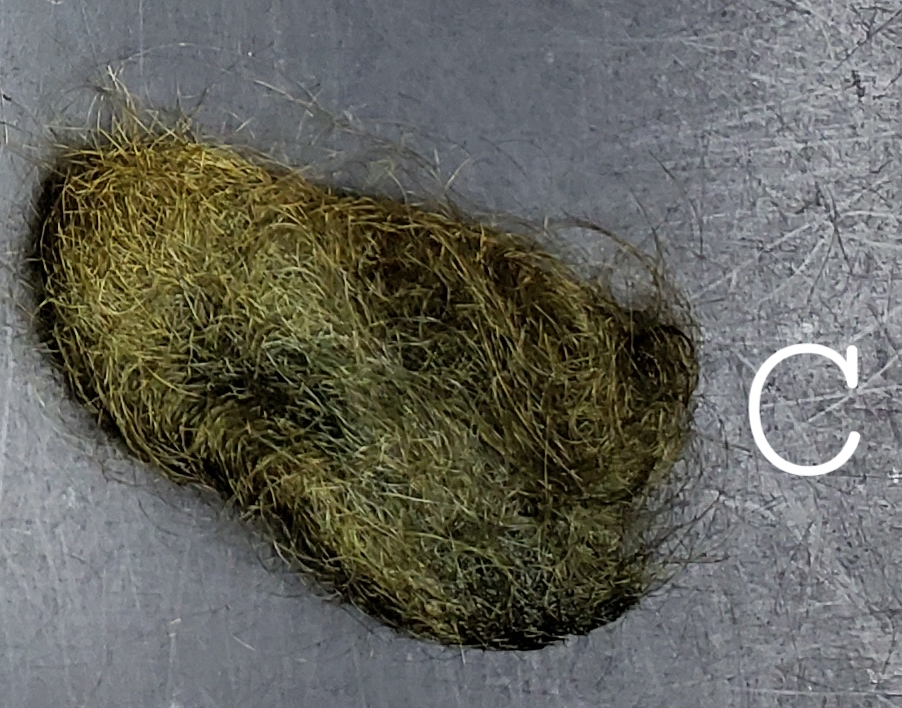
Dye-released henna is darker on the top, like day-old guacamole. Stir it up and it’s ready to use.
In A Pinch
There may be times when you need your henna paste to be ready faster. Increase the temperature to decrease dye-release time, or take advantage of enzymes naturally occurring in apple juice to speed up the process without getting the brassy results that come with using boiling water.
Heat
Putting your paste in a hot environment (100 degrees, F or higher) will speed up the dye-release process considerably. A bowl of henna paste in a car on a hot day will dye-release within about one hour, depending on the car’s internal temperature. Placing your henna near a heater or outside on a sunny day will also speed up the process. You can also wrap your bowl of henna in a towel, and wrap a heated blanket around it, or place a heating pad over it.
Do not under any circumstance put a henna in the microwave or oven, or on the stove. The heat is high and uneven. High heat will “cook” the aglycones, rendering them useless.
The time required for dye-release drops very quickly in conditions above 100 degrees. Be sure to check your paste frequently for dye release. If left in a hot environment for too long, the paste will begin to demise.
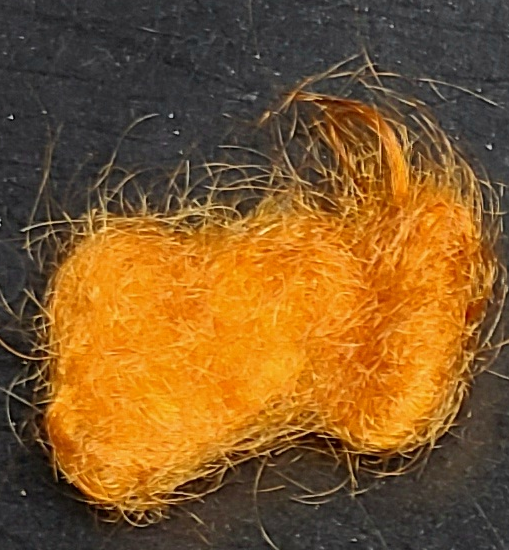
Henna at 100-140 degrees F will be ready within about an hour.
Enzymes
Fresh apple juice contains enzymes that will expedite dye release by breaking down the plant powder’s cellulostic material. Henna powder mixed with apple juice will dye-release in about half the time. Keep an eye on your paste and check for dye release every hour or so.
Storing Henna Paste
If your paste has dye-released and you are not able to use it right away, put it in the refrigerator. Dye-released henna will stay good in the fridge for two days.
If you cannot use your henna for longer than two days, keep it in the freezer. Henna in the freezer will keep almost indefinitely. To store extra henna for future root touch-ups, separate the paste into portions using plastic bags or an ice cube tray. These portions will thaw quickly.
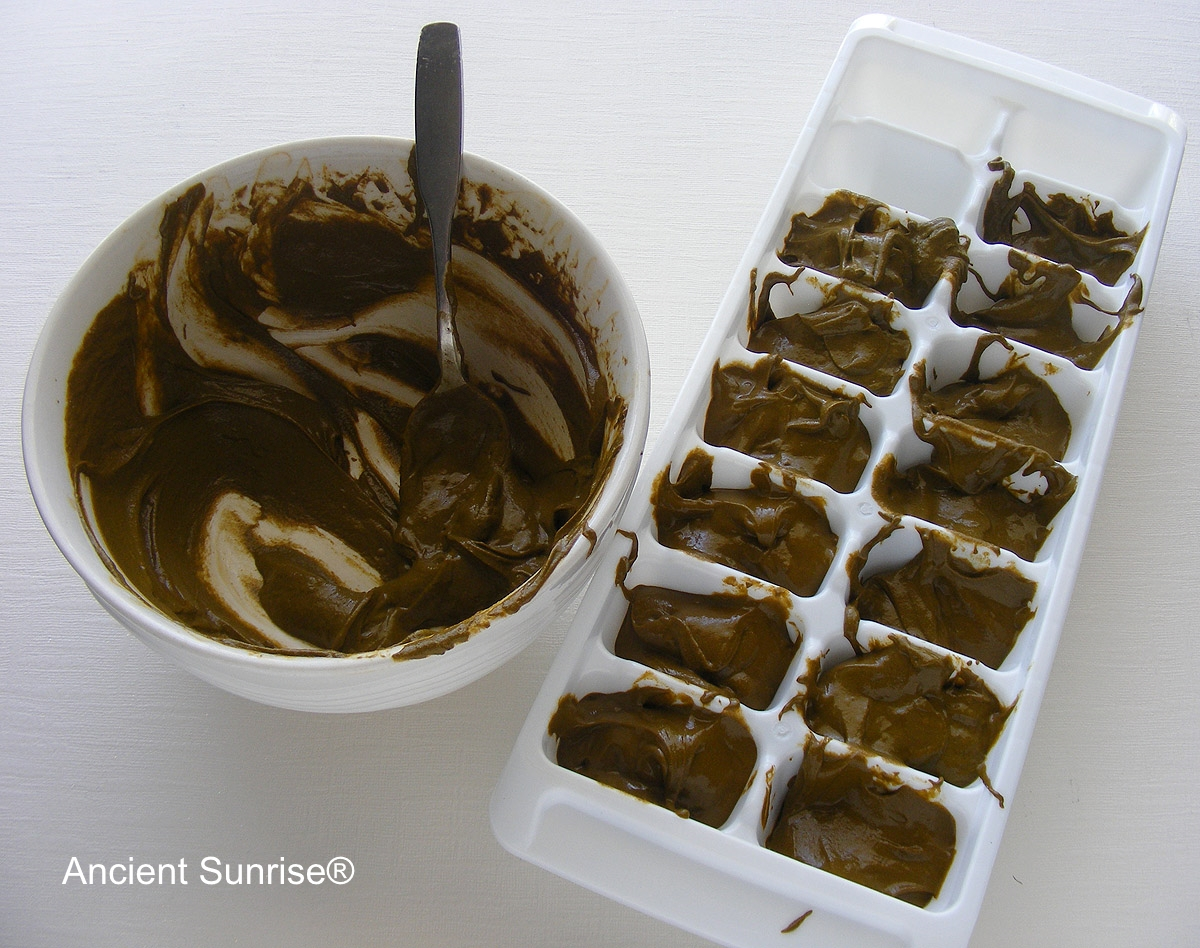
Henna can be stored in the freezer for several months. An ice cube tray is great for easy portioning.
Once brought back to room temperature, henna will continue its process of dye-release and demise. Do not leave dye-released henna out at room temperature for more than 24 hours. Leaving henna out long enough to thaw and to come up to a comfortable temperature for use if long enough. Some find that cool paste feels nice on the scalp on a hot day.
Troubleshooting
I Forgot the Acid
It happens. Maybe you were distracted by your cat doing something cute and forgot to add the fruit acid powder. Maybe you’re just jumping into the land of henna and didn’t know you needed an acid until now.
If it has only been a few hours since your mixed your henna, add the fruit acid as soon as possible and let it sit for the remaining time, checking for dye release around the eighth hour.
If you have a henna-and-water paste that has been out for 8-12 hours, there will have been a weak dye-release, as distilled water draws carbon dioxide from the atmosphere, becoming mildly acidic. Add the fruit acid powder, and allow the paste to sit for up to three more hours, checking for dye-release.
If you do not have an acid with you, stick your paste in the fridge or freezer until you get some. Orange, apple, and cranberry juice work fine. Apple cider vinegar works as well, if you don’t mind the smell. Do not use wine, coffee, milk, yogurt, or tea.
Because the paste was already previously mixed with water, there will have been some release of aglycones, and some demise. Adding an acid as soon as your remember will lead to better results, but the results may still be less than optimal.
If adding liquid will cause your paste to be too runny, add 1tsp of cream of tartar powder for every 100g henna powder, instead of a juice. Cream of tartar may result in a darker color. You can also mix more henna powder with warm lemon juice, and stir this into your existing paste.
I Left My Henna Out Too Long
At room temperature, henna will begin to demise after 12 hours, and fully demise after about 48. If it has been longer than 48 hours, most likely the paste done. Test the paste for dye-release. If there is little to no orange stain on your skin after leaving the paste on for one minute, the results on the hair will be light. If you choose to use the paste, you may have to reapply with new paste for best results. A henna/indigo mix using demised henna may result in green or blue tones which will fade quickly, as indigo needs henna to bind effectively to the hair. Often the best route is to throw out the paste and mix up a fresh batch.
My Paste Has Dye-Released, But I Can’t Use it Right Now
No worries. As mentioned above, cool and freezing temperatures will slow and halt demise, respectively. If you expect to be able to use your henns within a couple of days, put your bowl in the refrigerator. If you cannot use your henna for over a week, or if you are unsure about when you will be able to use it, keep it in the freezer.
My Mix is Mostly/All Cassia. How Can I Tell if it is Ready?
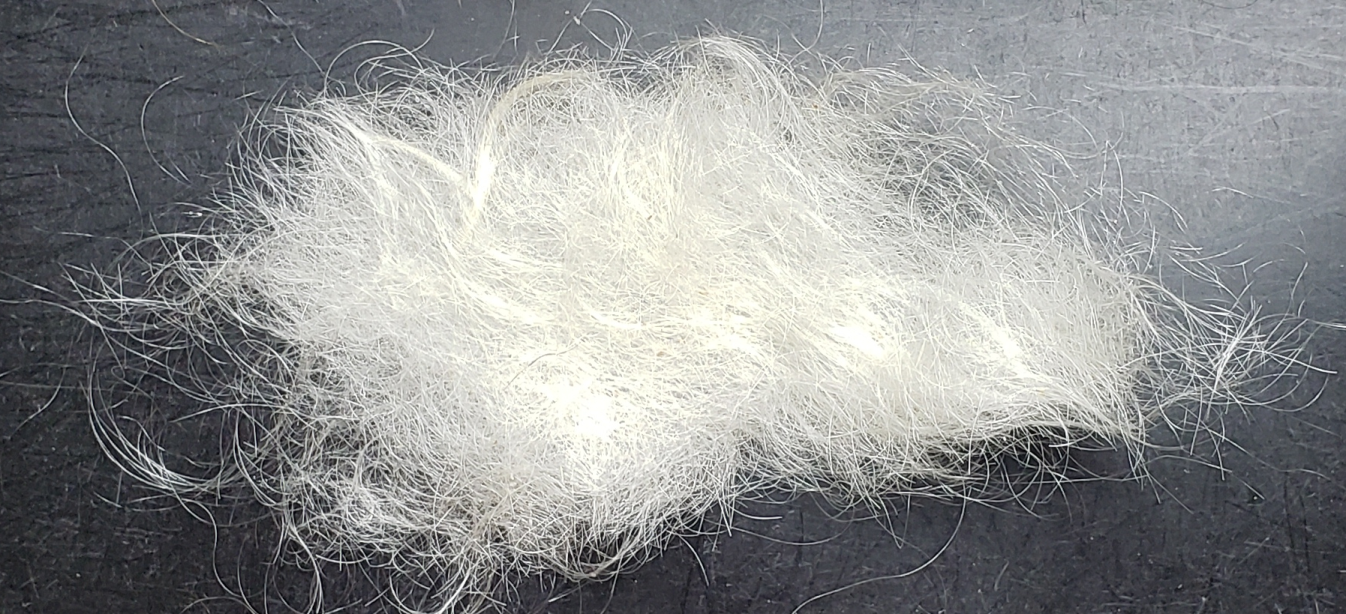
Cassia follows the same dye release schedule as henna. Because the dye is light and translucent, a stain-test will not show a bright orange stain like henna will. It is best to dye-release cassia and cassia-henna mixes at room temperature for 8-12 hours to be confident that the paste is ready. Henna and cassia are fairly forgiving, so leaving a mix out at room temperature for a few hours longer than necessary is better than using it too soon.
For more in-depth information about the dye-release process, see the following links:
http://www.tapdancinglizard.com/AS_henna_for_hair/chapters/chap7/7_dye-release.pdf
http://www.hennapage.com/henna/encyclopedia/dye-release.pdf
As always, do not hesitate to contact the henna for hair experts at www.Mehandi.com


 Liz • Ancient Sunrise® Specialist