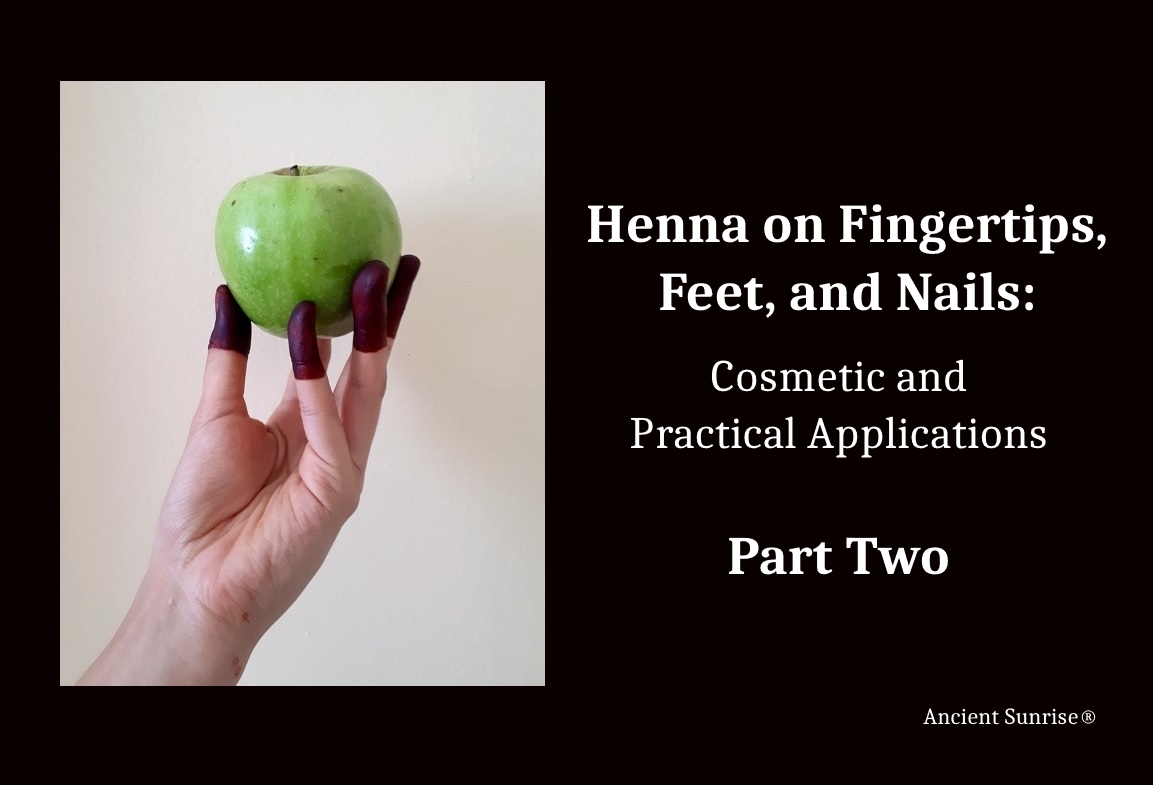
How To Henna Fingertips, Nails, and Feet
Part One of this two-part series explored the use of applying henna on fingertips, nails, and feet. Henna was used both as a cosmetic and as a way to heal and protect skin, nails, and hair.
To read Part One, click here.
This section will describe how to use henna paste to decorate and strengthen fingertips, nails, and feet.
Note for US Residents:
The color additive “henna” is approved by the FDA solely for the use of “hair dye” (see, 21 CFR 73.2190); it may not be used for dyeing the “eyelashes,” “eyebrows,” nor the “eye area” for cosmetic product applications. Neither is it approved for cosmetic “skin tattoo” purposes. To use a color additive in any cosmetic product application for which it is not listed for regulation renders it “adulterated” and/or “misbranded.” (see section 601(a) and/or 601(e), and/or 602(e) of the FD&C Act)
https://www.fda.gov/ForIndustry/ColorAdditives/ColorAdditivesinSpecificProducts/InCosmetics/ucm110032.htm
Here are the US FDA regulations for the use of henna for the purpose of body art. These regulations have the force of law: https://www.fda.gov/cosmetics/productsingredients/products/ucm108569.htm
If you live outside of the US, this does not apply to you.
Always make sure you are using only 100% Body Art Quality (BAQ) henna whether it is on the hair or skin.
How to Apply Henna to Fingertips
Save this for a time when you don’t need your hands. I do this before bed, and sleep with wrapped fingertips.
Henna on smaller areas of the body is easily done with a rolled mylar cone filled with henna. If you are unfamiliar with how to roll and fill cones, click here to learn.
Set Up
You will need:
- A cone of henna for outlining. (Or you can use medical tape. See below.)
- A small bowl or shot glass with about 1T henna. (You can just squeeze out the rest of your cone after outlining.)
- A small brush
- Toilet paper or other soft paper
- Tape
Outline
Start with clean hands that do not have lotion or oils on them.
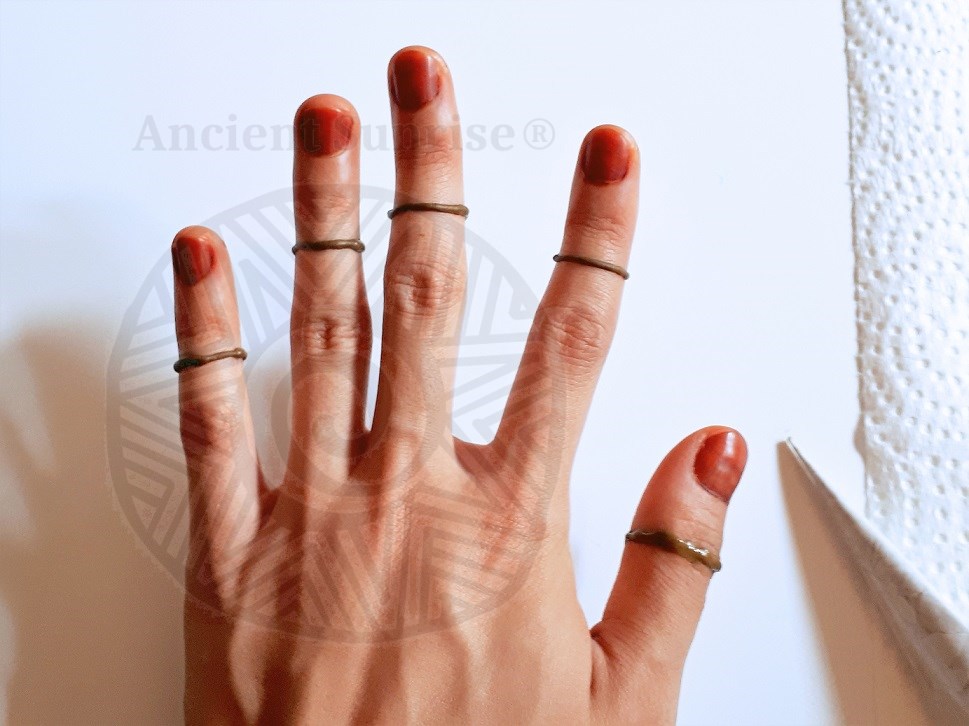
Use the cone to draw an outline. You may need a friend to help if you wish to do both hands.
Alternatively, you can wrap a strip of medical tape around each finger. The result will be a nice, crisp line. You will want to choose a waterproof tape with a straight edge (some have a zig-zag edge).
Fill
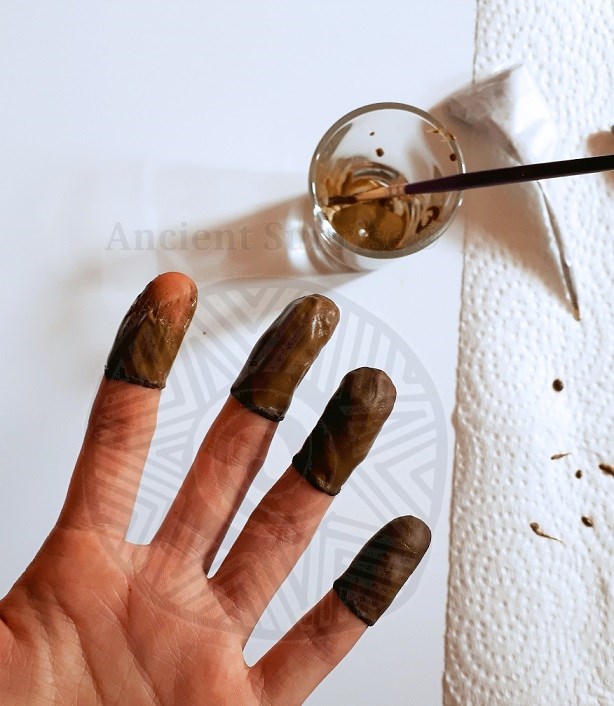
Fill in the skin from the line or the edge of the tape, to the tips of your fingers. I prefer to apply in layers, allowing each layer to dry. This prevents having fingers covered in a thick layer of wet paste that will take forever to dry.
Wrap
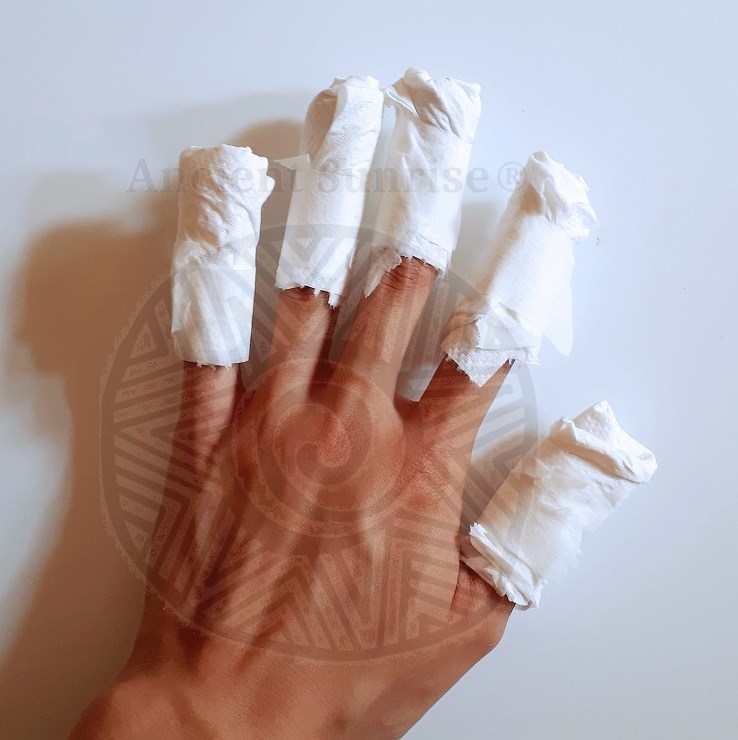
Wait until the paste is dry enough to touch without lifting any away. A hair dryer can help speed up the process. Wrap tissue or toilet paper around each finger, securing with tape.
If you like, you can pull on a pair of stretchy fabric gloves. The warmth will deepen the stain, and the gloves keep the wraps from slipping off.
Remove
To remove, unwrap your fingertips and gently scrape the paste away with a wooden craft stick or the blunt side of a butter knife. A stiff nail brush helps to remove extra bits. Try to avoid water for the first few hours while the stain settles and oxidizes.
The stain will deepen over 24-48 hours. To expedite the process and darken the result, gently heat or steam your hands.
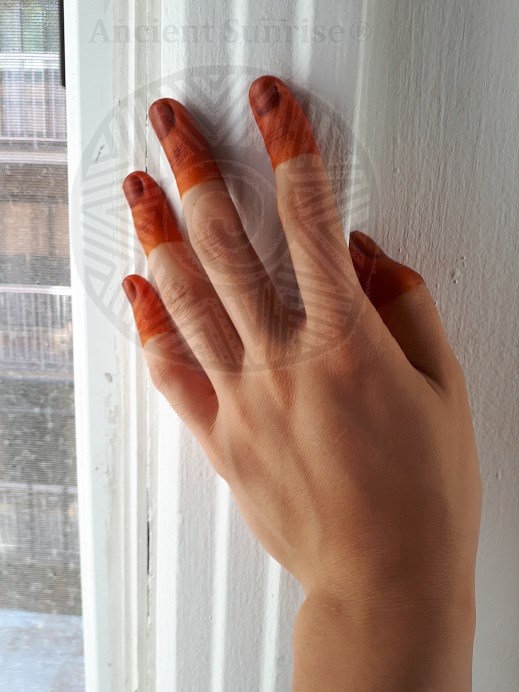
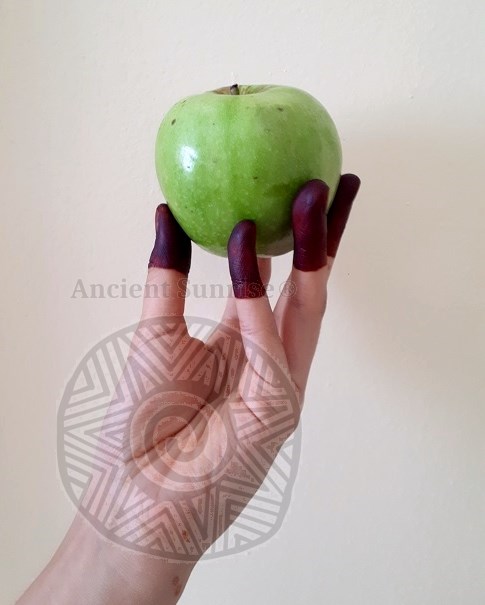
On the left, the fresh stain is bright orange. On the right, the stain has oxidized to a deep burgundy after 48 hours.
How to Apply Henna to Fingernails and/or Toenails
If you would like to stain only your nails rather than your fingertips the process is similar, and simpler.
You can do this either with a cone or a clean, small brush. A recycled nail polish brush would work nicely. Trim and shape your nails as you prefer.
Using a Cone
Squeeze the cone gently and fill over the nail using back and forth motions. It works well to apply a thinner layer, then apply a second layer as the first dries. As the paste dries, it darkens and flattens. You will be able to see where you would like to add more paste.
Using a Brush
Henna tends to slip over the surface of the nail, so it is helpful to use dabbing motions rather than treating it the way you would nail polish. Let the first layer set, and then go back in to fill any areas that are thin.
Finish
You can either choose to wrap your fingertips similarly as described above, or allow the paste to fully dry on the nails. Damp paste will continue to stain the skin, leading to darker results. If you let the paste dry, keep it on for as long as possible (several hours is good) before gently scraping it away.
Again, the result will be brighter at first, and deepen over the next couple of days. You can reapply to deepen the color, and apply as necessary as your nails grow. I find that doing this weekly keeps my nails a deep red hue. My nails grow longer and chip less when I maintain hennaed nails.
Henna will stain the nail permanently, so if you choose to stop applying henna to your nails, a good way to hide half-hennaed nails is to paint them over with polish until the stained portion grows and is clipped away.
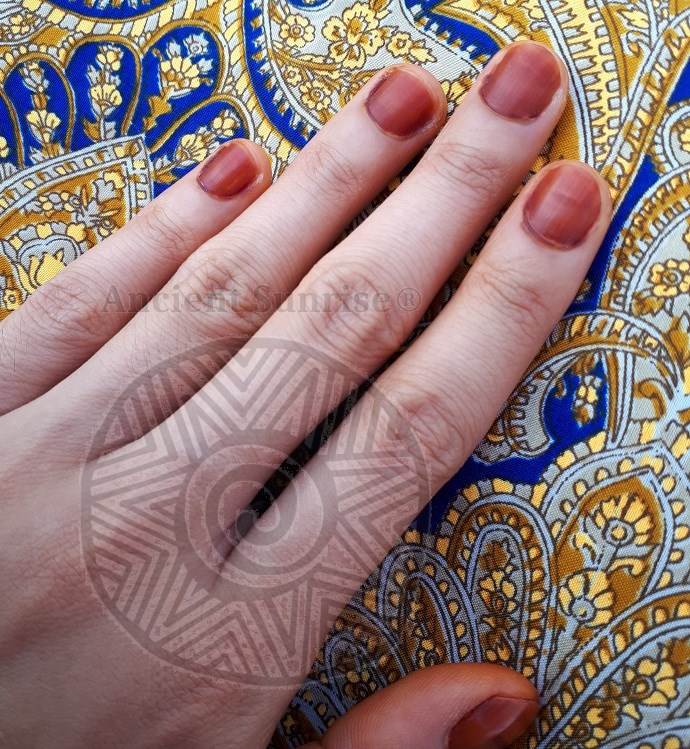
Hennaed nails are a deep red. This color fades very little over time.
How to Apply Henna to Feet
You will definitely want to do this on a particularly lazy day, or in the evening before bed. You might want to have a friend to help you. I am a pretty flexible person and have found that hennaing one’s own feet is possible, but requires awkward positions.
Start with clean, scrubbed feet. Henna will help the feet shed excess callus and dry skin, but if you’d like your stain to last for a long time, it is a good idea to scrub off anything that is on the verge of shedding already.
Outline
Feet can be hennaed in many styles. Hennaed feet have varied by culture and time period. Some people prefer to apply only to the soles. Some apply to the balls of the feet and the toes. Once you have decided on your henna-feet style, use a cone to draw an outline along the tops and sides of your feet. I prefer a full slipper.
A helpful trick for keeping it symmetrical: Put on a pair of flats and use an aquarellable pencil to trace outlines on your feet along the edge of your shoes.
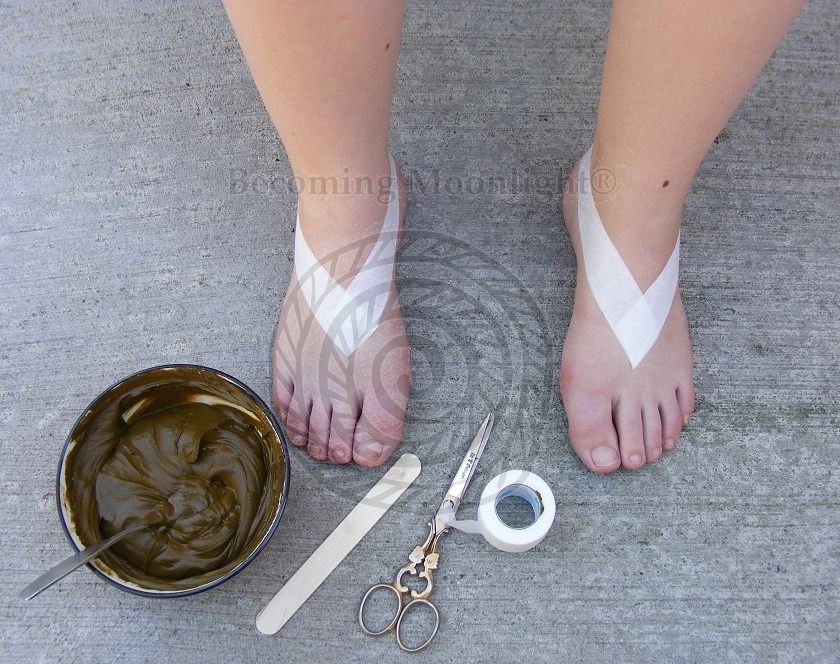
You can also use medical tape to create a clean outline. Just apply the paste right over the edge of the tape.
Fill
Using the brush or craft stick, apply the henna paste evenly all over your feet. Make sure to apply henna between and under each toe. The paste will want to squish from between your toes while it is wet. Keep reapplying in layers.
Let each layer dry, then apply again until the paste is opaque and even. You can use a hair dryer to set each layer before beginning a new one.
I’ve found that this works better than applying one thick coat. The first layer helps the second layer stick better, and it all dries much faster. If you slather on one super thick layer and try to dry it, the surface will dry but seal in underneath. Once you wrap your feet and get up, all that wet paste squishes out and slides around. Walking around with squishy paste against your feet is really weird.
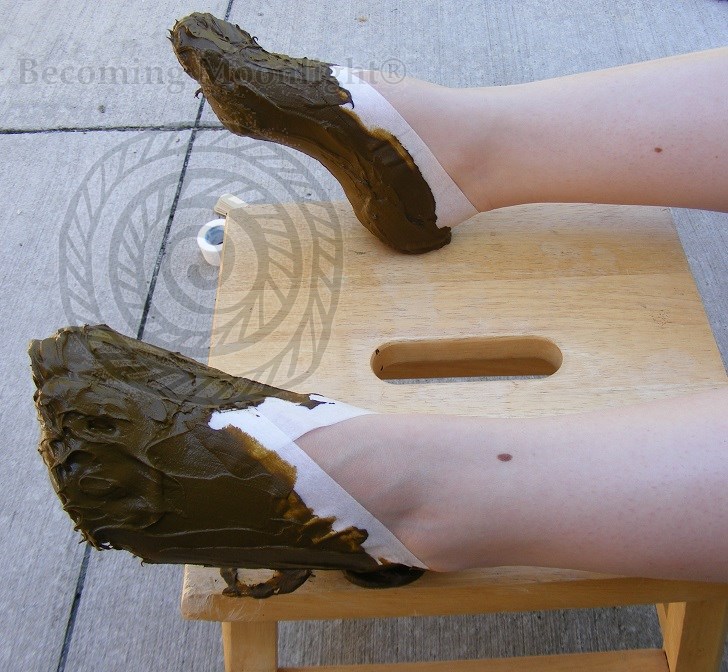
If you do apply a thick layer, expect to wait a while for it to dry. Put your feet up in the sun, enjoy a beverage, take a nap…
Wrap
Once your final layer is dry to the touch, use toilet paper to wrap your feet like you are a mummy. Be generous. The layers closest to your feet will get damp and rip. You’ll want several layers over everything, especially the balls and heels of your feet, where you put most of your weight. Use some tape to hold it in place if necessary.
Then, wrap your feet in plastic. Plastic wrap works well enough. So does a grocery bag. Secure with tape. Finally, pull on a pair of socks and you are ready to walk around!
Again, I prefer to do this at night and sleep through the processing time. I’ve found that my feet are too fat to fit into any shoes once they are hennaed and wrapped.
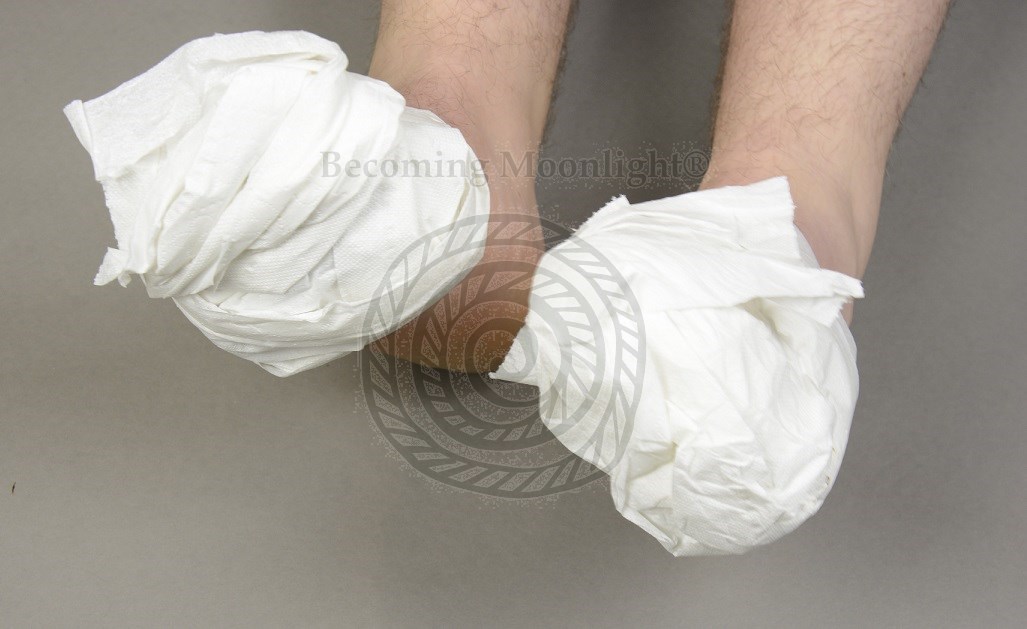
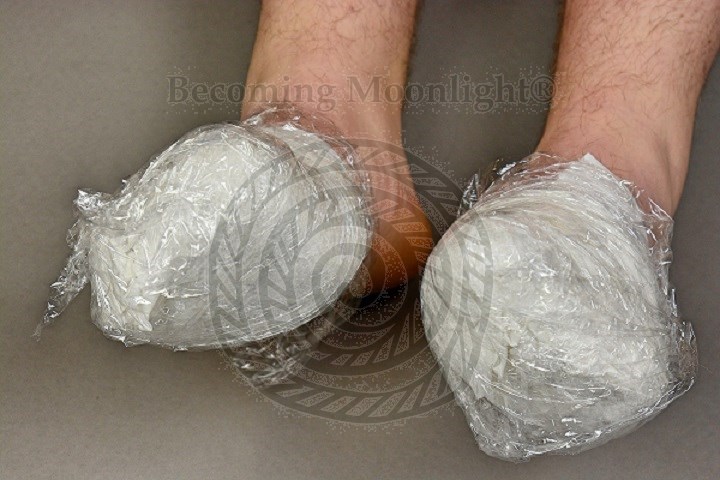
Here, just the balls of the feet and toes were hennaed and wrapped.
Remove
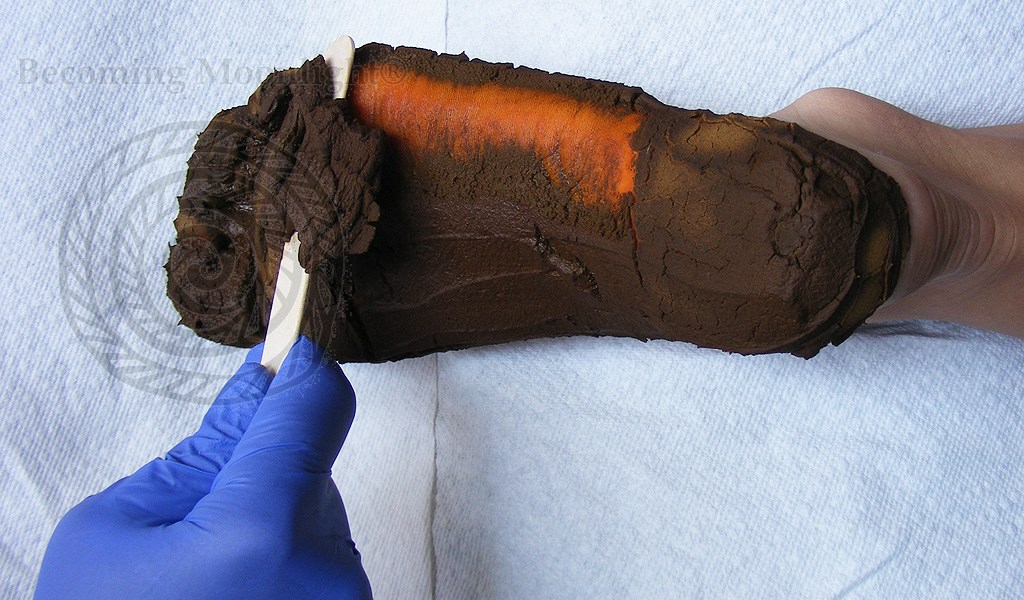
In the morning (or after as many hours as you can stand), unwrap your feet and gently scrape the paste off with a wooden craft stick or the blunt edge of a butter knife. I prefer to do this either outside or sitting on the edge of the tub with my feet in the tub (paste bits are rinsed down the drain for easy cleanup). Use a stiff brush to clear the remaining flakes, and do a quick wipe with a clean, damp towel.
Getting Fancy
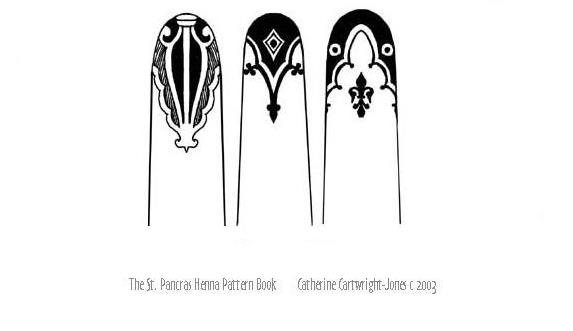
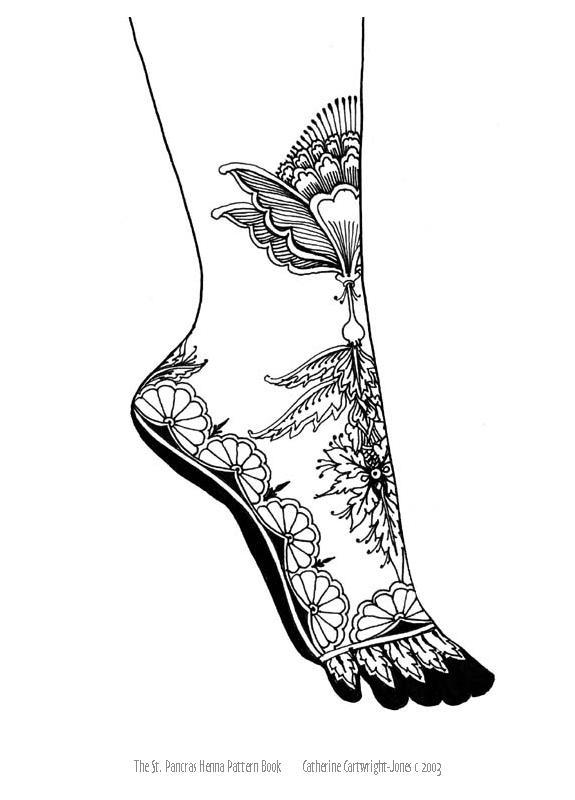
Want to add some complexity to your hennaed fingertips and feet? Take a look at all of the free pattern books available at The Henna Page. You can even add gems, glitter, shimmering powders, and more.
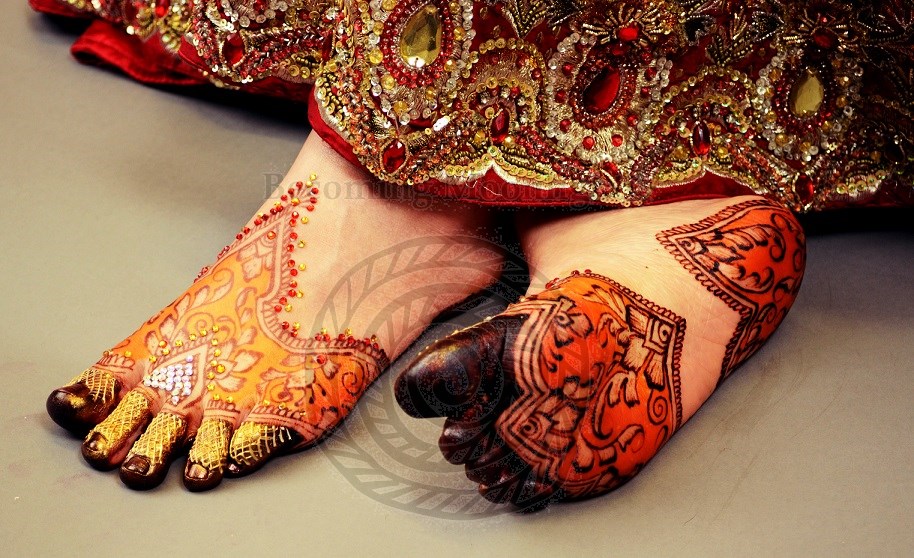
These feet were hennaed and decorated in multiple steps. Toes and details were hennaed, left for several hours, and allowed to deepen with oxidation. Applying henna and removing after a short period of time created the bright orange stain. Finally, gilding and jewels were added.
